Barry Morgan is an established Food Photographer based in Dubai. In this lesson he shares his professional insights from this specialist field. To accompany this article Barry invited us to select some images from his website, an interesting exercise that led to wider reflections on the creative and technical decisions involved in this type of work. I've taken the liberty of adding additional text which, hopefully, provides further food for thought (sorry!) in converting these ideas to practical classroom experiments.
Please do use the comment boxes below to share your own feedback and ideas. And if you'd like to share a lesson of your own, you can do so here.
Please do use the comment boxes below to share your own feedback and ideas. And if you'd like to share a lesson of your own, you can do so here.
KS3/4 Lesson Idea:
An introduction to Food Photography
By Barry Morgan, Barry Morgan Photography
Whether you are shooting with a smartphone or a top-of-the-range professional camera, food is an excellent subject for still life. With such a simple yet versatile subject and a bit of good lighting and composition, you can surely create some astonishingly artistic results.
Contrary to popular belief, celebrated food photography isn't just about rapidly snapping a "what's on my dinner plate" photo intended for Instagram. Instead, similar to other photography genres, food photography has specific rules that need to be followed if you want to capture images with the most stunning colours, textures and shapes.
Here are five useful ideas when embarking on a food photography project for school:
1. Consider the basics of the food and plate
|
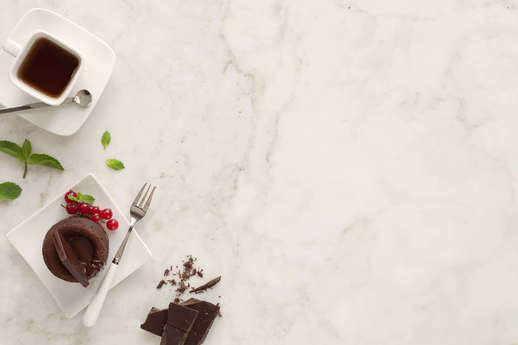
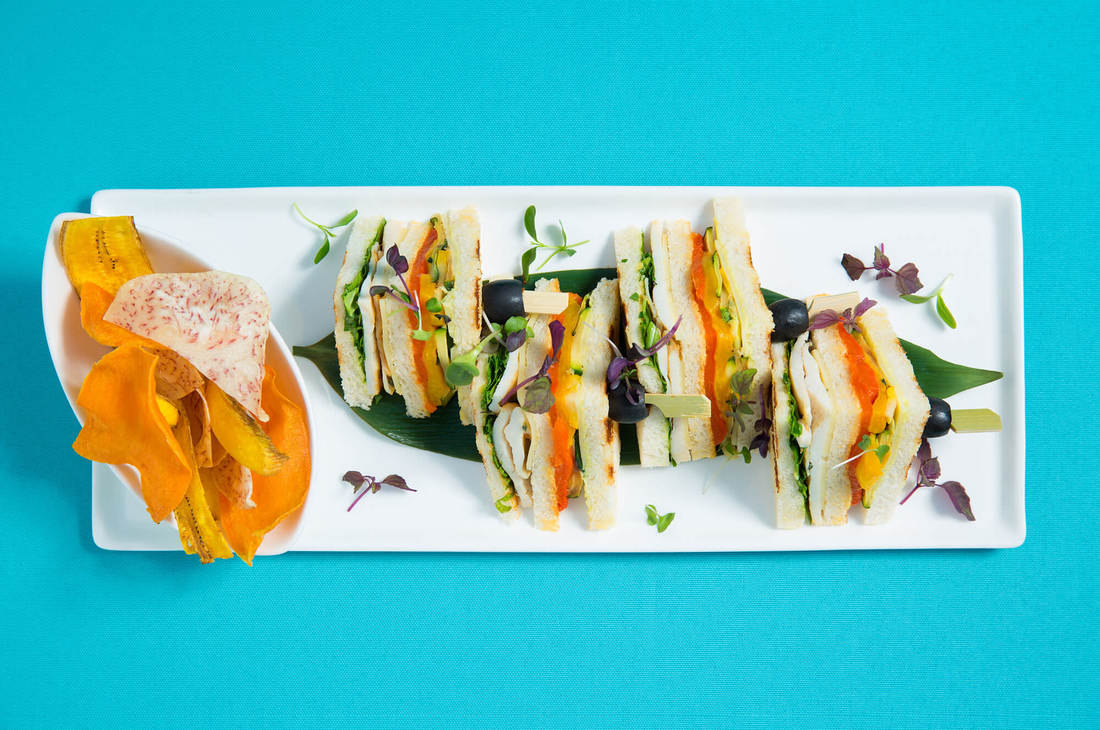
First and foremost, you want to ensure that when you are shooting photos of food, you are presenting less food that you would typically eat. An overcrowded plate looks far less appetizing (when in a photo) than a minimalistic one. Learn to manage the white space of the plate to create a frame for the dish. Furthermore, consider lining your plates with parchment or baking paper to add visual interest and soften the lines of your dishes. When in doubt, plain classic white plates always support the food as the star of the show. I was drawn to the composing within this shot, wondering if it was a brave decision from a commercial perspective. But still, the flash of red from the berries (alongside its complimentary, green) ensures our eye arrives at the main focus. The limited colour palette and geometric shapes also add to the minimalist feel. |
Suggested Activity: Compare this image with one by artist Laura Letinsky from her series 'Fall'. Consider the differences in approach that a commercial food photographer might have to that of an artist such as Letinsky. How might their intentions differ? What similarities can you find? What key words might connect or distinguish their responses?
2. Look to emphasize the natural beauty of the food
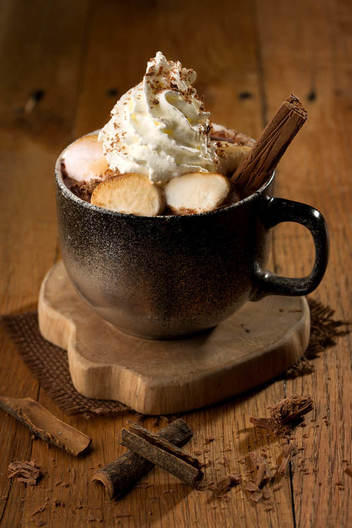
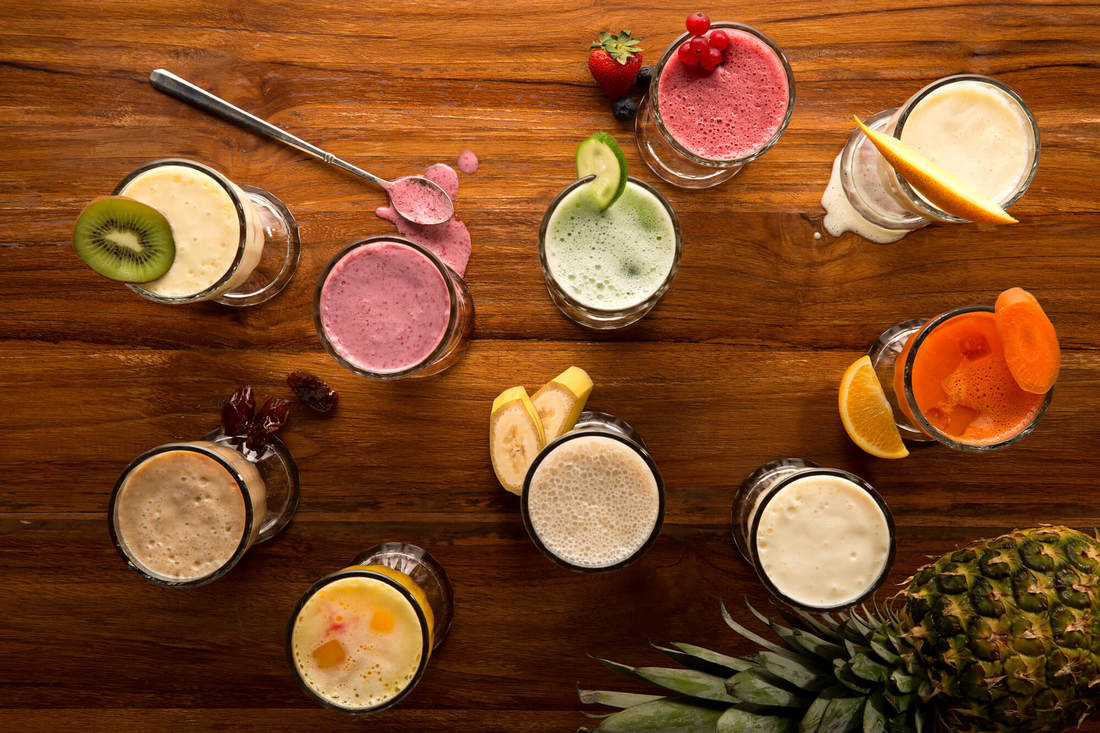
As a food photographer it is your job to analyse what it is about a specific dish that makes it unique, enticing and captivating, and then photograph it in a way that showcases those elements. In other words, you want to capture the ‘yum’ factor of a dish or a portion of food. Of all the images on Barry's website, it is this one that left me licking my lips. Of course you might disagree - as Threshold Concept #7 outlines: photographs are not fixed in meaning, context is everything - but as I write it is snowing outside, plus I'm sat at a similar table (as if the image could simply be a hole in my laptop screen awaiting me to reach in); so - GET ME A HOT CHOCOLATE! - my 'yum' factor is currently off the scale. But is it really possible for a photograph to communicate directly with our sense of taste (or touch, or sound)? And how might a photographer employ senses other than the visual to make photographs? Torbjørn Rødland is an artist photographer who is interested in creating photographs that impact beyond the purely visual. This lesson, 'Making sense of Photography' offers further insights. Suggested Activity: As a group, create a list of (affordable) foods that you do not like - one item per person. Consider how, through photography, you might be able to make these more appealing. Think of how the visual (or formal) elements might be employed, alongside considerations such as lighting, composition and camera settings. |
3. Expose for the highlights
Getting used to (and good at) adjusting the camera to the correct exposure is critical when looking to pursue photography.
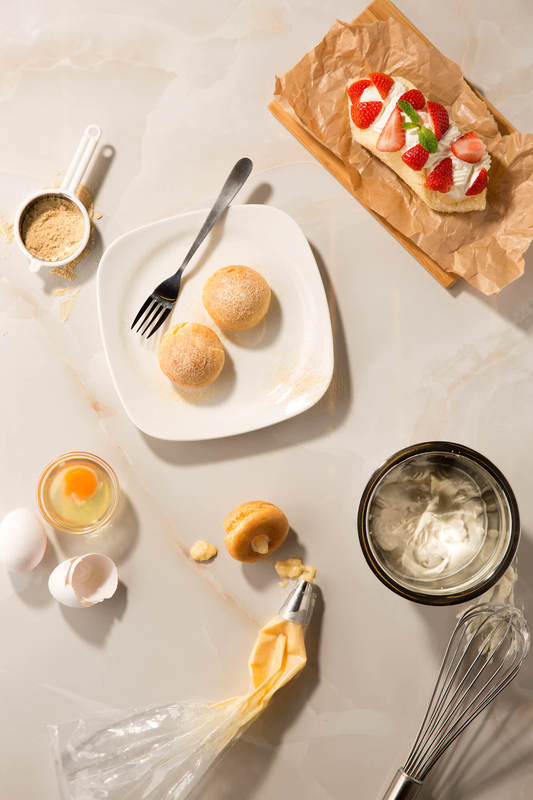
To quickly recap, exposure merely refers to the brightness of the image. When it comes to food photography, the main problem that occurs is that the clean white plates and perfectly-matched backgrounds all of a sudden emerge overexposed, meaning they come out too bright with no visible detail. So, to avoid this during your project (and your future photography endeavours), when you have established your shot with the necessary elements and lighting (see item No.4), then you should adjust the camera’s exposure level. To prevent overexposure, ensure you are exposing for the highlights in your photograph. You can do this by setting the exposure levels just high enough so that you can identify a little detail in the brightest areas of the scene. Giorgio Morandi (1890-1964) is a painter known for his contemplative still life paintings of objects such as vases, bottles and boxes. His work was influential to many artists, including David Hockney, Rachel Whiteread, Patrick Caulfield and Ben Nicholson. His subtle arrangements of form, space, surface and (muted) colour add up to a remarkable body of still life work - a life dedicated to observing the behaviour of both light and time... Suggested Activity: Taking influence from the photograph on the right - and the work of Giorgio Morandi - choose a range of simple objects/food items with a limited colour palette. These should form the basis for a series of subtle arrangements exploring aspects such as light/shadow and negative space (the spaces between the objects), and technical considerations such as exposure times, aperture, white balance and ISO. |
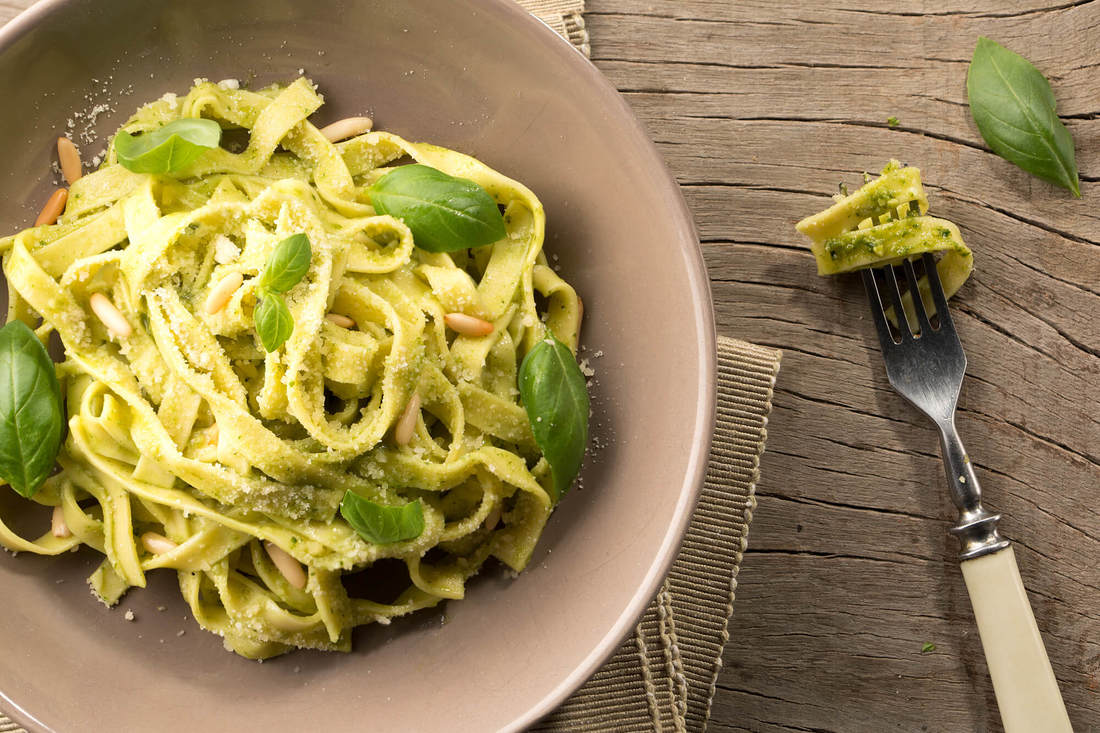
4. Focus on the lightTo be honest, the most critical component of creating drool-worthy food photos is the lighting. As often as possible, you want to avoid artificial lighting and shoot your food photos in natural daylight. This is because a false light (such as a lamp) will most likely produce an unsightly yellow or orange tone in your picture. How unappetizing would an orange steak, orange potatoes, or an orange plate look to a viewer?
You want the natural colors of your food to stand out and appear as accurately as possible (give or take a little enhancing!). Always remember that the ideal light is soft, diffused natural daylight. Depending on where you live, you can even try photographing your food outside when the weather is warm. |
Suggested activity: In our recent PhotoPedagogy Tate Exchange event, Fashion photographer Elliott Wilcox also emphasised the great benefits of shooting in daylight. He shared some low-budget methods for manipulating lighting, equally transferable from fashion to food...
With a variety of affordable and colourful foods as subject matter - fruit and vegetables for example - head outside to explore how daylight might be utilised or manipulated to good effect. Use large sheets of coloured card to experiment with how light and colour might be bounced back onto your still life set-up (a kitchen tray covered in tin foil also makes a handy reflector panel); line a large box with black fabric or paper and stage your still life within this - notice how light can also be absorbed, and how this combination of darkness and daylight can make for a striking image; use coloured gels or acetate to manipulate the light upon a surface - or hold these directly over the lens for more experimental abstractions. Consider the relationships with, and the influence of, varying environments and background surfaces and textures (for example, compare a natural background of grass, soil or weathered wood, to a more urban environment - how does this influence the suggestions of the image).
With a variety of affordable and colourful foods as subject matter - fruit and vegetables for example - head outside to explore how daylight might be utilised or manipulated to good effect. Use large sheets of coloured card to experiment with how light and colour might be bounced back onto your still life set-up (a kitchen tray covered in tin foil also makes a handy reflector panel); line a large box with black fabric or paper and stage your still life within this - notice how light can also be absorbed, and how this combination of darkness and daylight can make for a striking image; use coloured gels or acetate to manipulate the light upon a surface - or hold these directly over the lens for more experimental abstractions. Consider the relationships with, and the influence of, varying environments and background surfaces and textures (for example, compare a natural background of grass, soil or weathered wood, to a more urban environment - how does this influence the suggestions of the image).
5. Have the necessary tools and gadgets to handWhile the majority of these tools are just everyday kitchen utensils, you would be surprised how often you will reach for them because of the multitude of ways they can aid you in your food photography efforts.
|
Food photography is an art form requiring skill development through continual practice. While you are applying your craft, keep in mind that excellent food photography induces a physical response from the viewer. A good photo can make your stomach growl, your mouth salivate, and makes it impossible for the viewer to think of anything else. Enjoy shooting!
Barry Morgan is the creative force behind Barry Morgan Photography. His passions are photography, food and family, although not always in that order. He believes you should love what you do, to do exceptional work. Cooking was always a family affair in his home so naturally, once his passion for photography took root, he was drawn to food photography.
Barry Morgan is the creative force behind Barry Morgan Photography. His passions are photography, food and family, although not always in that order. He believes you should love what you do, to do exceptional work. Cooking was always a family affair in his home so naturally, once his passion for photography took root, he was drawn to food photography.

