|
These resources have been developed in partnership with The Royal Photographic Society (RPS) to support visits to any photography exhibition, especially those that feature a wide range of genres, techniques and subjects. They are designed with students in mind, particularly visitors aged 11 to 18. However, they can be enjoyed by all and easily adapted for a younger (or older) audience.
The Royal Photographic Society exists to educate members of the public by increasing their knowledge and understanding of Photography, and in doing so to promote the highest standards of achievement in Photography. Click here to discover more. |
|
Teacher Resources
A summary of some of the key discussion points and classroom activities from this web resource is available to download here. | ||||||
|
These prompts and activities encourage visitors to think and talk about the work on display, and also to respond physically by making images/artefacts of their own. Most of the activities require access to some basic materials, such as a pencil and paper. A camera or smartphone is also required for some of the tasks. The intention is to stimulate opportunities for both thoughtful reflection and playful experimentation. For teachers leading group visits some familiarity with PhotoPedagogy’s Threshold Concepts for Photography might also be useful.
About visiting an exhibition The benefits of visiting an exhibition are plentiful. Encountering photographs and artwork directly (as opposed to viewing online or in a book) is important and enriching. An exhibition invites visitors to slow down and to experience work as the artist/photographer and/or curator intended. (A curator is a person who selects and organises work for an exhibition. This might be done alongside an artist/photographer, but that’s not always the case). When you visit an exhibition for the first time you don’t have to know everything (or even anything) about the work on show. Prior knowledge can certainly help, but your first impressions - your instinctive reactions, personal tastes, feelings and opinions - are also valuable. Perhaps the most important starting point for visiting an exhibition is to have an open-mind - a willingness to invest time in looking, thinking and questioning. These activities and prompts are designed with this particularly in mind. |
Visiting an exhibition: Some helpful questions to start
The following prompts will help you to think wider about the reasons for this exhibition. You don’t need to have all the answers though - it’s not a test! But it is good to be curious.
Why is this exhibition taking place here, now?
What kind of work is within the exhibition, and where might you begin?
The following prompts will help you to think wider about the reasons for this exhibition. You don’t need to have all the answers though - it’s not a test! But it is good to be curious.
Why is this exhibition taking place here, now?
- What are the hopes and intentions for the exhibition - for those involved in its creation; for you as a visitor?
- Why is the exhibition taking place in this location at this time? Who is most likely to visit? How much time, energy and resources have been dedicated towards this show? How many people do you think are involved in delivering this exhibition and what type of job roles might be involved?
What kind of work is within the exhibition, and where might you begin?
- Does the exhibition display the work of one artist/photographer, or is this a group show or wider collection?
- What words might help describe the work on show, and how might these reveal something about your own understanding - for example: colourful, muted, experimental, traditional, contemporary, diverse, stylised, abstracted, subjective, objective? Are words always helpful or important when looking at images?
- What information is available - an introductory text, guide or talk, perhaps? Is this helpful? Would you rather see the work without context, to form your own thoughts first?
- Is there an obvious starting point, a clear beginning and end; directions of where to start and finish?
- Is the exhibition curated chronologically, organised by dates of creation; or thematically, grouped by topics, styles, potential meanings?
- What decisions have been made by the curator and why? How might the scale of work, the layout of the gallery, the wall colours, the use of lighting, the amount of visitors etc. combine to shape your experience?
|
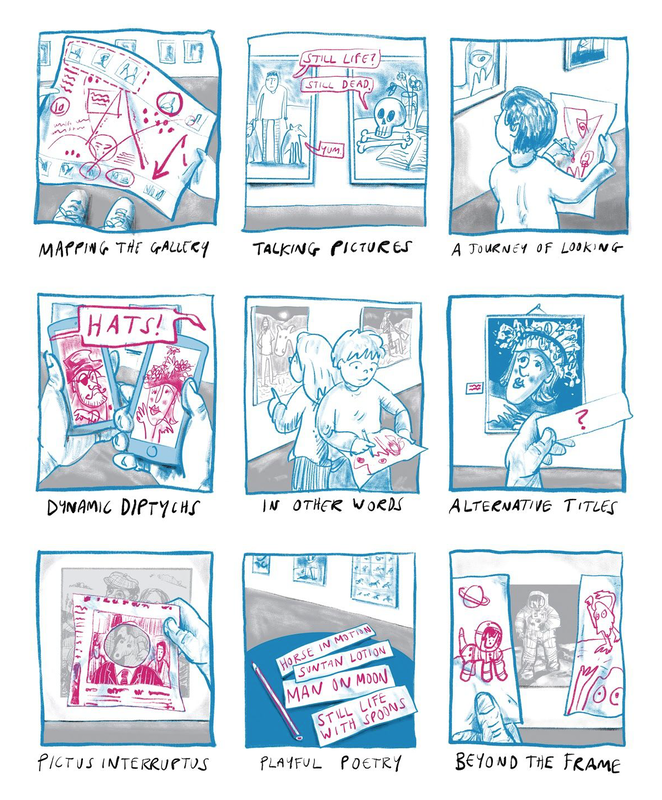
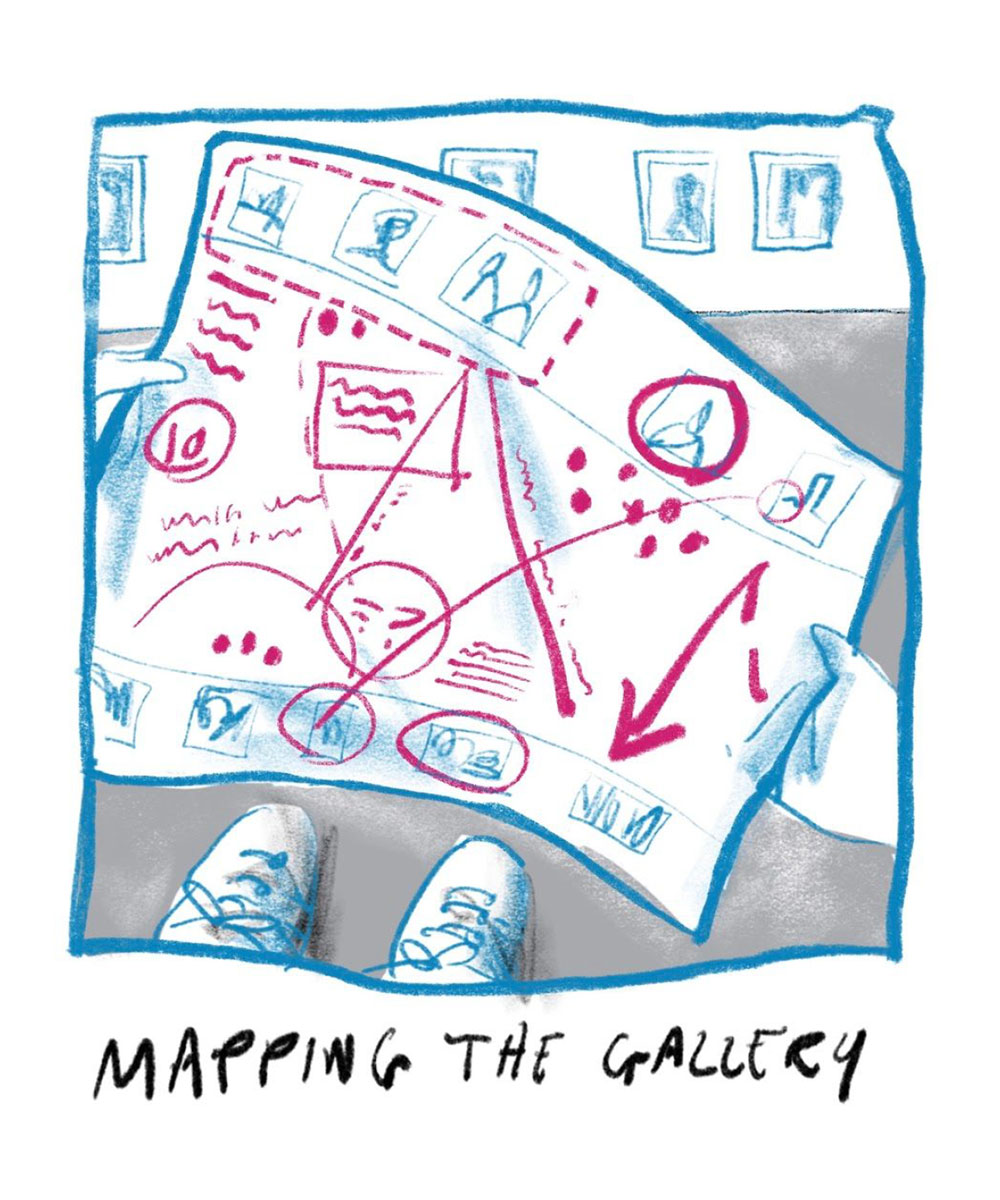
On a piece of blank paper, create a map of the gallery space(s). Decide what kind of map you would like to create. This might be helpful and informative, or something more experimental and playful. Below are some suggestions:
- Use a continuous line drawing to chart your journey through the exhibition space. Do not lift your pen/pencil off the page - but do look where you are going!
- Create a ‘heat map’ indicating the most popular spots where people dwell or gather in the exhibition space(s). Indicate which images/objects are attracting the most attention and consider why.
- Produce a ground plan of the exhibition space(s) mapping the positions of the work. Try to get a sense of the spatial arrangement of the pictures on the walls. Are they evenly arranged, or in clusters, in lines, grids or randomly spaced? Consider how to indicate the sizes of images on your map.
- Illustrate a web of imaginative connections between artworks/images. Sketch out an initial ground plan and then draw lines between works on display to reveal your own imaginative connections. These might be related to specific colours, themes, sizes, dates or something more absurd or tenuous.
|
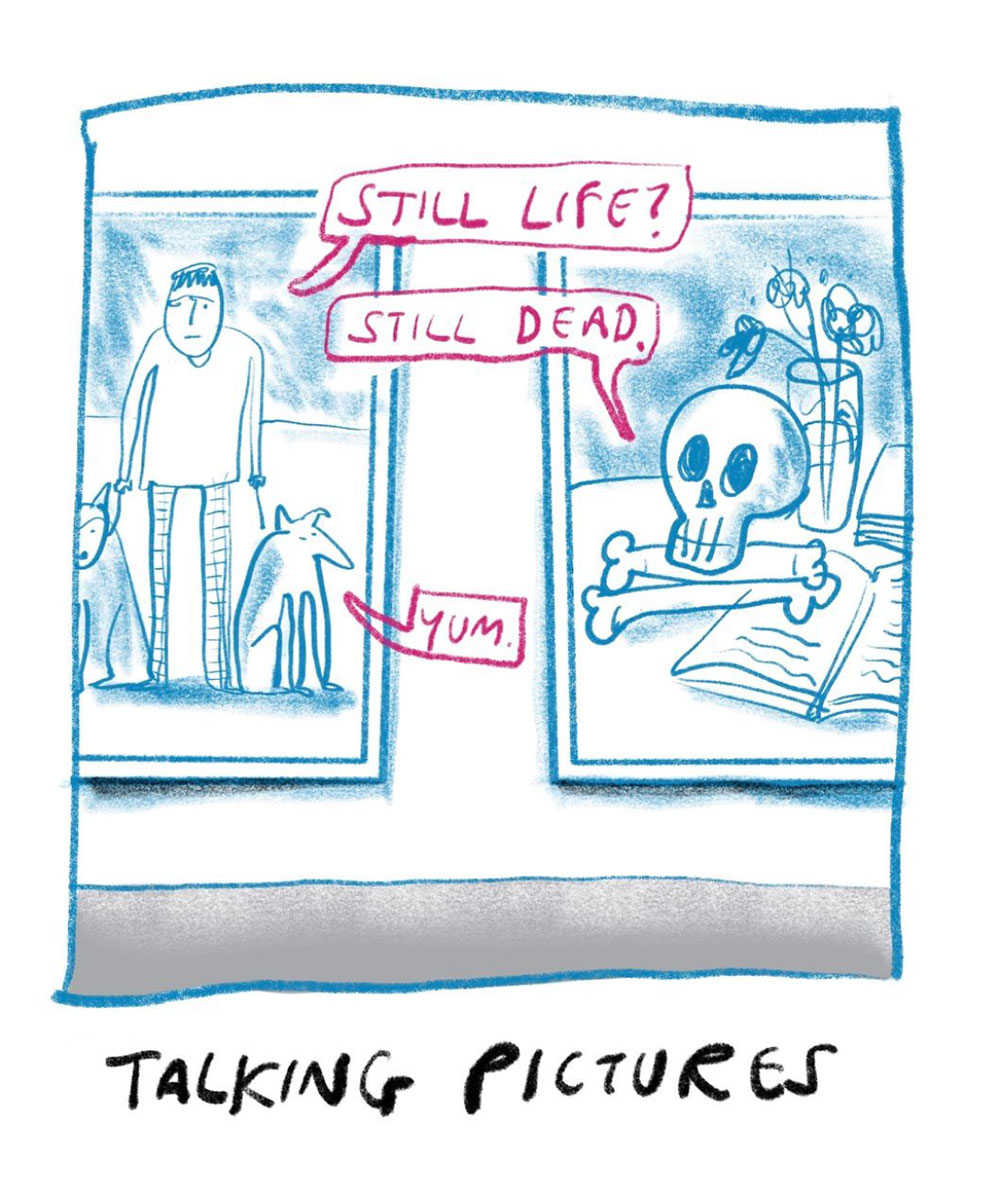
Document an imagined ‘conversation’ between two images. One image begins the conversation and the other responds (as if they were characters in a play). The conversation might be directly related to their contents, or take a more unexpected, playful turn, perhaps influenced by other works, the exhibition space or gallery visitors. Remember to consider the knowledge, tone of voice or accent that a certain photograph might have.
To begin, it might help to create parallel lists considering the similarities or differences between your two chosen works. Consider aspects such as: subject matter and composition - where the eye is drawn to first (and how/why); the use of space (foreground, middle ground, background); the sense of atmosphere/mood created by light, tone, line, shape, form, focus etc.
Imagine (and then document) a conversation between two photographers about their work. What kind of supportive conversation, or heated discussion, might be had?
With a partner you might improvise, act out or audio-record these responses.
|
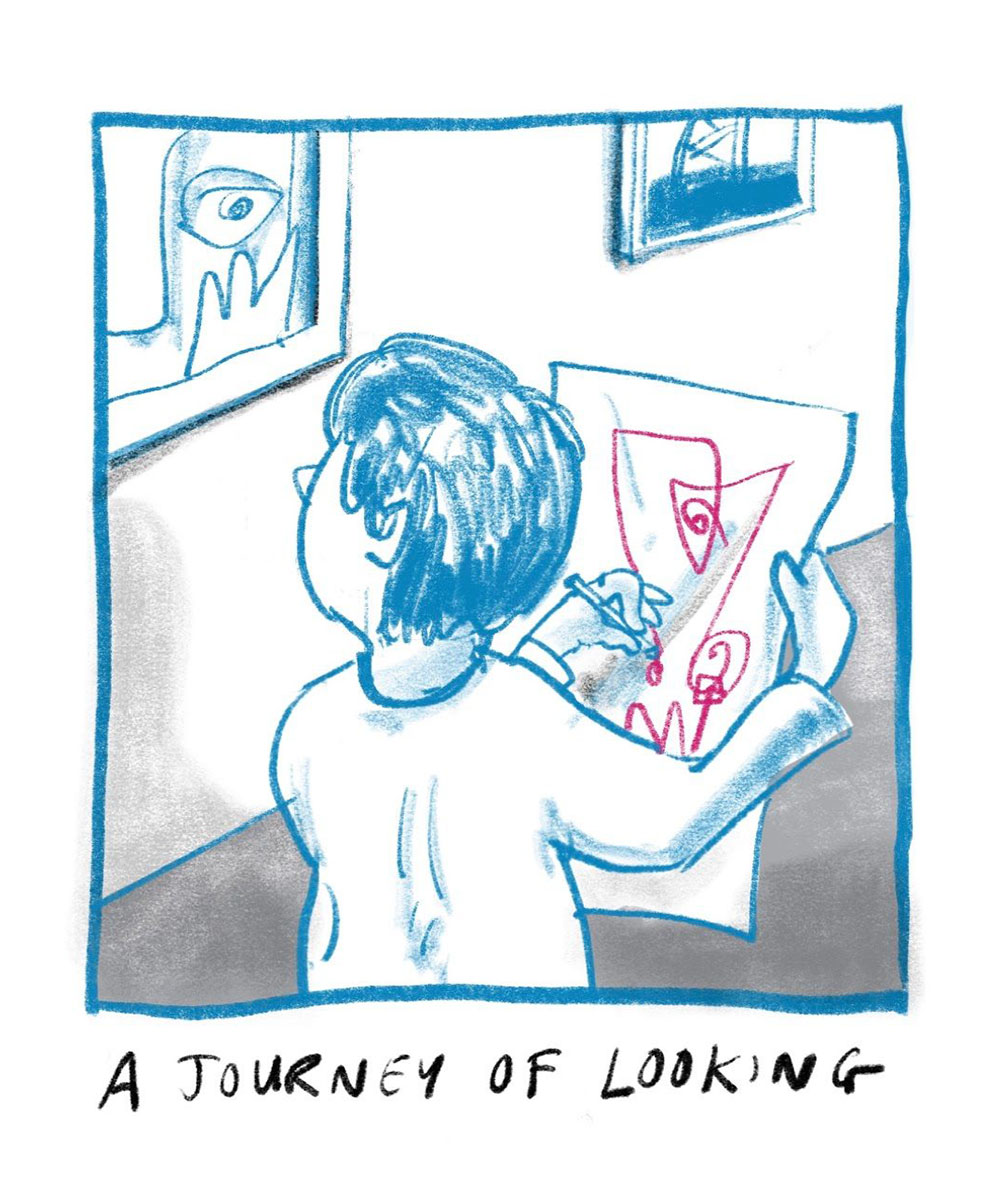
Select an image in the exhibition that intrigues you. Perhaps you find it puzzling or difficult in some way. If that is the case, no problem - it can be helpful and revealing to look carefully at something you don’t initially understand.
Pay attention to the scale and ratio of the image. Is it portrait or landscape in format? For this exercise it may help to turn, cut or fold your paper to a similar ratio and work to the edges.
Without looking at your piece of paper, place your pen/pencil on the surface and begin to trace the journey your eye makes across the picture. Importantly, remember you are not drawing what you see but how you look - a continuous line to document your eye movements.
Try to capture even the most subtle of eye movements in your drawing. Keep looking and drawing until your eye comes to a natural rest. Now look at the drawing you have made. What does it reveal about the way in which you looked at the photograph? Could these lines inspire a more developed abstract response, such as painting, wire sculpture or photographic light-drawing?
|
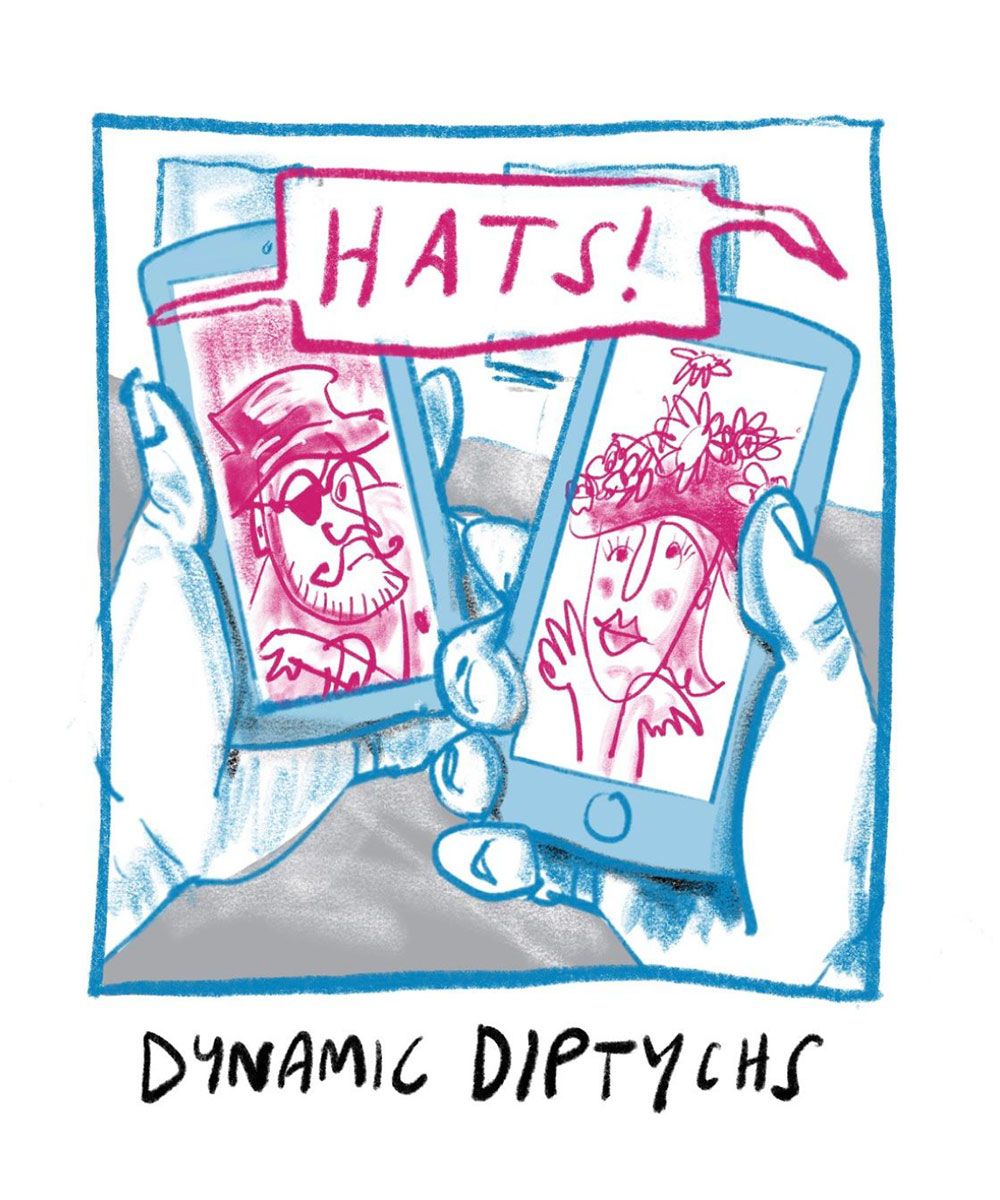
To begin, without collaboration or discussion, independently take a range of photographs within the exhibition space (10-15 images will suffice). These might be close-up sections of pictures on display, furniture, wall text, or even of visitors (be careful not to invade anyone’s privacy). Then, once you have a range of images...
- Create your own diptych experiments. The challenge here is to collaboratively decide which pairings might be the most interesting (or appealing, absurd, unexpected…). To complete your diptychs you might send the images to each other (via text, bluetooth or similar) and use a digital collage application (like Instagram’s Layout) to place the two images side by side. Alternatively, you might simply display your images full screen and lay/hold these next to each other.
- Devise an alternative game of ‘Snap!’ This can be played by holding your phones directly next to each other and, in full-screen mode, slowly scrolling through your individual images together. When a connection appears between your displayed images (be it obvious or absurd) simply call this out (or alternatively call ‘Snap’ first). The winner is the person who makes the most connections. (Probably a game best played outside of the gallery!).
|
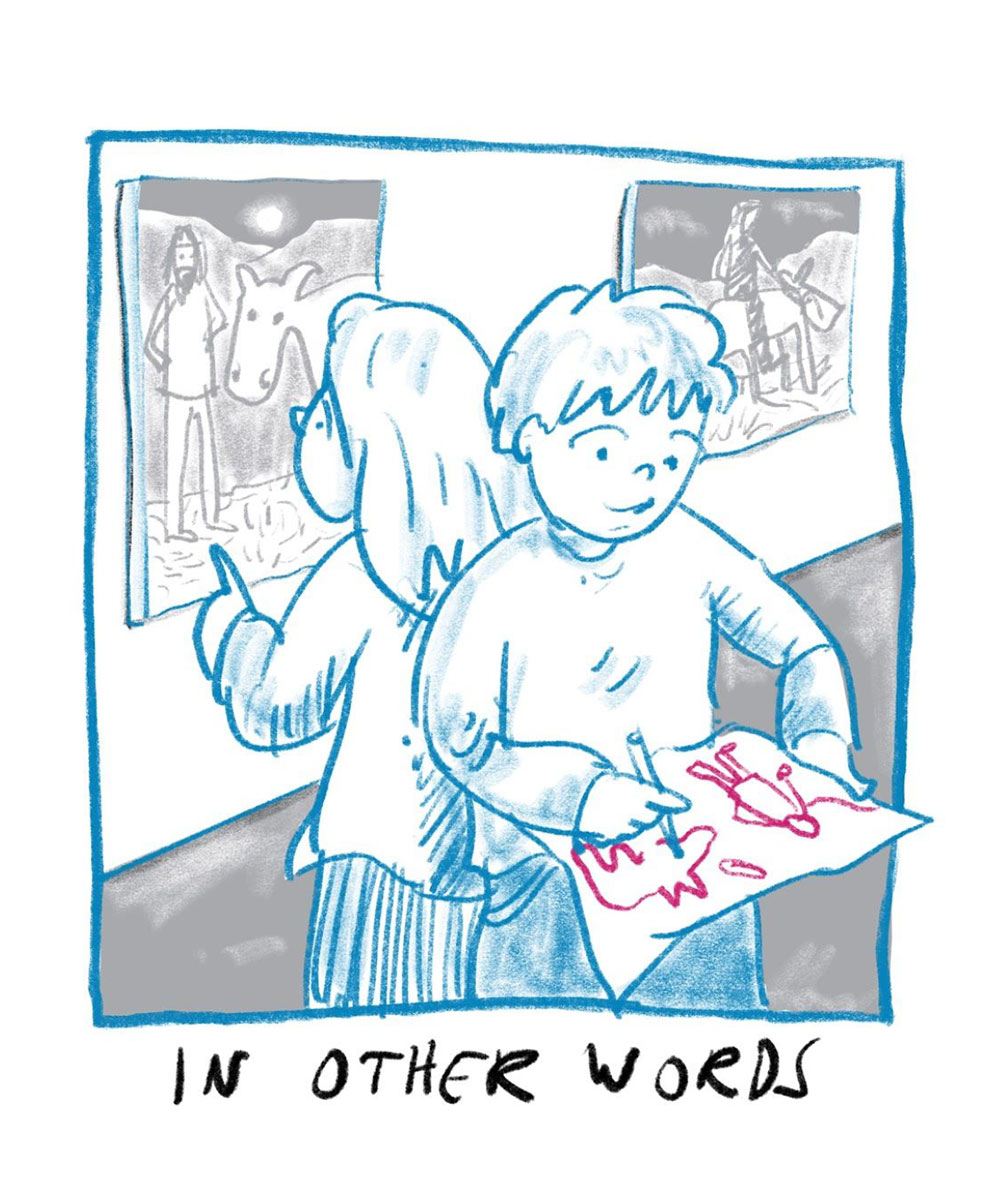
To begin, independently choose an artwork/photograph that interests you. It is important that you don’t tell your partner which one you have chosen.
Ask your partner to close their eyes. Guide them carefully to a clear space in front of the work. Stand back-to-back so that only you are looking at the photograph.
Your task is to describe the photograph as carefully as possible but without directly referring to any of its subject matter (recognisable things). You should only use words that describe the formal qualities of the picture - its lines, shapes, patterns, textures, tones etc.
Your partner’s task is to draw your description. Decide how long you think is needed. Somewhere between 30 seconds and two minutes should do it. When you have completed the description and the drawing, take a look at what you have made together and reflect on the process. Take it in turns to be the describer and the person drawing.
*Formal Qualities or ‘Visual Elements’, refers to the information that we see (and the arrangement of these) : colour, texture, tone, line, form, space, shape; pattern, contrast.
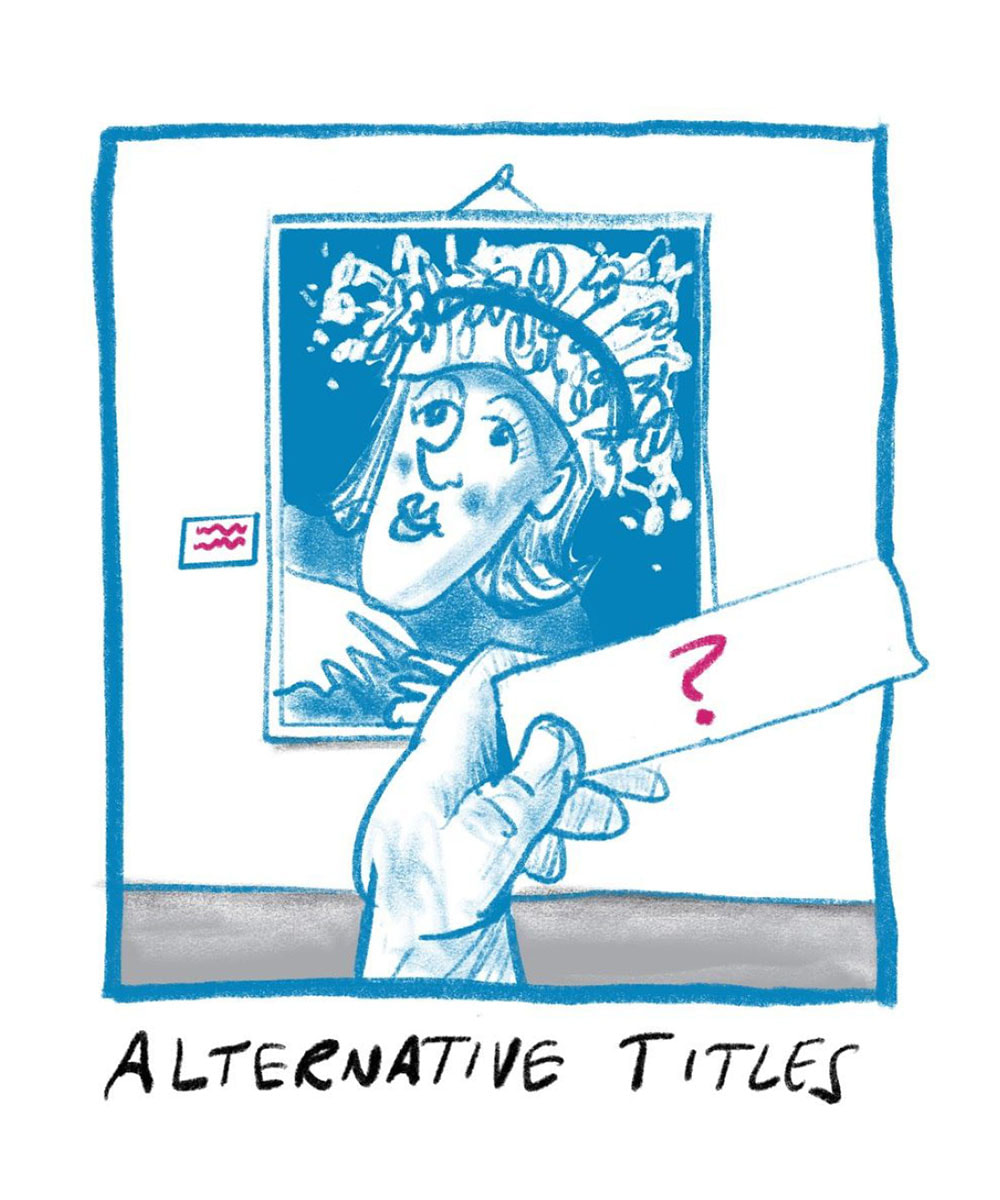
Titles can often be revealing and informative, but sometimes artists and photographers decide not to title their pictures, preferring ‘Untitled’ and the date, rather than a word or phrase. Sometimes the subject of the picture even appears in brackets, for example, ‘Untitled’ (Lady in a Hat). Titles can be literal, poetic or coded. They can be helpful or positively mystifying.
- Imagine you are the exhibition curator. Look carefully at one of the photographs on display. Create a new title/caption for the image that captures your understanding of it. Repeat this activity for a range of images.
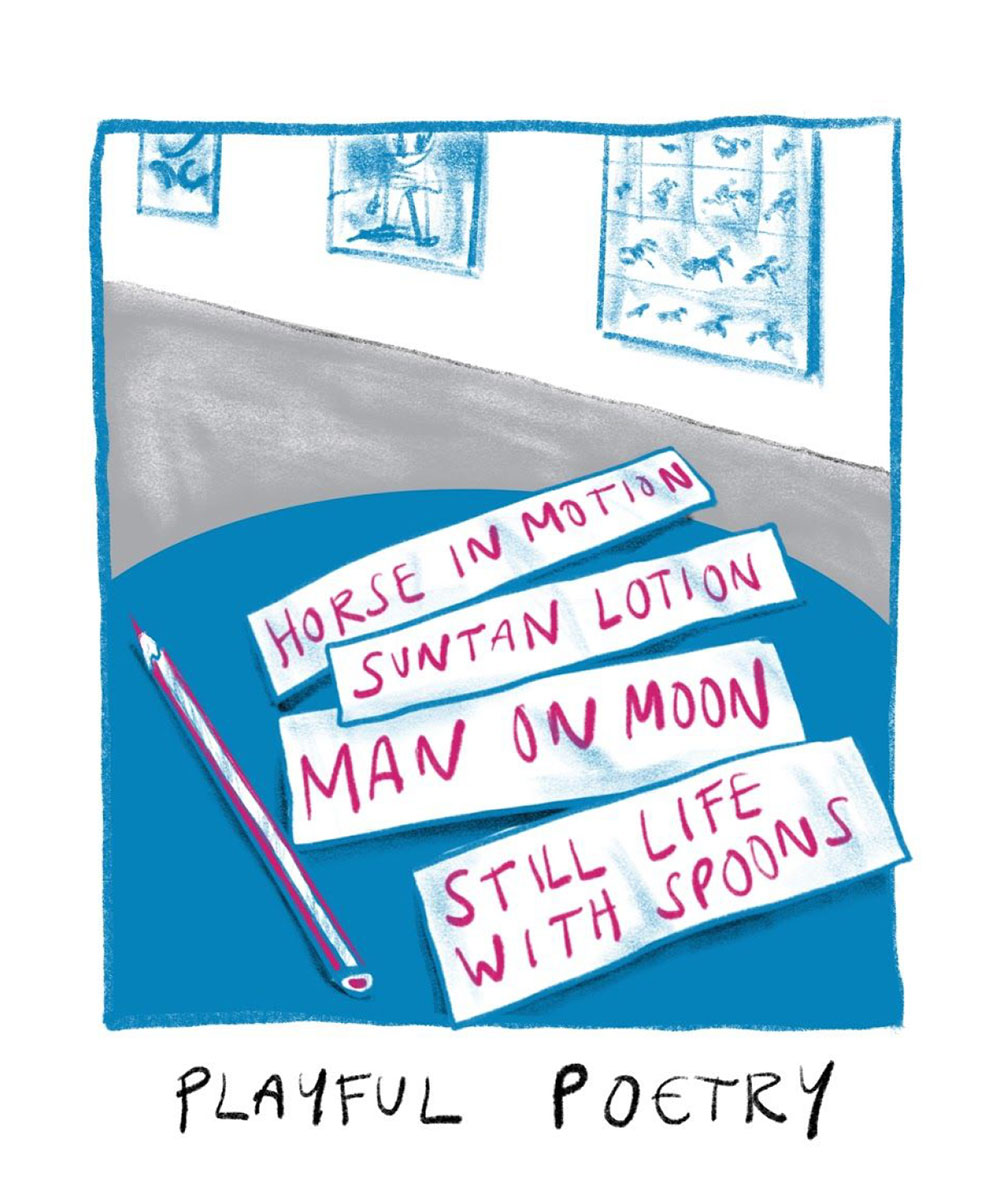
- What would happen if the titles of photographs on display were mixed-up and rearranged? Make a note of the titles of a range of works in the show, and then try applying them to another work (not physically applying labels, obviously - in your mind or on your notes only!)
|
We tend to consider photographs as flat (because mostly they are), usually encountered as prints on paper or viewed on a screen. One of the great delights and illusions of photography is its capacity to record, compress and flatten our 3-dimensional world. This activity provides an opportunity to playfully interact with the work on show (but remember it is forbidden to touch exhibited work unless stated otherwise),
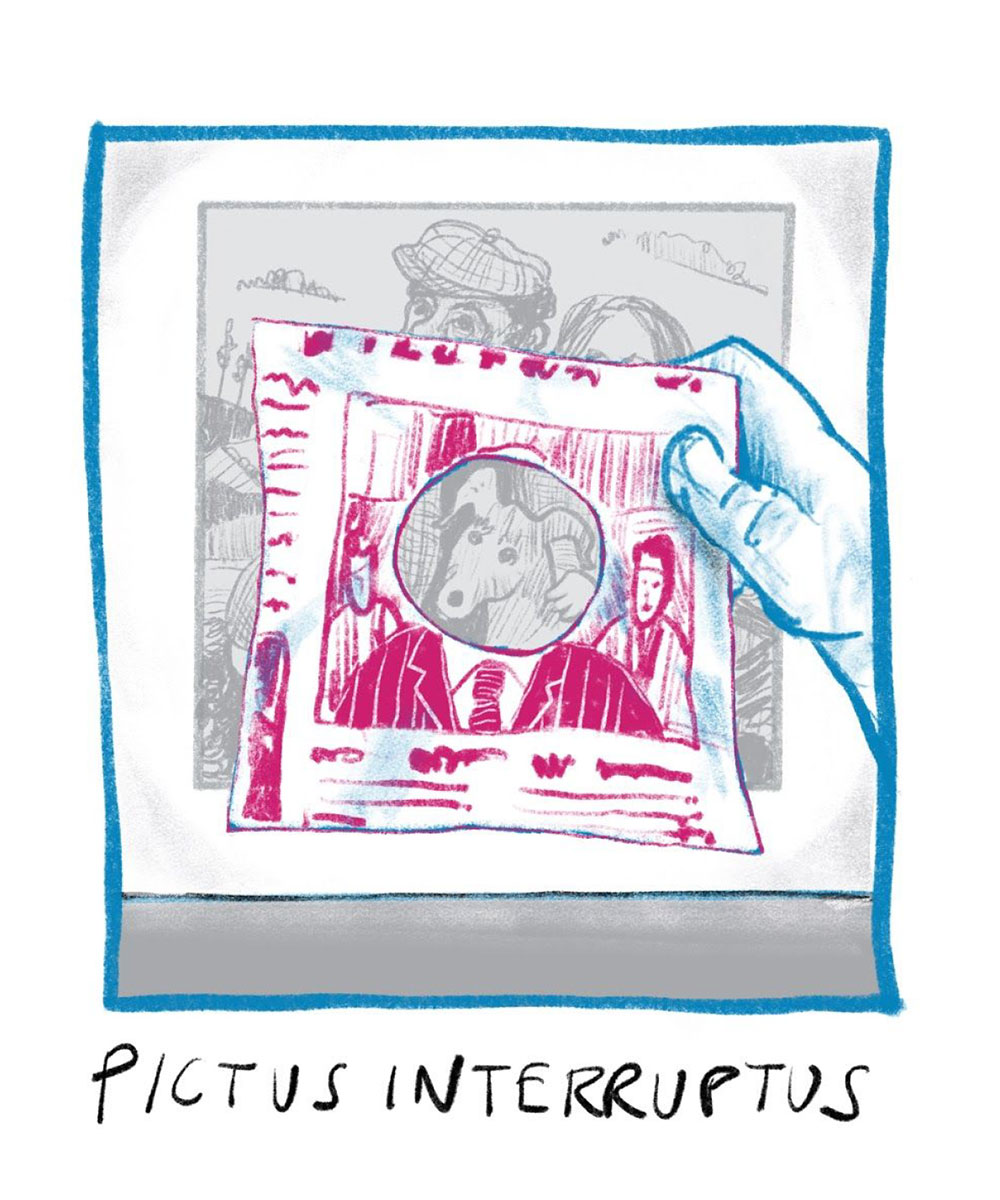
Experiment with holding or placing objects in front of your camera lens. Take a series of pictures within the exhibition that experiment with ‘disrupting’ a view. For example, how might an object (such as a pencil, your finger, a hairband or a door key) combine with or visually disrupt a displayed work?
Experiment with how much of the view you can obscure through deciding what to keep in and out of focus. If there is a printed gallery guide, for example, try poking a hole in it and photographing through this aperture. What new alternative views of the exhibition can you create using this method.
|
Most exhibitions are accompanied with introductory text in some form, usually as handouts and/or printed on the walls of the gallery. But how might these introductory texts be manipulated to create new relationships? (Note: Some of these activities are best done at home or in school, using the words you collected when you visited the exhibition).
- Using an exhibition handout, select certain words to block-out so that only some are still visible. You might create new sentences that make (poetic) sense or simply draw attention to a list of your favourite words.
- With scissors, cut up the words and phrases in the exhibition handout. Place in a pile and select randomly, one by one, to make a new text. You may choose to add words of your own so that more fully-formed sentences appear.
- Note down or photograph words displayed upon signage within the gallery space; titles of artworks; overheard conversations. Remix the words to create a surreal, nonsensical or absurd poem.
|
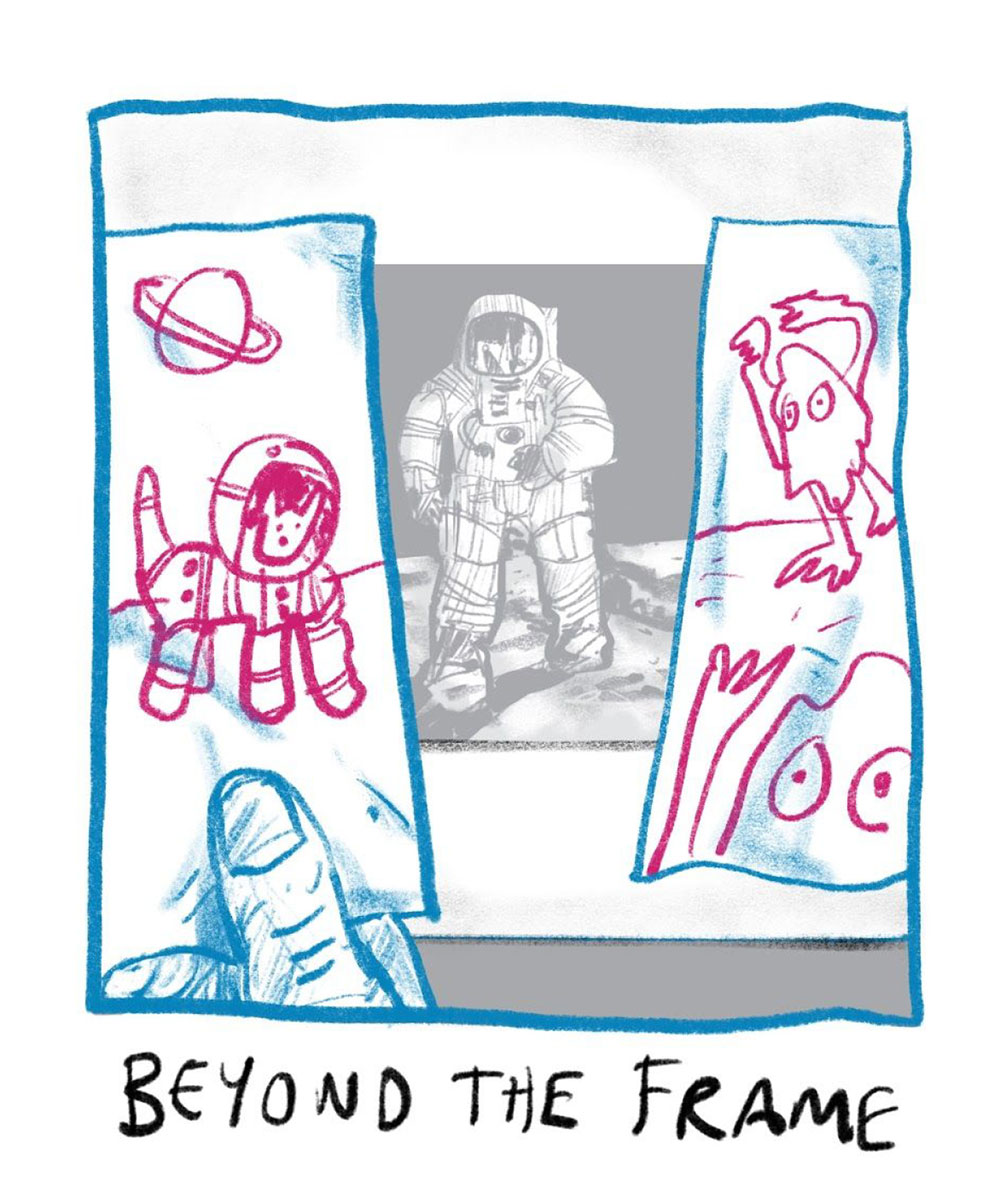
To begin, choose an image on display and produce a quick thumbnail sketch of this in the centre of your paper. Once complete, select one of the following responses:
- Extending the image. Continue your sketch, this time drawing from your imagination to extend beyond the frame. What would you see if the work wasn’t contained by its edges? What was cropped out - to the sides, above or below?
- Makes more sense. Make a list of sounds, words, conversations that might have occurred at the time the image was taken. What discussions might have taken place, or instructions given out? What background noises may have been present, either nearby or in the distance? What about other senses, such as smell, taste or touch? How might the photographer be feeling, and why - warm, cold, rushed, relaxed, calm, controlled, under stress?
- Mirror image. Complete a sketch imagining the view directly back towards the photographer. Was a tripod or lighting equipment present? What was the photographer wearing? Were they standing, crouching, moving? What view is behind the photographer? Who is standing alongside them? Is it possible that the photographer might not be present, perhaps hiding or working remotely?

