KS3/4 lesson plan:
An introduction to photography for Year 9/10 through the creation of camera obscura and the work of Abelardo Morell.
From Jon Nicholls, Thomas Tallis School
|
The video on the right shows a group of people, inspired by the work of Abelardo Morell, attempting make a camera obscura in an office. They make the room entirely light safe (completely dark) by taping black sheets to the windows. They then cut a small hole to let in a stream of bright light and an upside down image appears on the opposite wall. The reason this happens is because light travels in straight lines (apologies to physicists for this over-simplistic explanation).
|
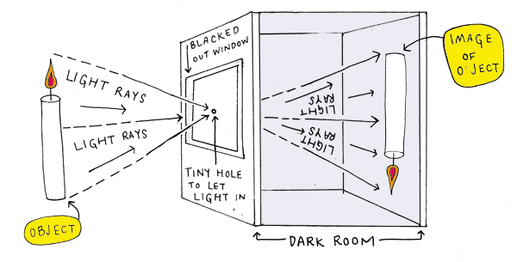
This image helps to explain how light travels through space. The light from the top of the candle travels down through the hole to the bottom of the wall opposite. Similarly, the light from the bottom of the candle appears projected at the top of the wall inside the box, making the image appear upside down. Artists discovered this phenomenon hundreds of years ago and used it to help them create realistic images of the outside worlds on a two dimensional surface.
|
There is something magic about discovering this phenomenon and in finding ways to see it for yourself. The following activities are all relatively easy to achieve in a normal class environment and don't require any particularly sophisticated tools. I tend to begin my photography course (in Year 9) with this type of activity, along with experiments in the darkroom, so that students develop a real understanding (for a photographer) of the way light works. By creating their own simple cameras they can begin to grasp the workings of the much more sophisticated cameras they will use later in the course.
Making a basic Camera Obscura
You will need the following materials and tools:
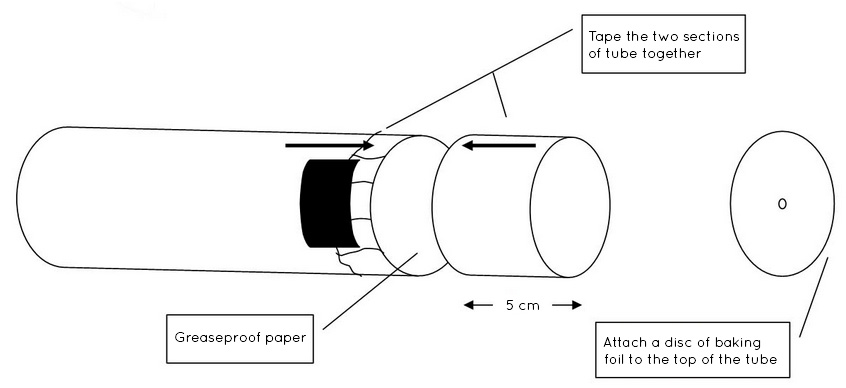
They cover the end of the longer section with a piece of greaseproof paper (taping it down securely) before re-attaching the shorter section of tube so that the tinfoil is at the end. They make a tiny pin hole in the centre of the tinfoil and look down the tube. They should observe an upside down image projected onto the greaseproof paper screen inside the tube.
Making a telephoto Camera Obscura
This version is a bit tricker since it requires two sections of tube, one slightly wider than the other so that it can be moved backwards and forwards to alter the focal length. So, attach the greaseproof paper to the thinner tube and the baking foil to the other (keep both tubes relatively long). Now, simply slide the the wider tube over the thinner one, moving it backwards and forwards to increase and decrease the size of the projected image inside.
Other cool project ideas
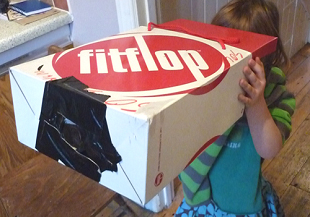
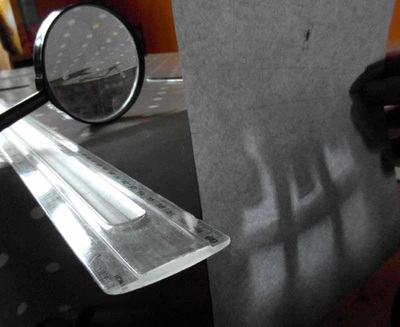
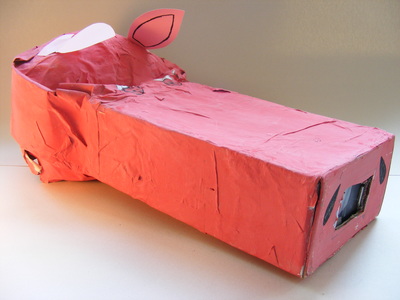
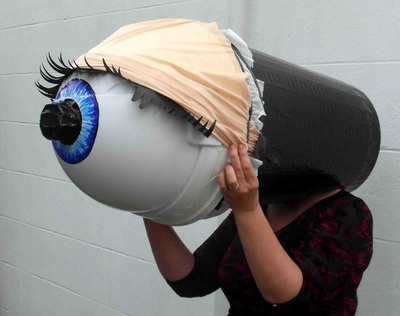
If your students get really excited about camera obscura, why instigate a cross-curricular project. Get science and DT involved and check out these amazing ideas from Justin Quinnel's brilliant pinhole photography website.
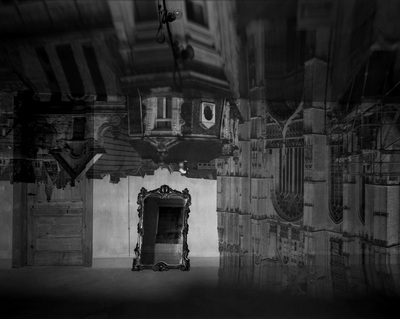
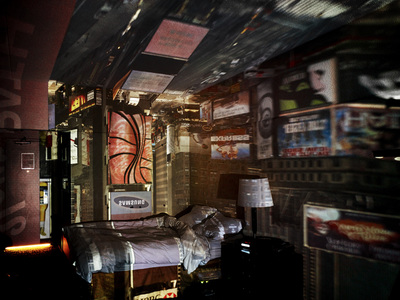
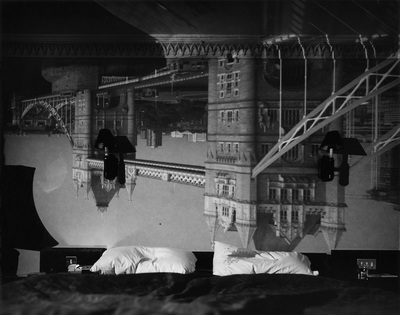
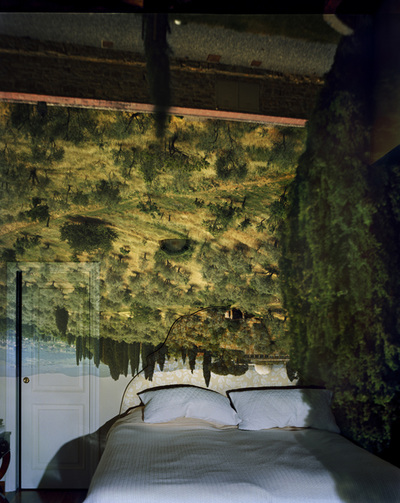
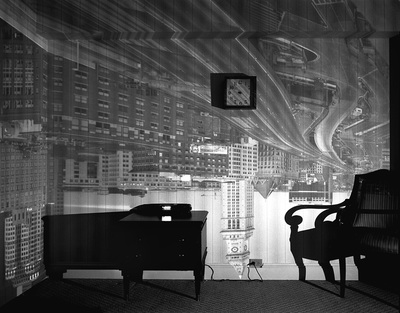
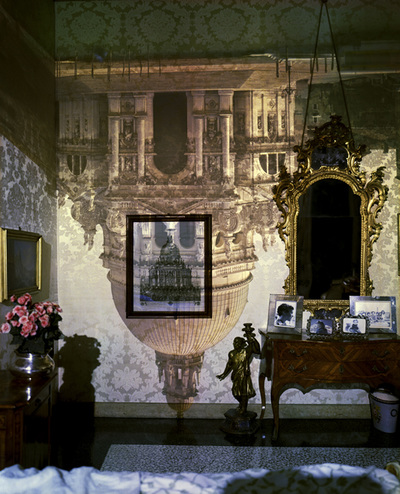
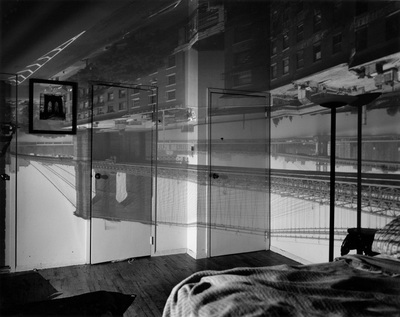
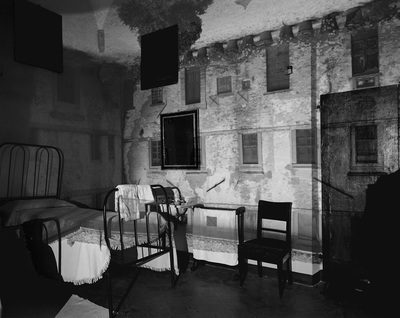
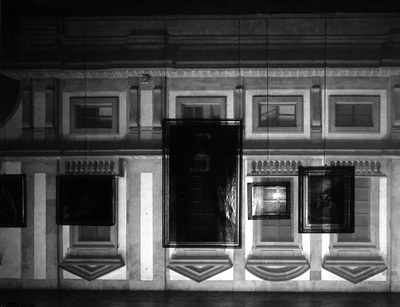
Abelardo MorellSeveral photographers are fascinated by early photographic technology. I like to show students work by established artists whenever I have the opportunity. Here, for example, are some images created by Abelardo Morell. Morell creates camera obscura in whole rooms. The resulting photographs are made inside these 'camera obscura' rooms using an SLR on a tripod with a very long exposure.
There are a host of interesting issues to explore with students: |
|
- what is the difference between seeing the moving image, upside down in the room, and seeing a photograph of the image?
- why is it necessary for the artist to capture the experience in a still photograph?
- what's the difference between a black and white and a colour version of the scene?
- why does the photograph of the upside down image in the room need such a long exposure?
- if a photograph captures very long periods of time why not make a film instead?
Making your own classroom camera obscura
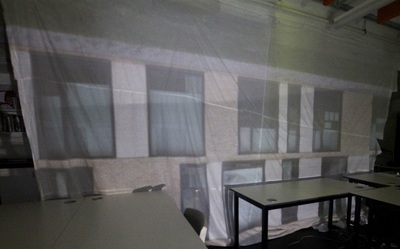
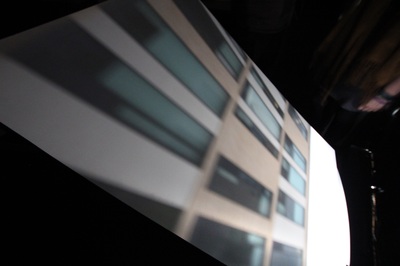
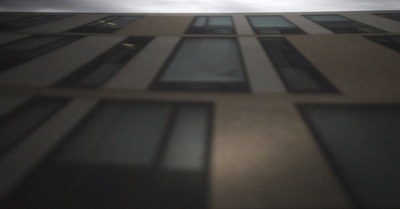
I've had a couple of goes at this. You obviously need good light and a reasonably interesting view. You also need to be able to black out all the windows. There's nothing quite like working alongside the students to prepare the space and watching as the first hole is cut to reveal the stream of light entering the room and catching the dust. It takes a while for your eyes to adjust and then the magic begins - students walking upside down on the ceiling, students running outside to wave back to their friends upside down in the room, watching people working upside down in neighbouring classrooms.
Getting the students to stand inside a camera have produced some of the most memorable experiences of my teaching career.
Getting the students to stand inside a camera have produced some of the most memorable experiences of my teaching career.

