What is PhotoExchange?
|
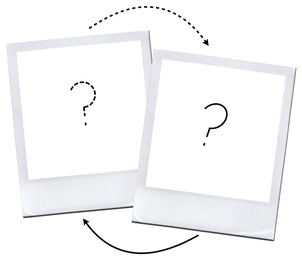
PhotoExchange is an experimental, collaborative project designed to encourage students in partner schools to share and be inspired by each other's photographic images. Students in different educational settings can gain a great deal from sharing their understanding, ideas and work with others. In the process they must take risks, invite new audiences to see their work and, where possible, consider issues of display and interpretation.
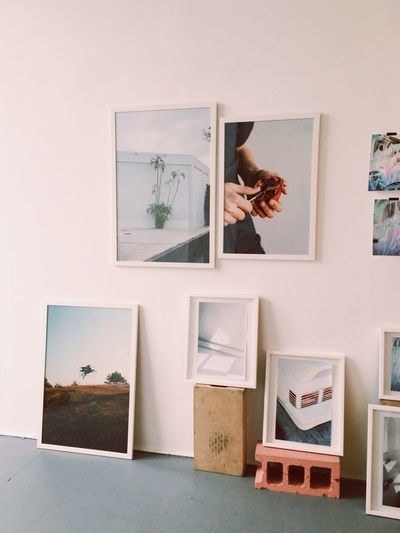
Rather than beginning a new project by researching the work of established photographers and artists, this project encourages students to learn from one another, to exchange photographs which are used as starting points for new work. Parallel exhibitions are then created displaying the dialogue between the images. The students are responsible for curating, interpreting and documenting the exhibitions. |
|
|
Stories of artistic collaborations are numerous in the history of art. The collaborative 'invention' of Cubism by Georges Braque and Pablo Picasso is a great example. But perhaps one of the strangest and most intriguing collaborations took place in 1953 between a young Robert Rauschenberg and the more established Willem de Kooning. In the video opposite, Rauschenberg explains how he proposed to erase one of the older artist's drawings. Erased de Kooning Drawing, 1953, is therefore the result of a process of exchange and transformation.
PhotoExchange offers students the opportunity to be influenced by each other, rather than by established art world figures, and to engage in a dialogue about photography through the medium itself. |
How does Photo Exchange work?
There are three elements to Photo Exchange: sharing of images, responding to shared images, exhibiting the results. It works like this:
- A teacher to teacher connection is made between participating schools. Teachers in partner schools gather photographic images by their students. The images need not necessarily relate to an existing project in school and can be made with any device.
- The images are shared digitally (e.g. Dropbox or Google Drive). Names of students and titles of works (where relevant) are included in the file names.
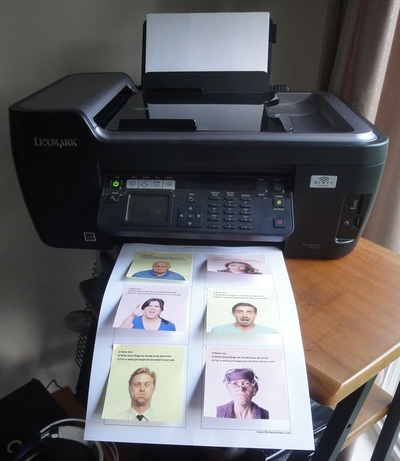
- Printed versions of the images are randomly distributed to students in each school. Students respond to the image they have received photographically in whatever way they feel is appropriate.
- After a set period (typically two to three weeks) of creating the responses, the students in each school curate an exhibition of all the images, considering carefully and collaboratively how best to do this.
|
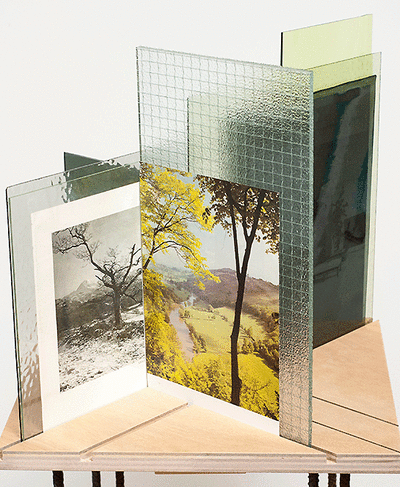
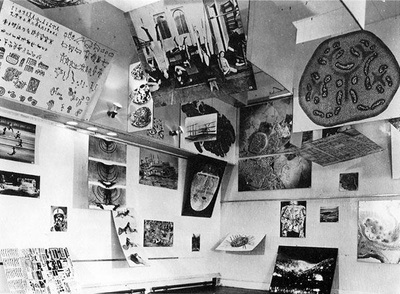
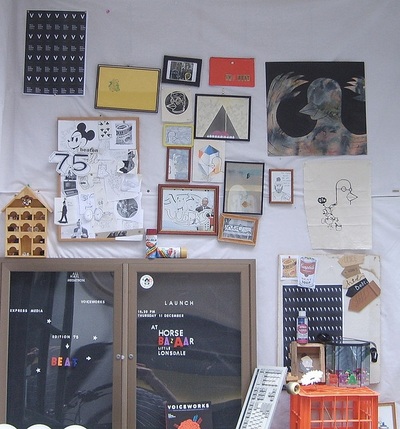
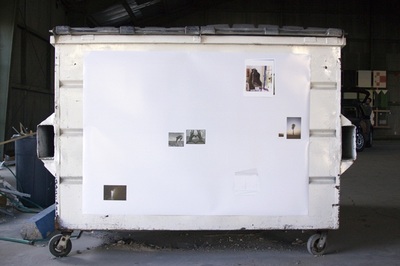
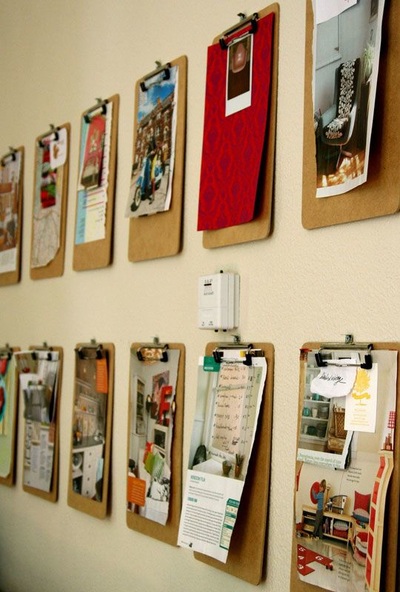
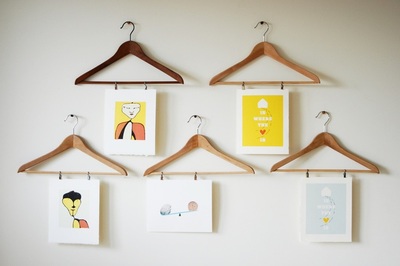
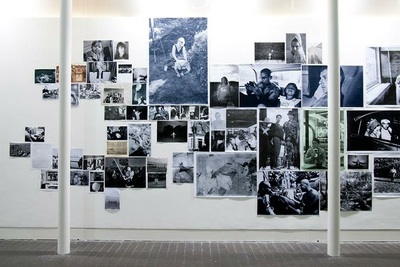
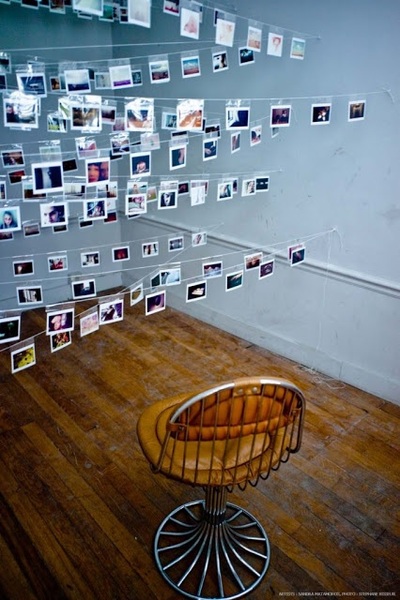
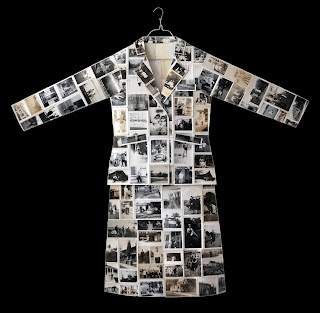
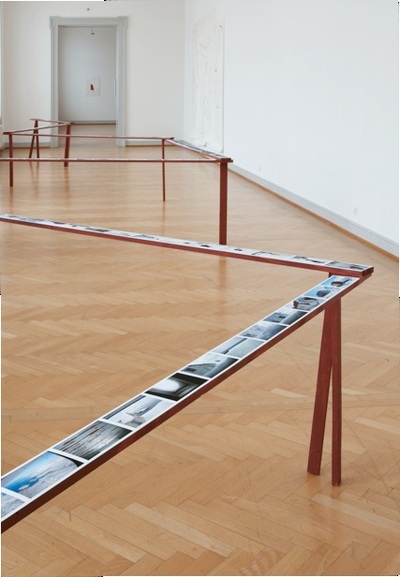
There are lots of possibilities for the exhibition aspect of PhotoExchange. The sharing of a sequence of images is a really important part of the photographic process. As well as conventional exhibitions on gallery walls, students may wish to explore alternatives such as the photo book or fanzine. For example, the video opposite shows the famous Japanese photographer Daido Moriyama experimenting with the book publishing format. Students could create a virtual gallery online or paste up the images in an unusual location. The important thing is to select the best format for the exhibition based on the nature of the work.
|
|
Photo Exchange (Part 1)
Since PhotoExchange is an experimental project, students from Year 12 at Thomas Tallis School in London and St. Peter's School in Bournemouth will be the first groups to test the process. This will enable us to make refinements and adjustments before potentially involving more students in other schools and colleges across the UK in the future.
Guidelines for students:
- Reflect on the kinds of photographic images you enjoy making the most. What kind of photographer/artist are you?
- Select an image to share that reflects your own interests and way of looking at the world. Give your chosen image (in the form of a high resolution digital file) to your teacher to upload.
- Once you receive your partner's image, note down your initial reactions. Take some time to explore the way the image works in the same way that you would analyse a photographic work of art by a more established practitioner. Use whatever analytical tools and thinking skills you have been taught. What do you notice? How does the image work? How does it make you feel?
- Imagine your partner's image is the opening of a (photographic) conversation, a form of 'Photographic Ping-Pong'. How will you choose to respond? Ideally your response will extend the conversation, developing one or more aspects of your partner's opening statement and adding observations of your own.
- Begin planning some ways in which you might respond. Make some initial photographic responses.
- From your numerous attempts to respond to your partner's image, select and edit one which you consider to be the most interesting. Submit this for return, via your teacher (in the form of a high resolution digital file).
- You will then receive your partner's subsequent response; the conversation is up and running. Once again, produced a final considered response to this, which may or may not take into account the initial dialogue. Submit this for return, via your teacher (in the form of a high resolution digital file).
- Following this exchange you will need to consider carefully how you intend to document the project. You may or may not wish to include this in your coursework but it is important to keep a record of what you do and the decisions you make both as author and respondent.
Guidelines for teachers:
- Locate a willing colleague in another school. You could use existing local networks, contact us for suggestions or use a resource like the NSEAD's Facebook group 'Through the Lens' to locate a suitable partner.
- Explain the nature of the project to your students and decide whether the project will form part of their coursework or be extra-curricular. Liaise with your colleague in the other school to establish the time scale for the project and any other constraints you think appropriate.
- Collect images from your students. Ensure that they are digital files (jpegs) of a high enough resolution to print successfully (at least 2000 pixels wide). Ensure that the file name contains the name of the student who created the image and a title (where relevant).
- Arrange with your colleague in the other school to share these images using either a cloud based service like Dropbox or Google Drive or a transfer service such as WeTransfer.
- Print your partner school's photographs and distribute to your students. Decide whether you will do this randomly or whether students may choose particular images. If you have an uneven number of students, duplicate some of the images.
- Encourage your students to think imaginatively about their responses. Whilst a literal response based on subject matter or particular formal elements is fine, guide students towards considering poetic or abstract associations and possibilities. Encourage students to live with the image for a reasonable amount of time and to think of the project as an opportunity to be creative rather than a task to be completed.
- Support students in curating the exhibition so that they develop an understanding of printing, display and interpretation. Decide with your colleague in the partner school whether you are able to host visits. Arrange to share with your partners the various documents of the exhibition created by your students.
- Consider sharing the story of your PhotoExchange with us on this website.
PhotoExchange 2015-16
This slideshow illustrates the photoexchange that took place between Year 12 students at Thomas Tallis and St. Peter's Schools in 2015/16.
|
|
|

