KS3/4 Lesson Plan:An introduction to exploring Formal Elements and Principles of Design for Year 9/10From Jon Nicholls, Thomas Tallis School
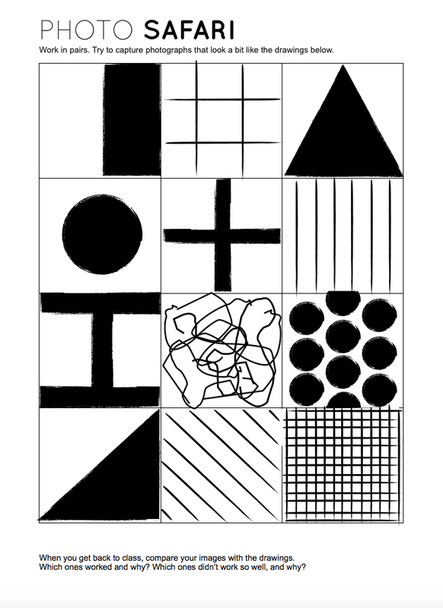
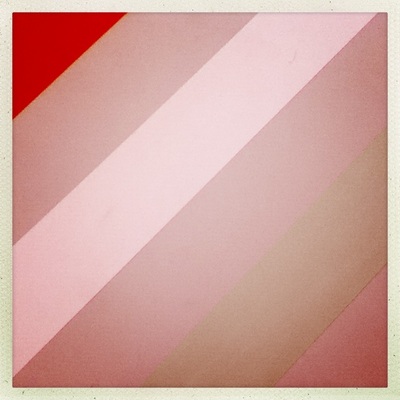
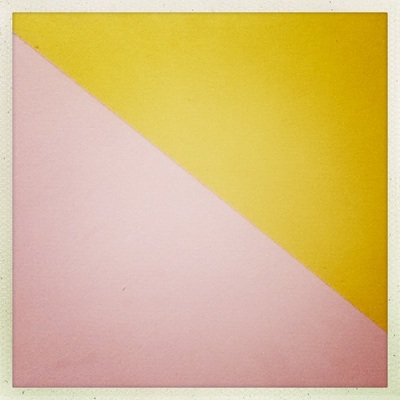
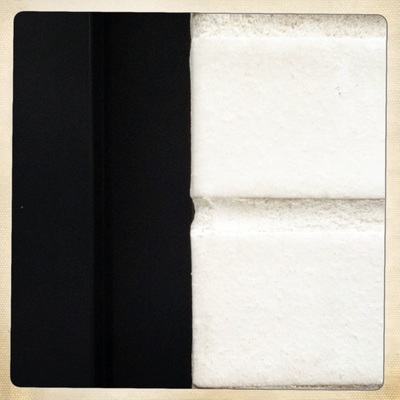
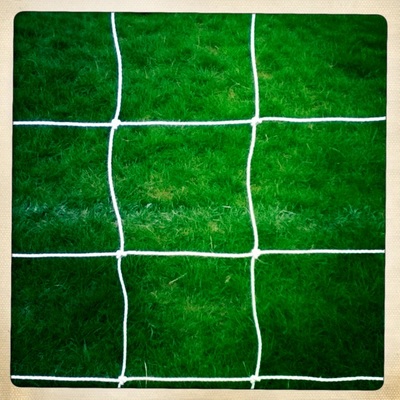
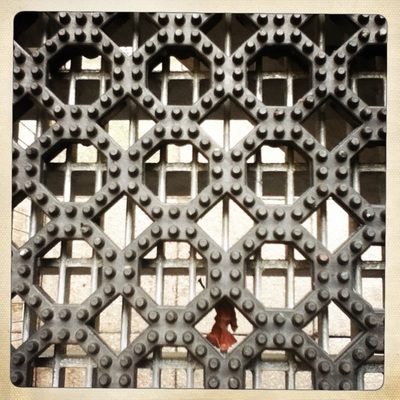
I have used this activity with Year 9 and 10 students as a quick and active way to introduce some of the Formal Elements and Principles of Design for photographers. The idea is to use whatever equipment you have available (I used iPods and the Hipstamatic app which generates a square frame) and go on a Photo Safari. Students work in pairs and are given an activity sheet that identifies a range of compositions in the form of simple patterns, shapes and lines. Their job is to search for photographic subjects that correspond as closely as possible to the diagrams.
Documents:
| |||||||||||||||||||||
The Formal Elements in photography
The formal elements in photography are slightly different to those they may have encountered in art and design. There is no definitive list but this is the one I tend to use:
|
Focus:
Light: Line: Repetition: Shape: Form: Space: Texture: Tone (Value): |
Which areas appear clearest or sharpest in the photograph? Which do not?
Which areas of the photograph are brightest? Are there any shadows? Does the photograph allow you to guess the time of day? Is the light natural or artificial? Harsh or soft? Reflected or direct? Are there objects in the photograph that act as lines? Are they straight, curvy, thin, thick? Do the lines create direction in the photograph? Do they outline? Do the lines show movement or energy? Are there any objects, shapes or lines which repeat and create a pattern? Do you see geometric (straight edged) or organic (curvy) shapes? Which are they? How are three dimensional objects represented? Do they appear flattened? Do they cast a shadow? How do they relate to the space in the image? Is there depth to the photograph or does it seem shallow? What creates this appearance? Are there important negative (empty) spaces in addition to positive (solid) spaces? Is there depth created by spatial illusions i.e. perspective? If you could touch the surface of the photograph how would it feel? How do the objects in the picture look like they would feel? Is there a range of tones from dark to light? Where is the darkest value? Where is the lightest? |
Once students have gathered their images they can be uploaded to a blog/website or printed as a contact sheet and annotated. Useful discussions can then be had about how closely they managed to match their photographs with the drawings in the diagram. Further discussions can focus on the ways in which their images refer to one or more of the formal elements or principles of design.
The essence of this activity is to encourage students to look purposefully and carefully frame their shots, paying close attention to the edges in their viewfinders. I have found this to be a fun and engaging way to begin talking about composition in photography.
The essence of this activity is to encourage students to look purposefully and carefully frame their shots, paying close attention to the edges in their viewfinders. I have found this to be a fun and engaging way to begin talking about composition in photography.
Gallery:
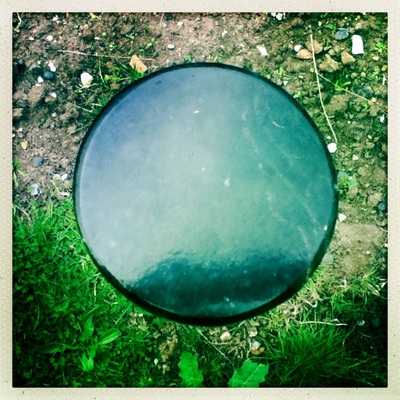
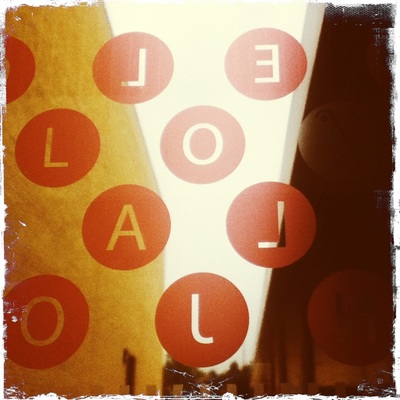
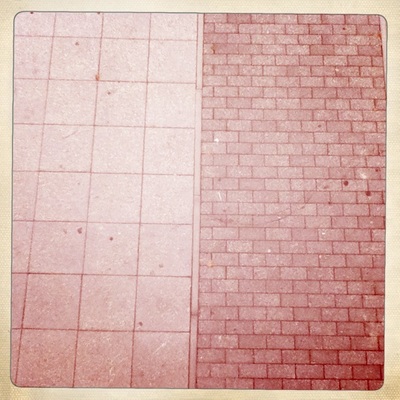
Here are a few images taken by my Year 9 class on the iPods in response to our last Photo Safari:

