KS3-4 resource:
What is a photograph? How have photographers recorded the light that bounces off the world onto a range photo-sensitive surfaces?
By Jon Nicholls, Thomas Tallis School
The Language of Light: Part 1This project is intended for Year 10 photographers about to begin their GCSE course but it could be used with any students interested in exploring the origins and nature of photography and the ways in which people (not just professional photographers) have recorded ambient energy on a wide range of photo-sensitive surfaces.
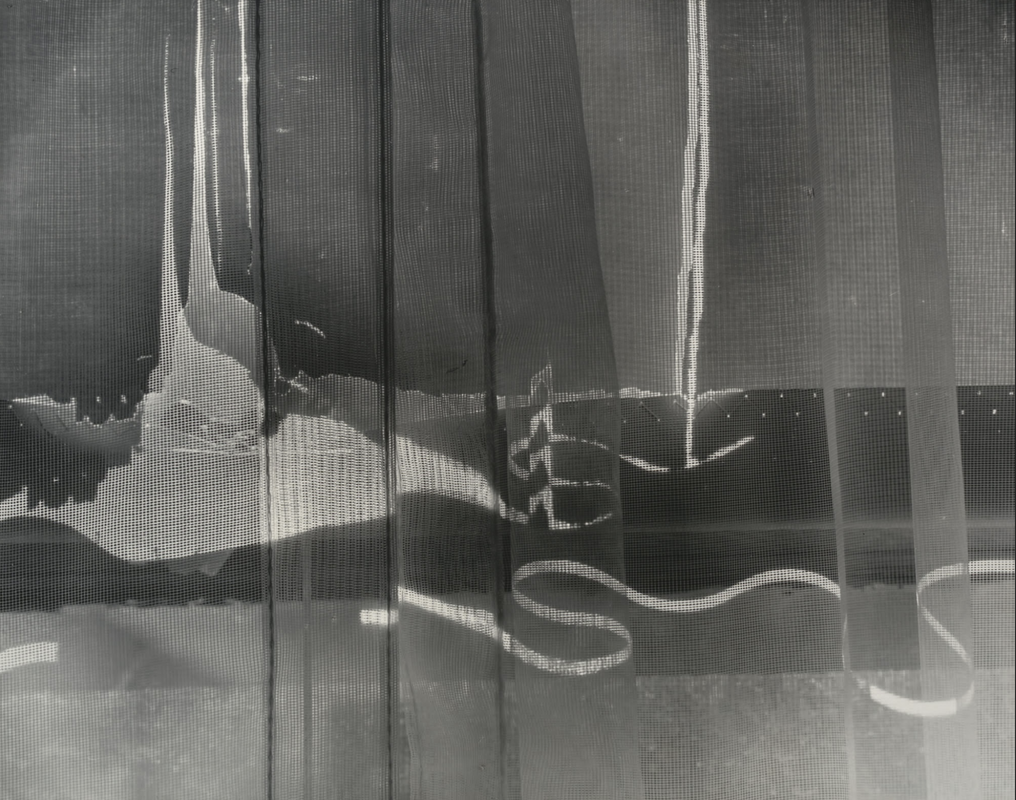
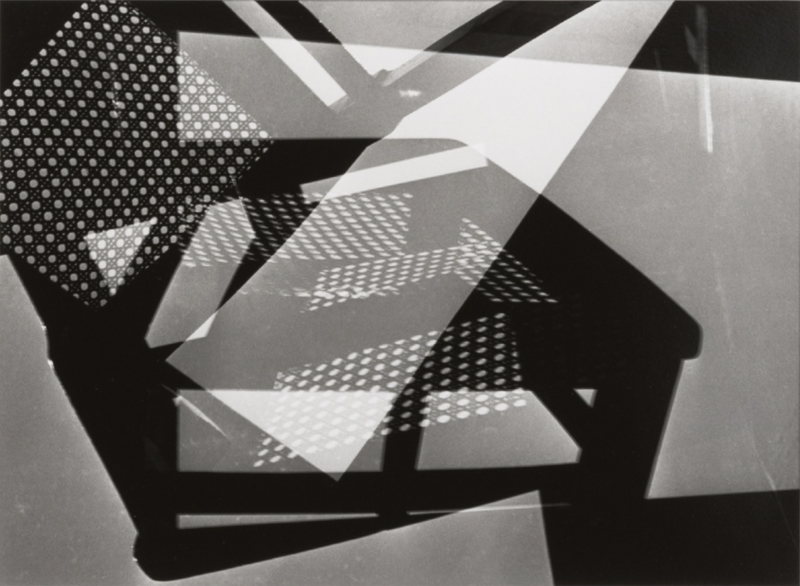
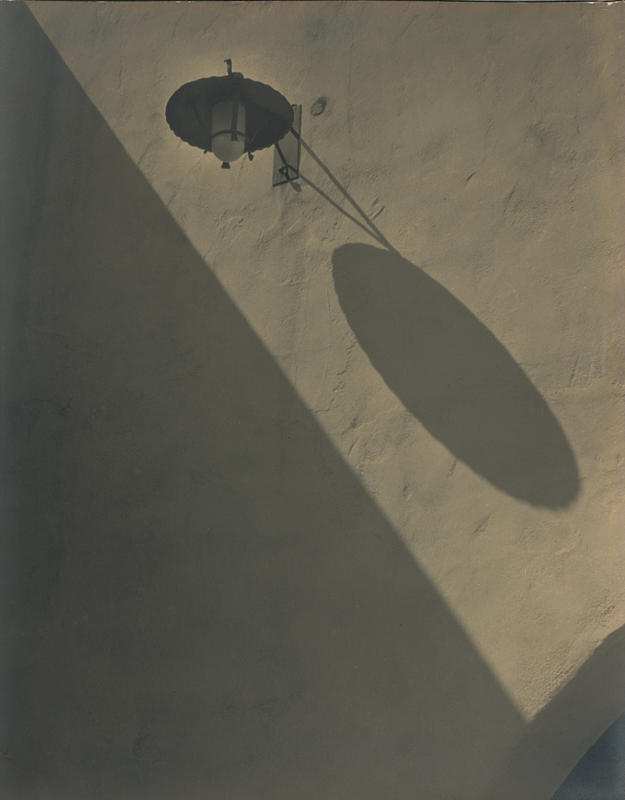
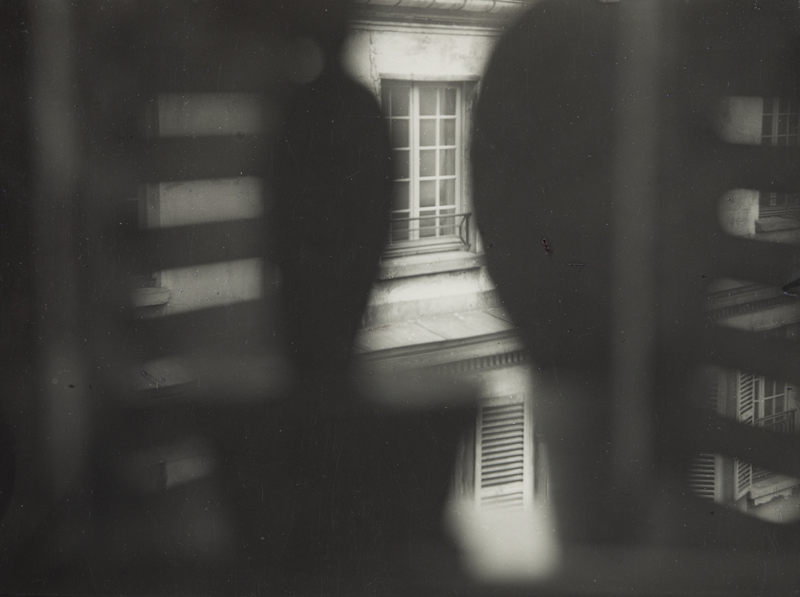
The title of the project is borrowed from this image by Clarence John Laughlin. Like many photographers before and after, Laughlin seems to have made an image about light as a subject. I suppose you could argue that it might be a picture about a window or a net curtain too. But what kind of image would it have been without that particular quality of light entering the space and the sinuous drawing it makes? This project makes direct reference to Threshold Concept #2: Photography is the capturing of light; a camera is optional but it also engages with other TCs, notably TC#6, TC#7 and TC#10. |
Part 1 of this resource is focused on various practical and fun experiments related to the making of photographic images. Each experiment explores the behaviour of light and the development of devices for capturing and (eventually) fixing it. Hopefully, students will begin to build up a knowledge of technical terms and their application (aperture, shutter, exposure, lens, screen, projection etc.) through trial and error. There are plenty of experiments that can be done without a darkroom.
What is a photograph?
The word "photograph" was coined in the middle of the nineteenth century by Sir John Herschel, a photography pioneer. It comes from the Greek words phos, (genitive: phōtós) meaning “light”, and graphê meaning “drawing or writing” In other words, photography literally means drawing or writing with light. Other suggestions - photogene, heliograph, sunprint, sun-picture, photogram - had been offered as a suitable name for this relatively new way of making images but didn't really catch on. Photographs were sometimes referred to by the technology associated with their manufacture - Daguerrotype, Ambrotype or Tintype, for example. However, the word photograph is now used to describe the vast majority of images made by capturing and fixing light on a photo-sensitive surface.
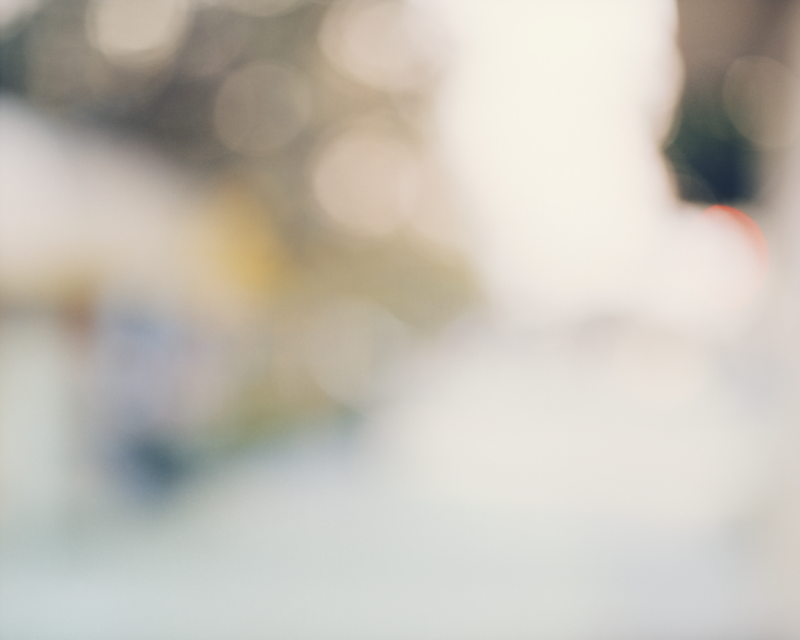
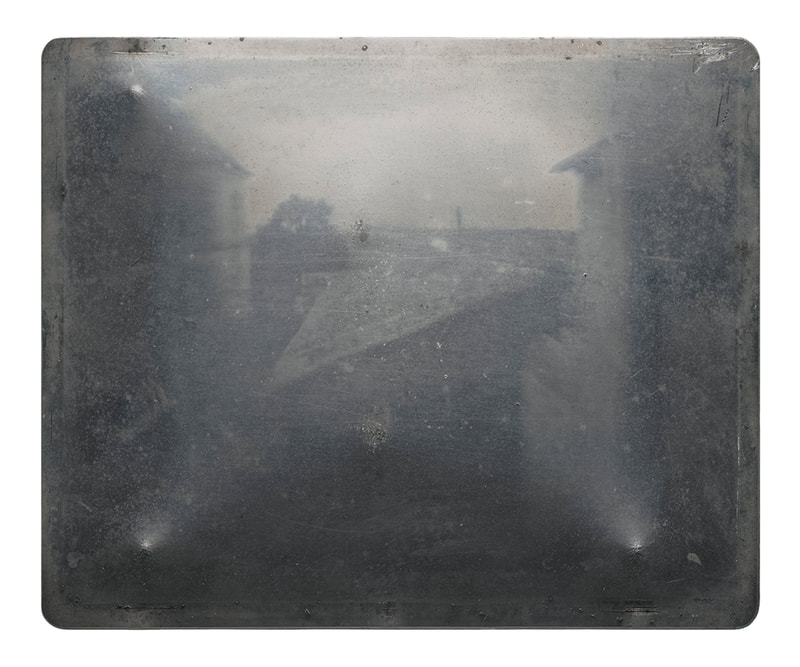
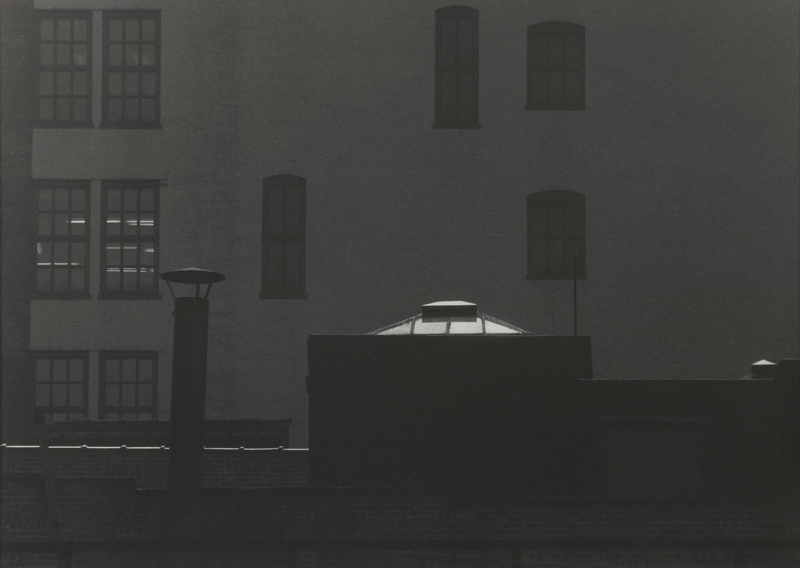
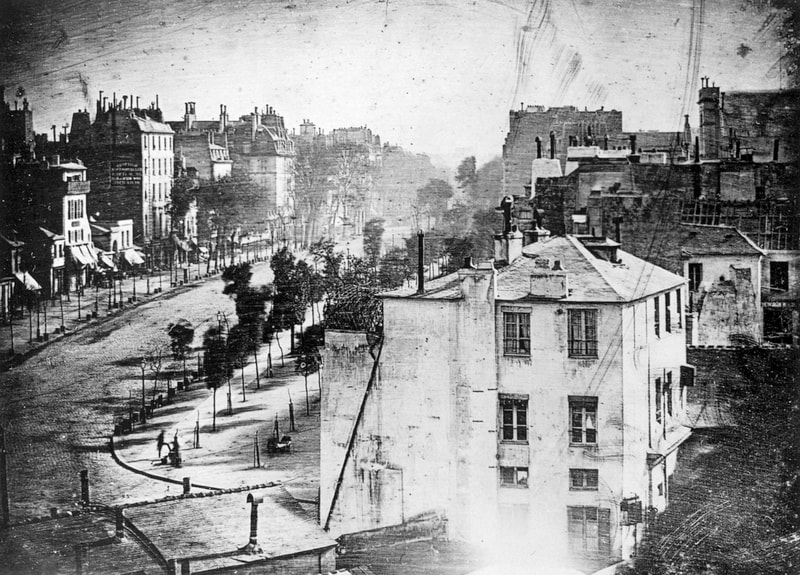
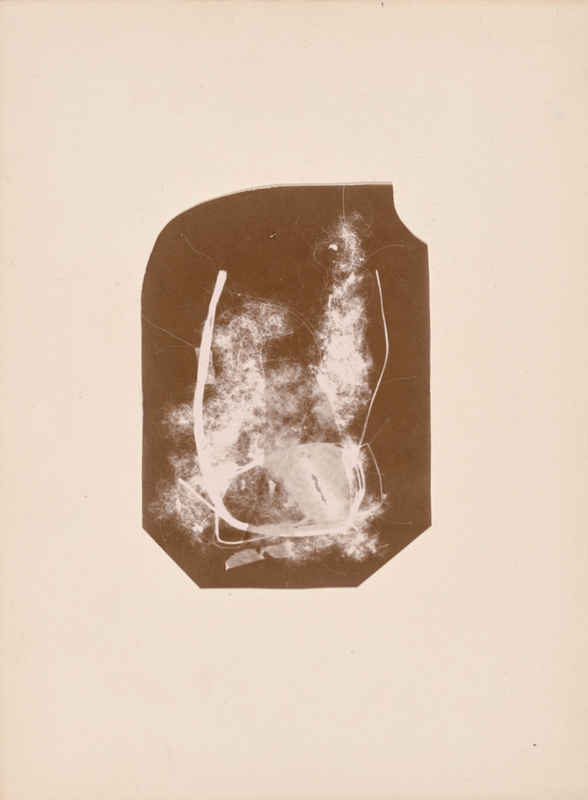
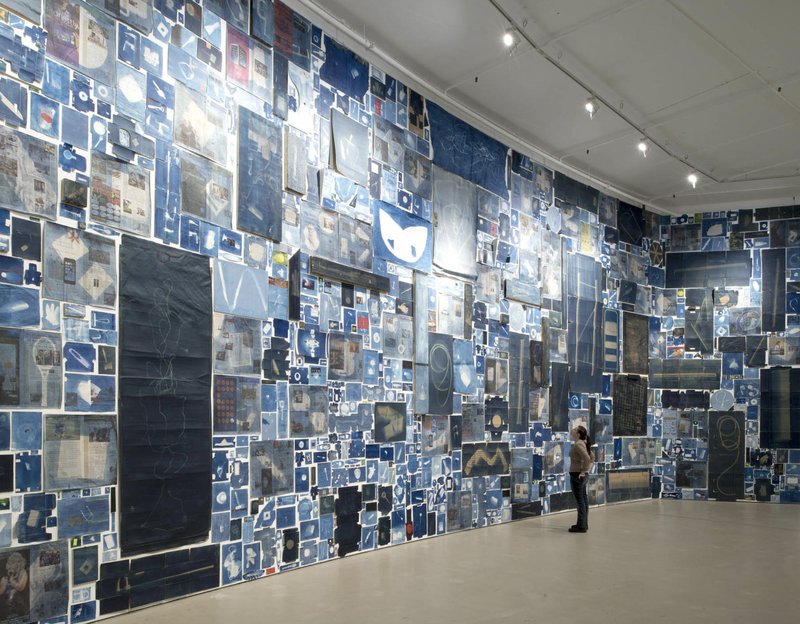
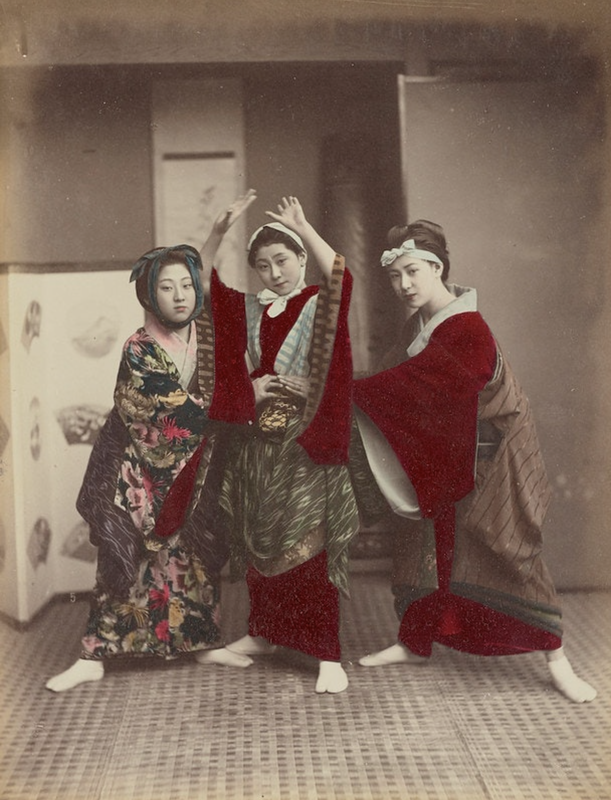
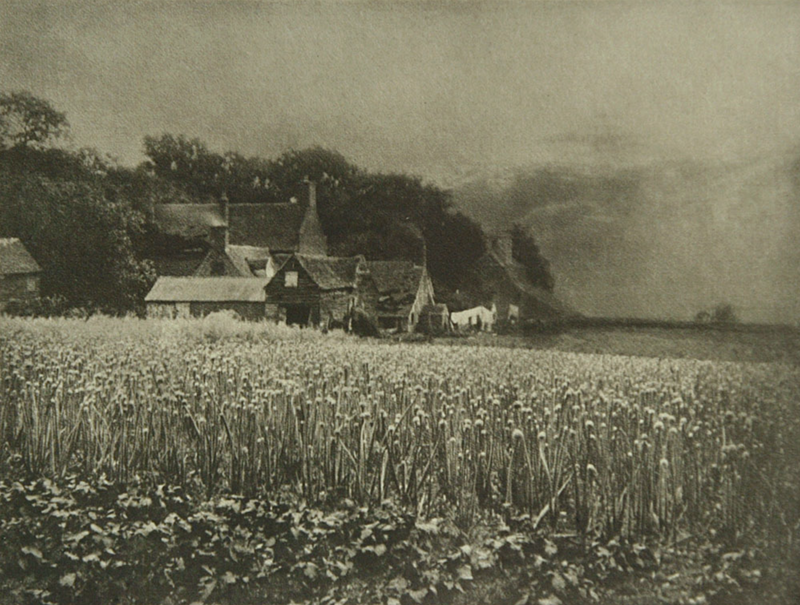
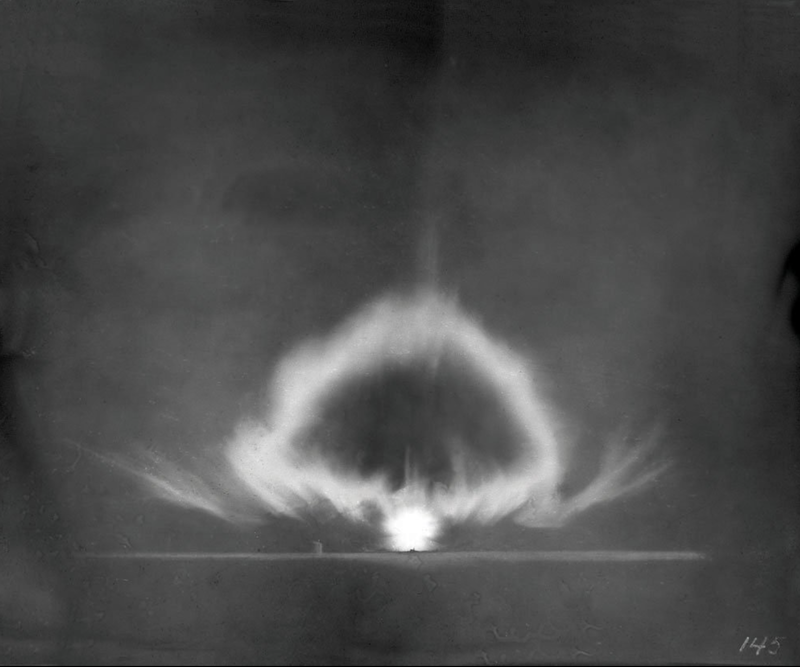
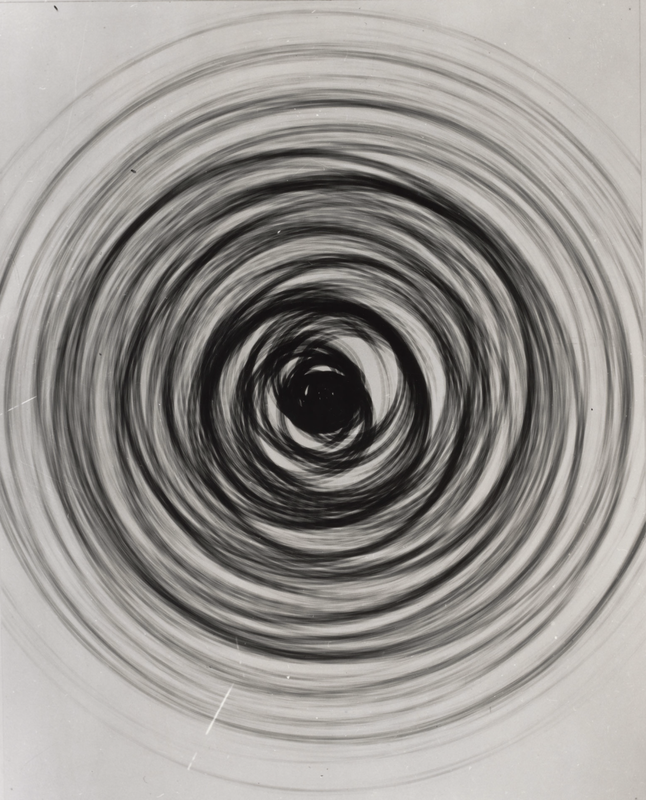
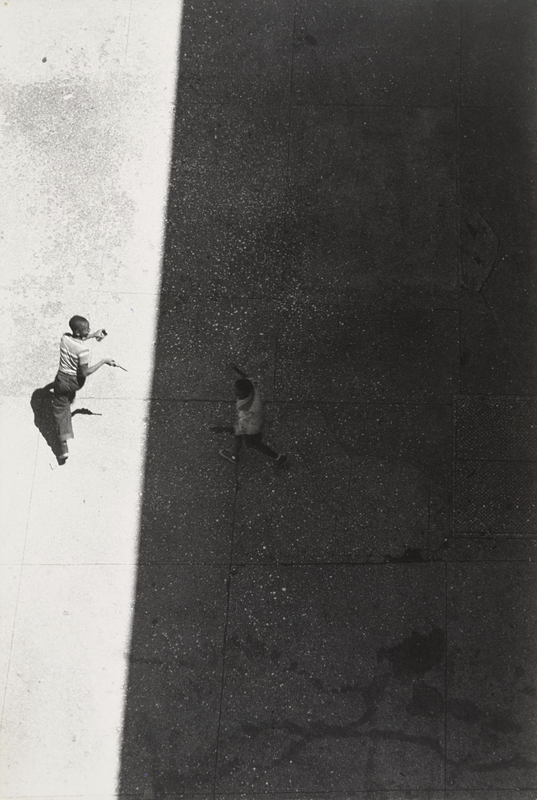
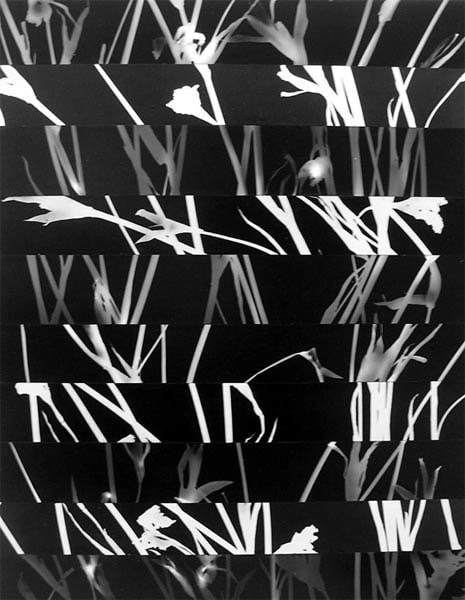
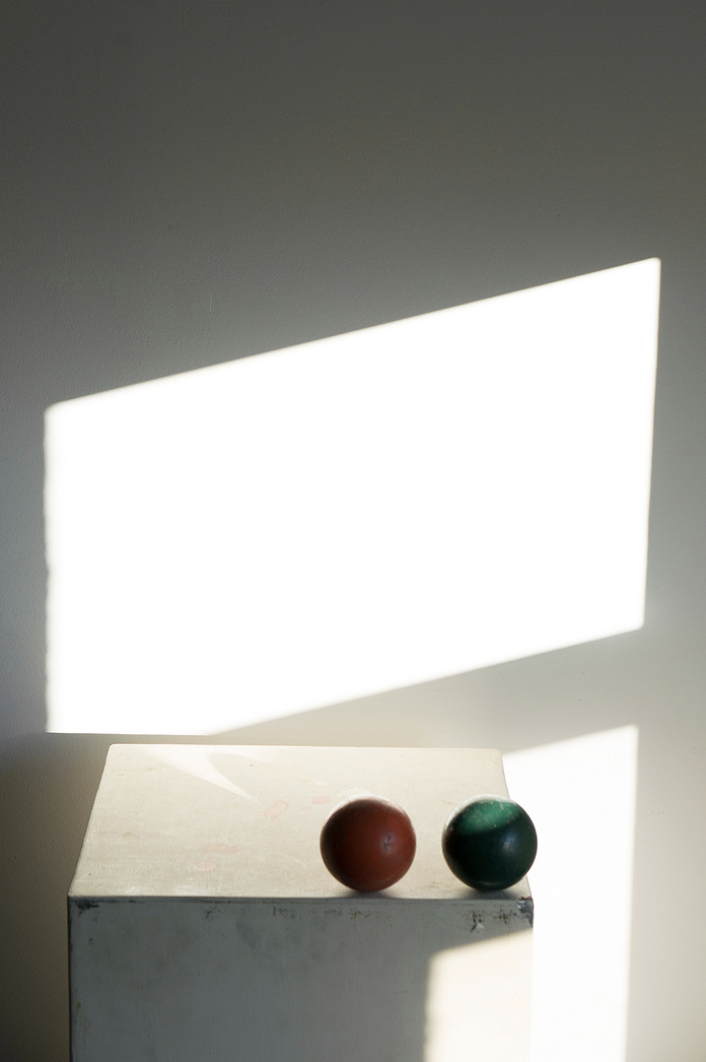
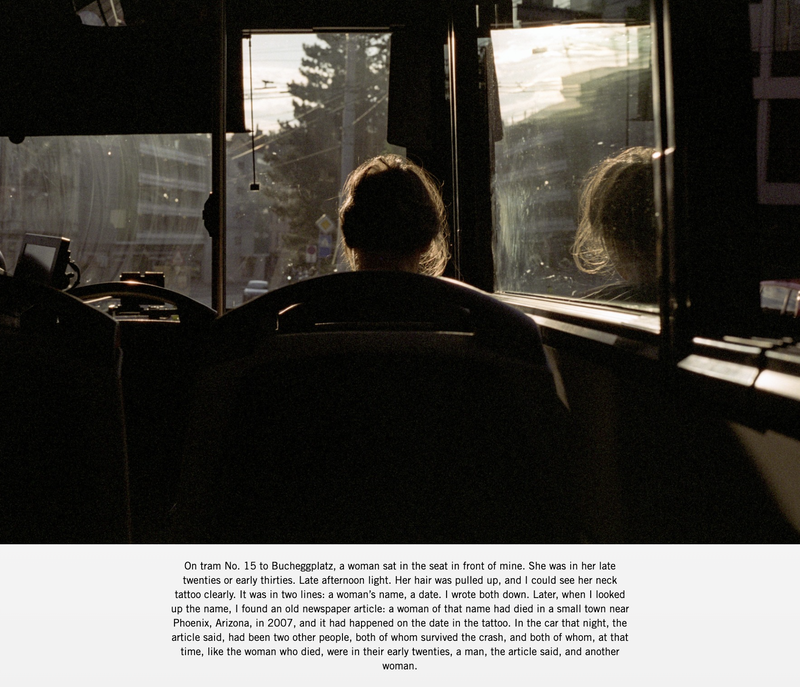
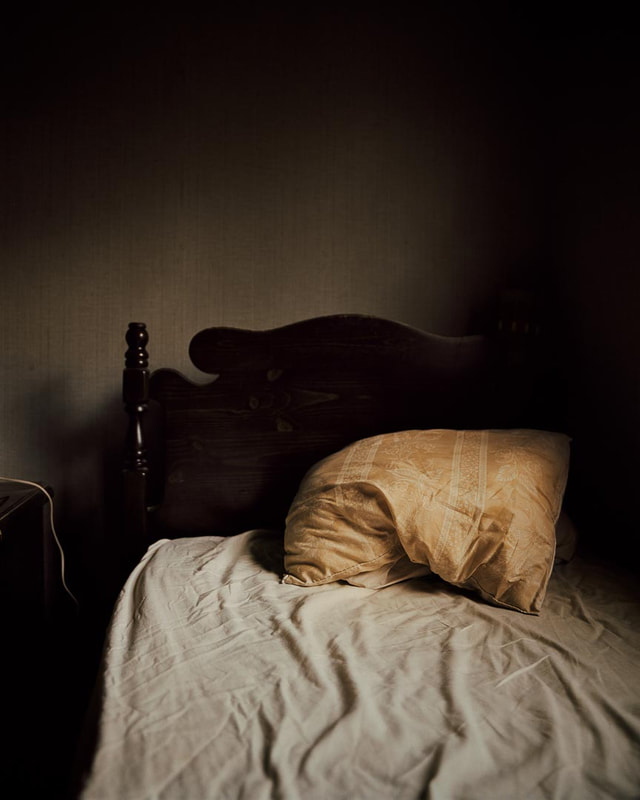
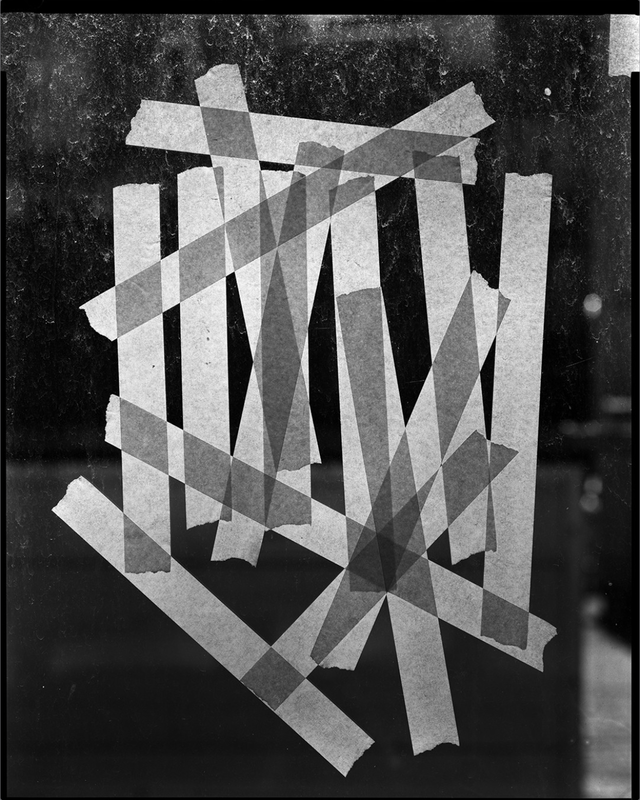
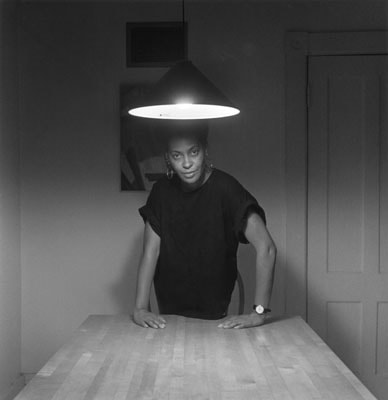
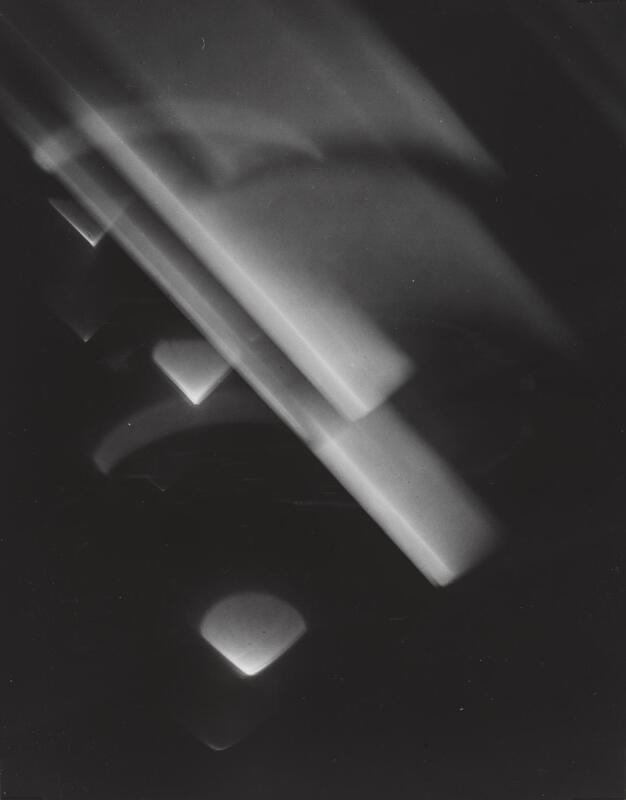
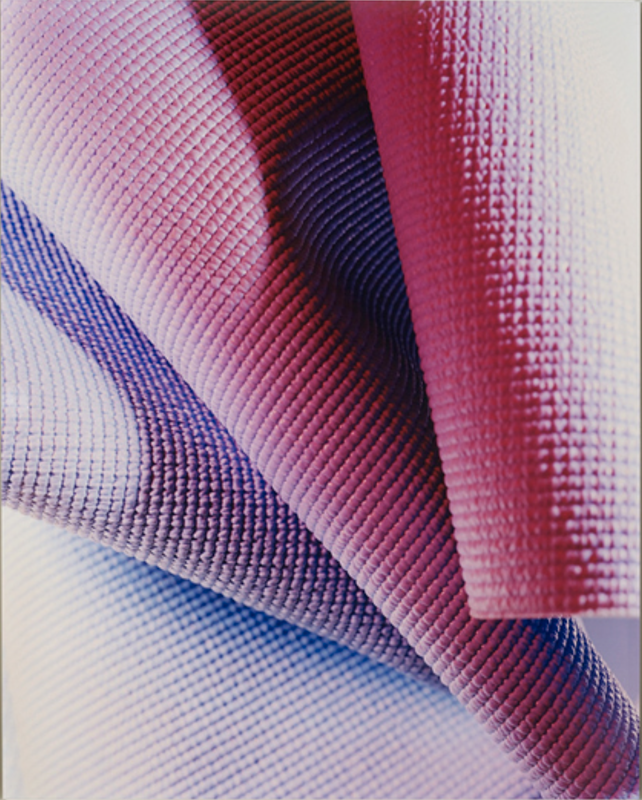
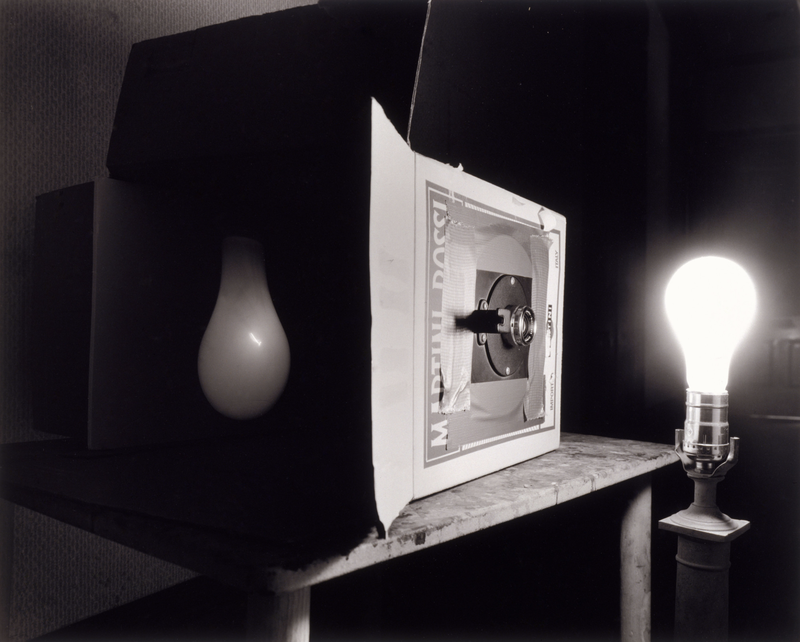
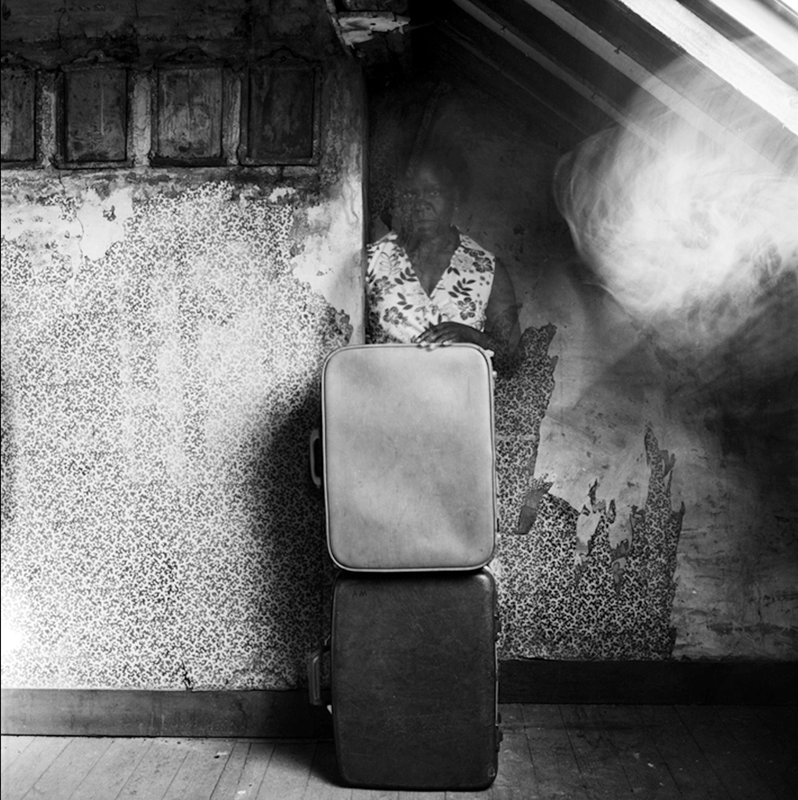
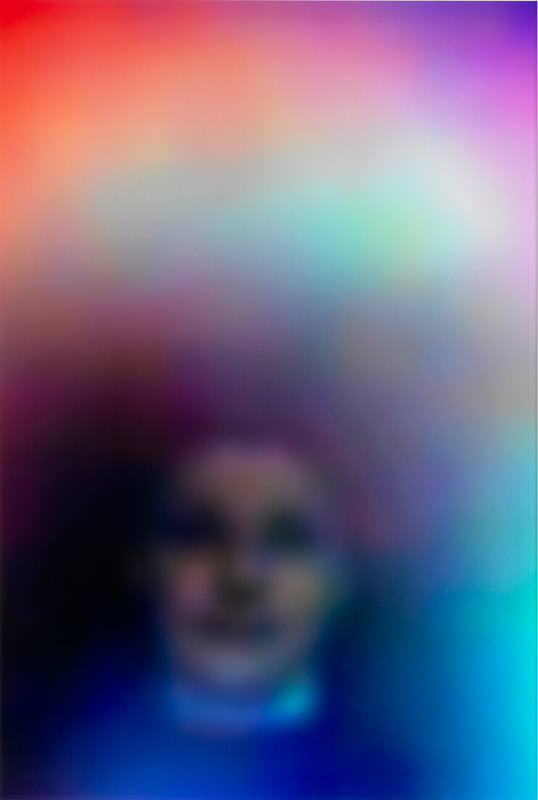
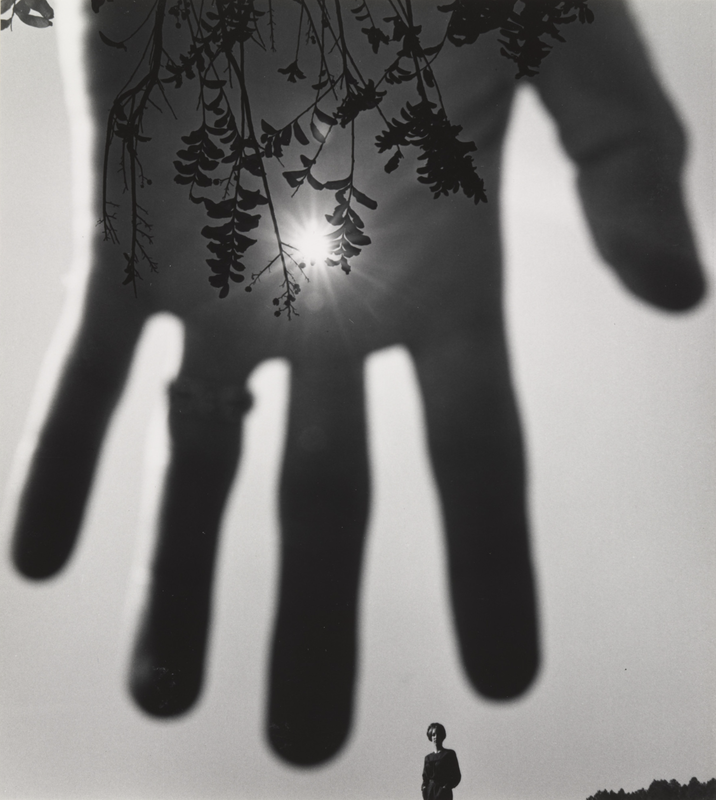
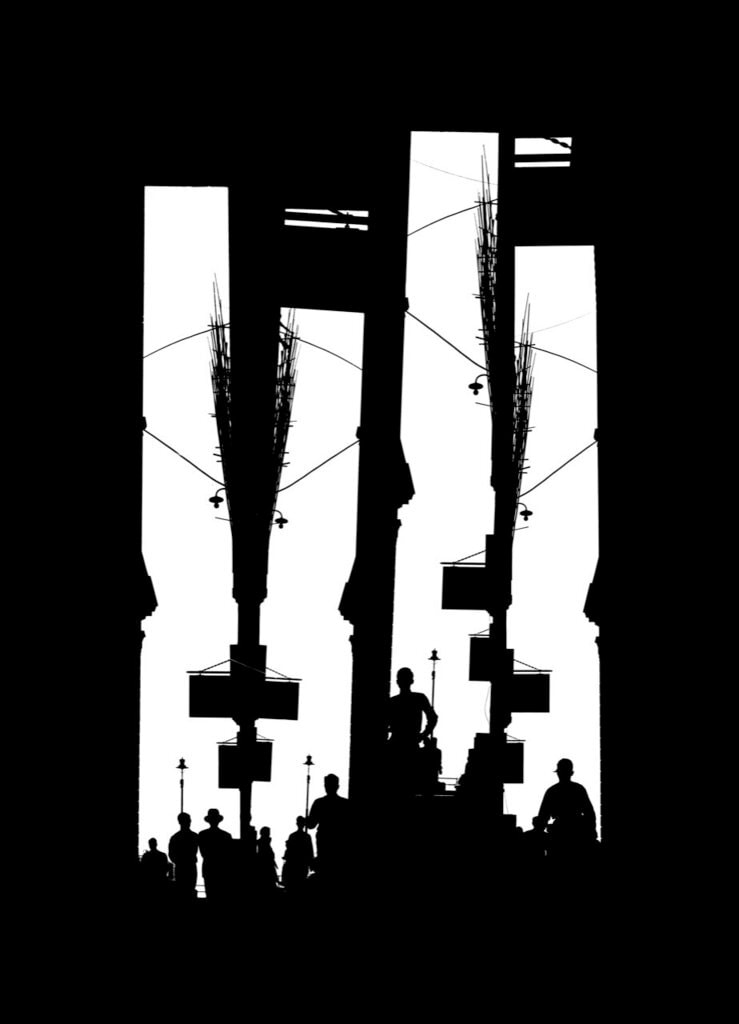
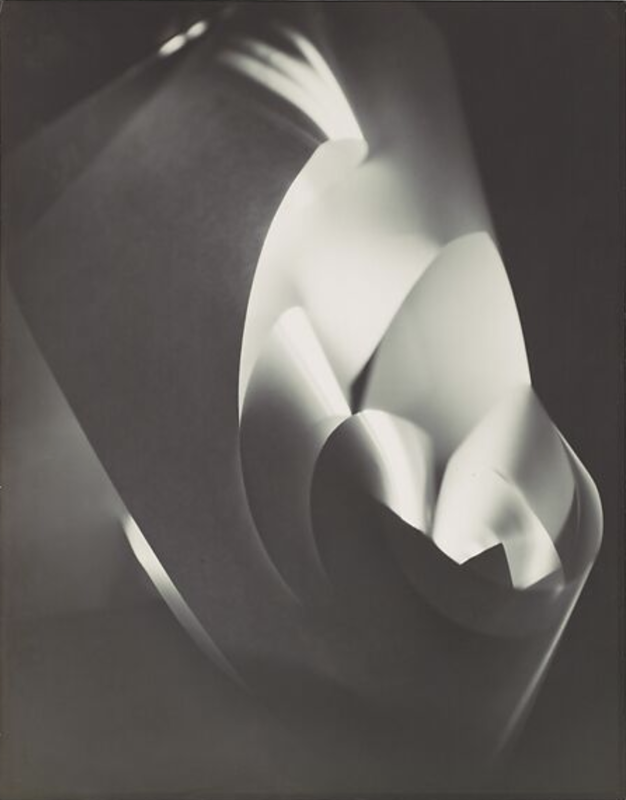
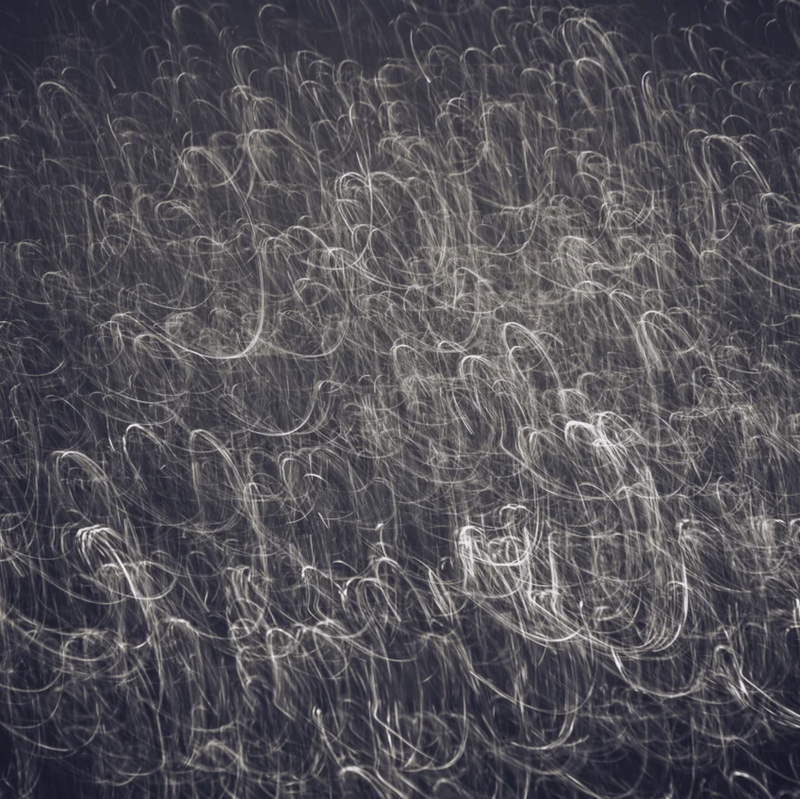
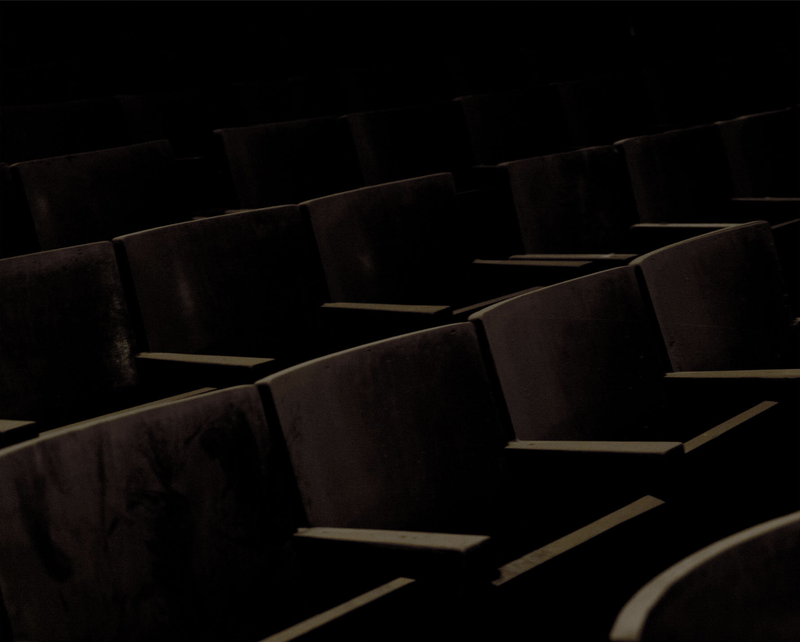
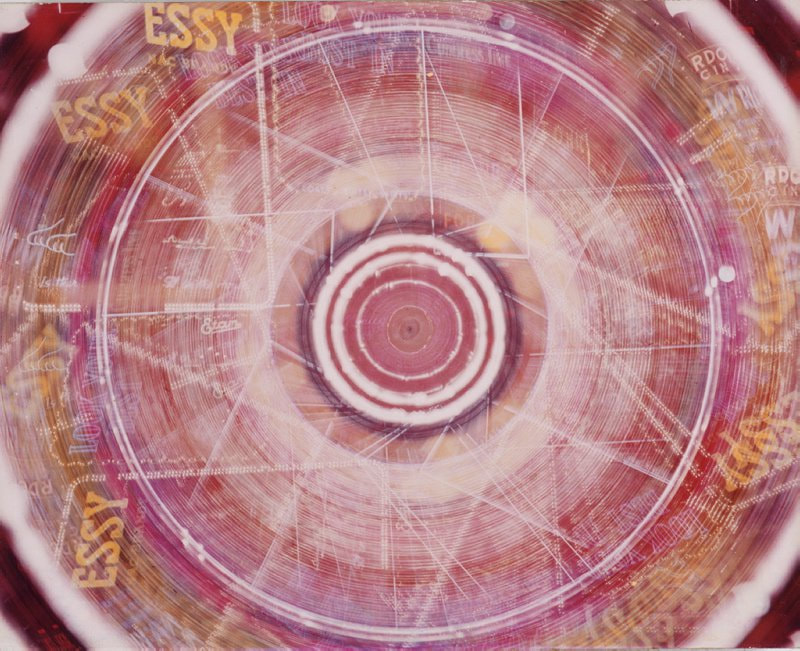
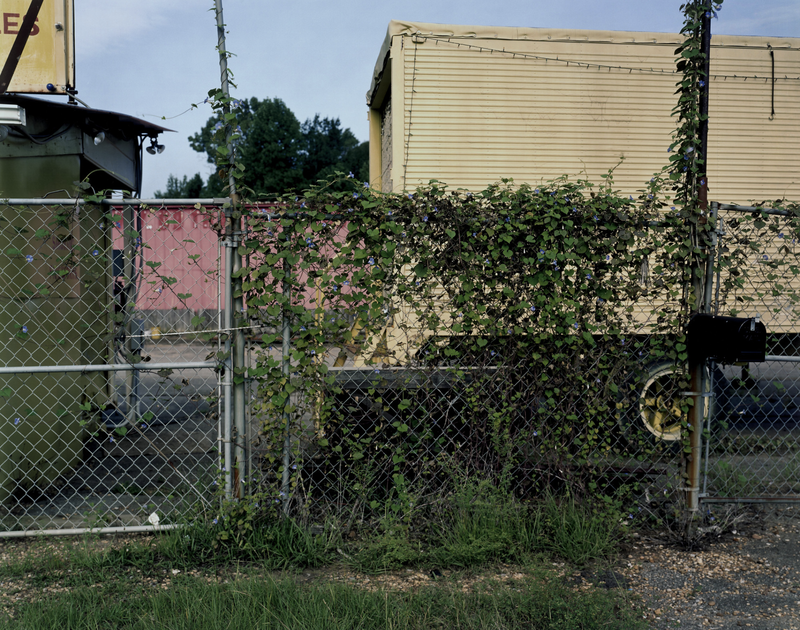
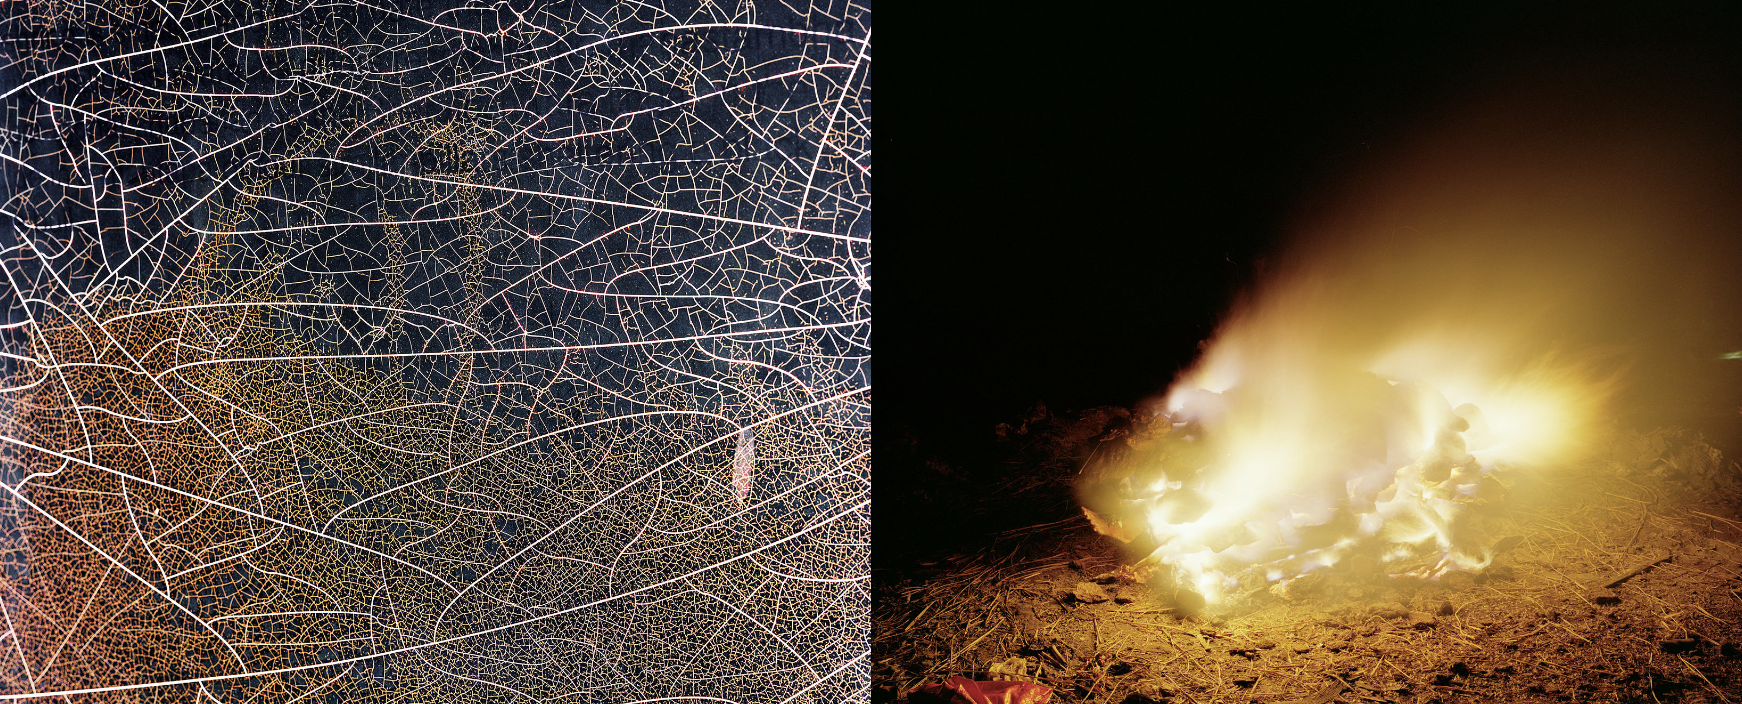
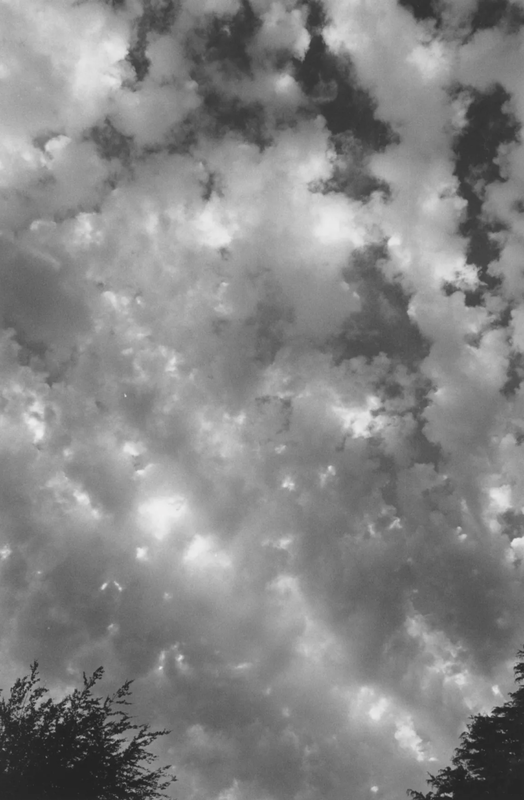
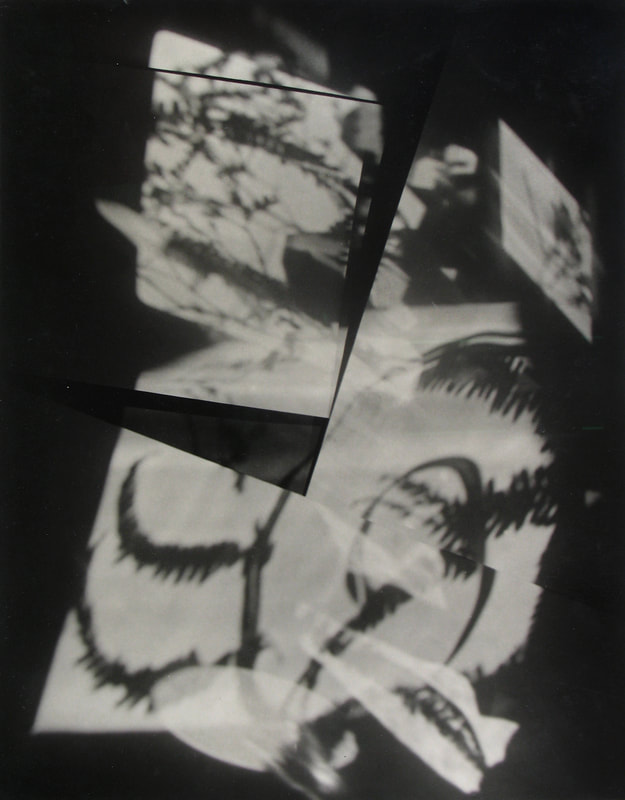
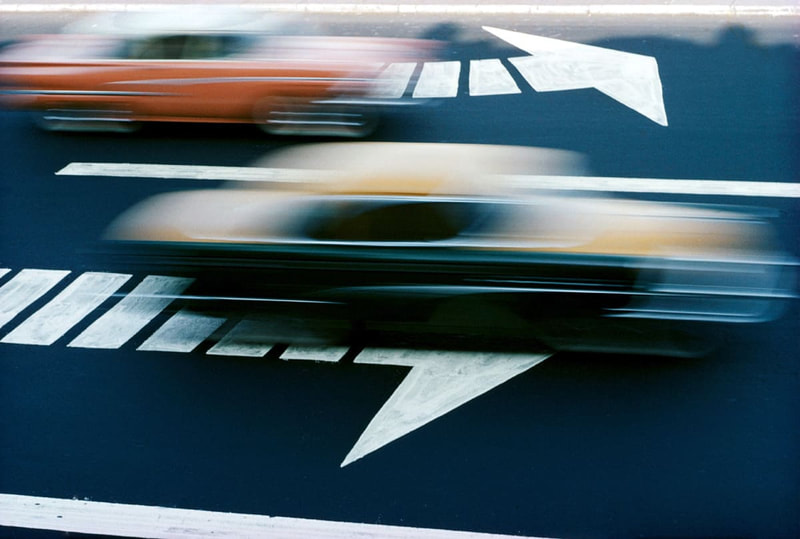
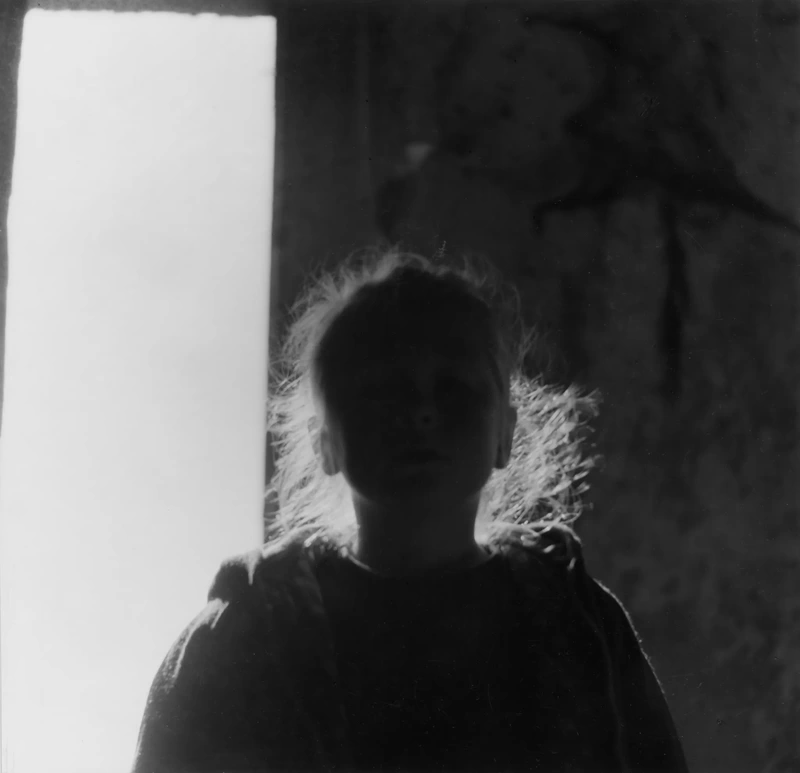
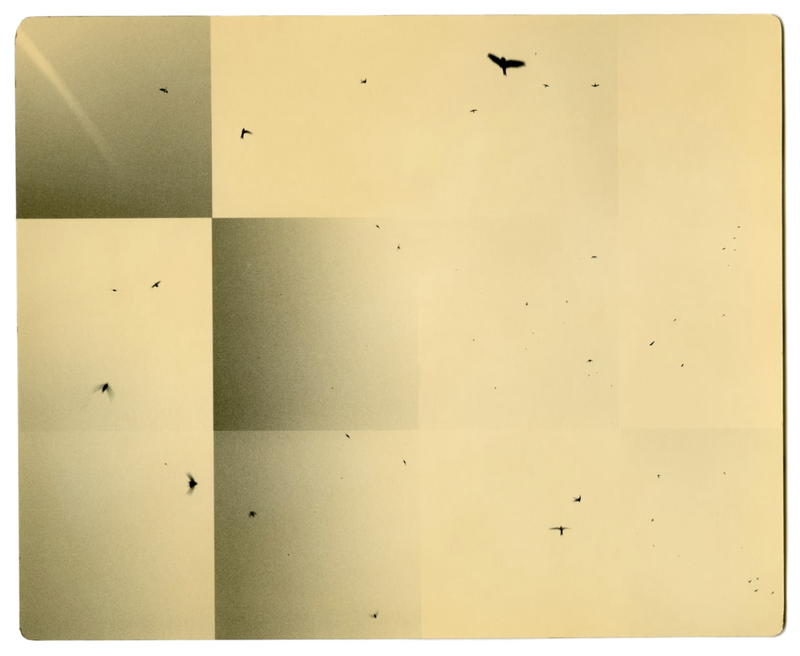
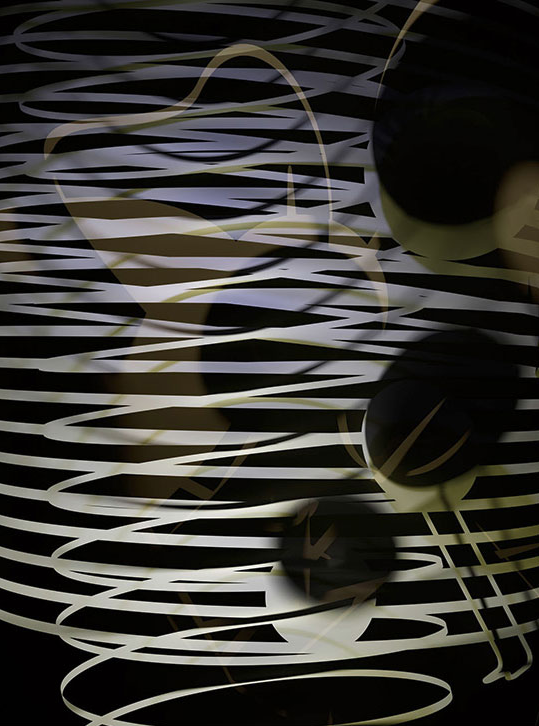
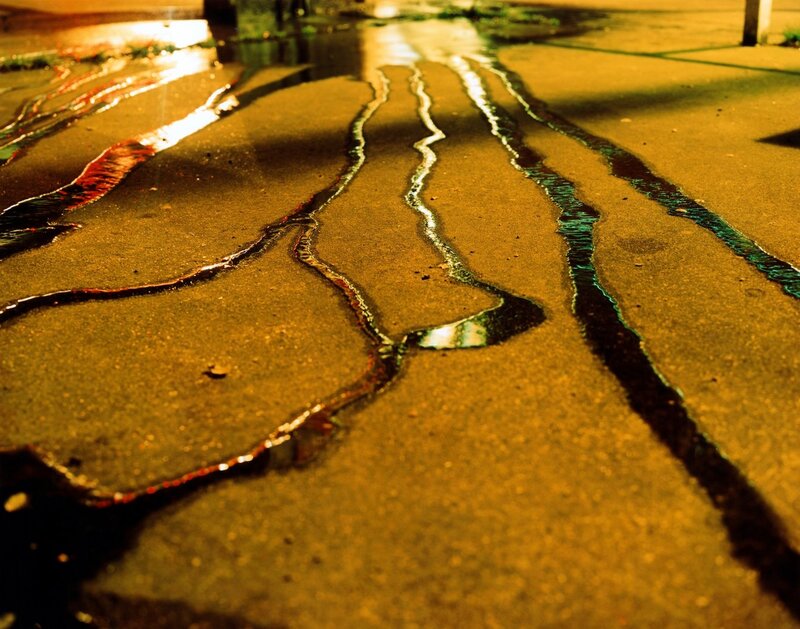
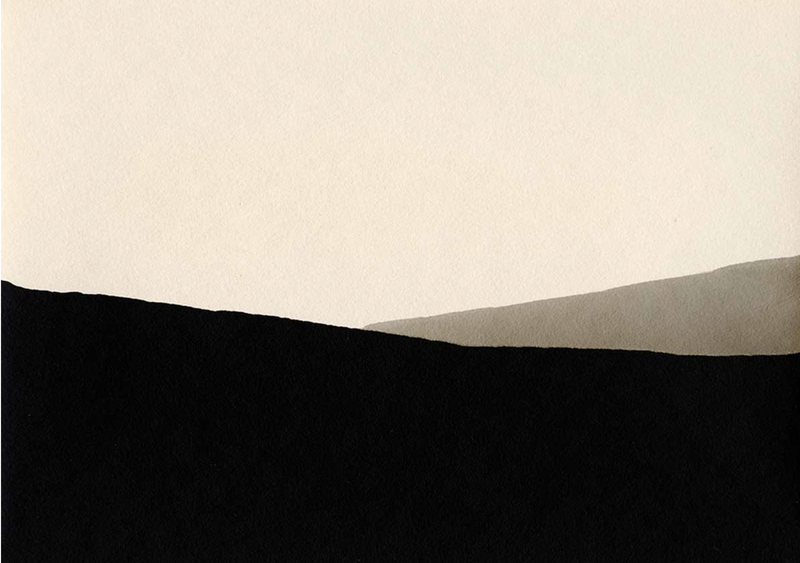
Have a look at these photographs. What questions do you have about them? Click on each image to find out more about it.
Have a look at these photographs. What questions do you have about them? Click on each image to find out more about it.
Discussion:
- Why might people have wanted to capture and fix light in order to make pictures of the world?
- How is a photograph different to other types of visual images e.g. drawing or painting?
- Why are there so many different ways of making photographs?
Research:
Choose one of the photographs above (or any photograph that appeals to you) and try to find out as much as you can about it. Pay particular attention to the way that the photograph records the behaviour of light (ambient energy). Present your knowledge in an imaginative way to the rest of the group. For example, you could:
- Create a presentation with a series of images in which you explain what you have learned about a particular photograph. (Remember, don't put too much text on your slides. Use mostly images and put reminders of what you want to say in the speaker notes).
- Create a short film or podcast about your chosen photograph, in which you tell an engaging story about it. You could even interview someone about it and record your discussion. (You don't need to be experts. Everyone can respond thoughtfully to photographs.)
- Design a poster or mindmap with annotations about your chosen photograph. (Make sure it's visually exciting and carefully laid out).
Seeing the light
The traditional history of photography suggests that it was 'invented' in the 1830s in either France or England. But this version of events, which is mostly about the scientific, legal and commercial exploitation of the medium, disguises a longer and more complex story.about our attempts to capture the sun's rays in the form of an image.
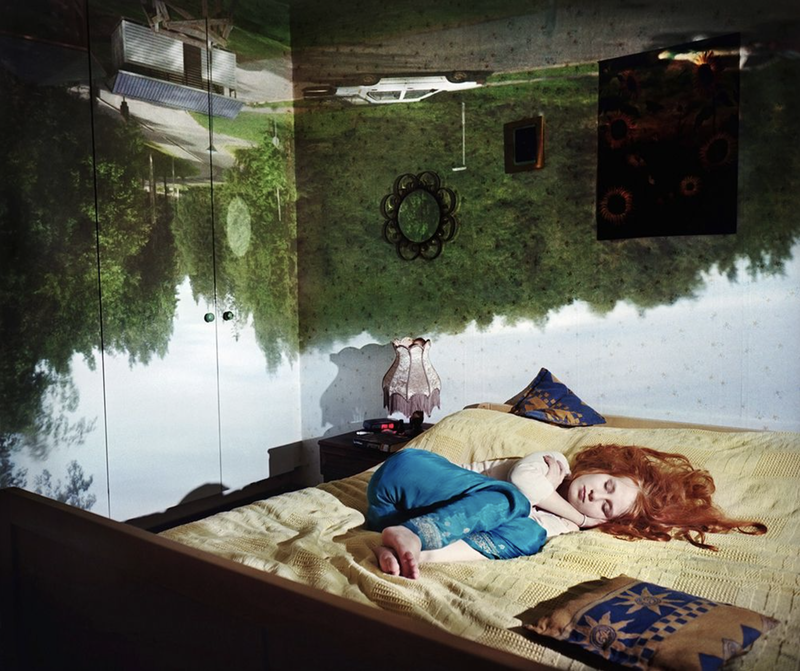
In the fourth century BCE, Han Chinese philosopher Mozi wrote about the camera obscura as a tool for collecting rays of light. Greek philosopher Aristotle expanded on Mozi’s ideas saying “Why is it that an eclipse of the sun, if one looks at it through a sieve or through leaves, such as a plane-tree or other broadleaved tree, or if one joins the fingers of one hand over the fingers of the other, the rays are crescent-shaped where they reach the earth?" Renaissance inventor Leonardo Da Vinci formally outlined the camera obscura [...]. He said, “If the facade of a building, or a place, or a landscape is illuminated by the sun and a small hole is drilled in the wall of a room in a building facing this, which is not directly lighted by the sun, then all objects illuminated by the sun will send their images through this aperture and will appear, upside down, on the wall facing the hole.”
-- When were photographs invented?
Discussion:
- Why might some early histories of photography have wanted to stress the significance of European inventors of the medium?
- Why is it important to remember that photography has a long and complicated history?
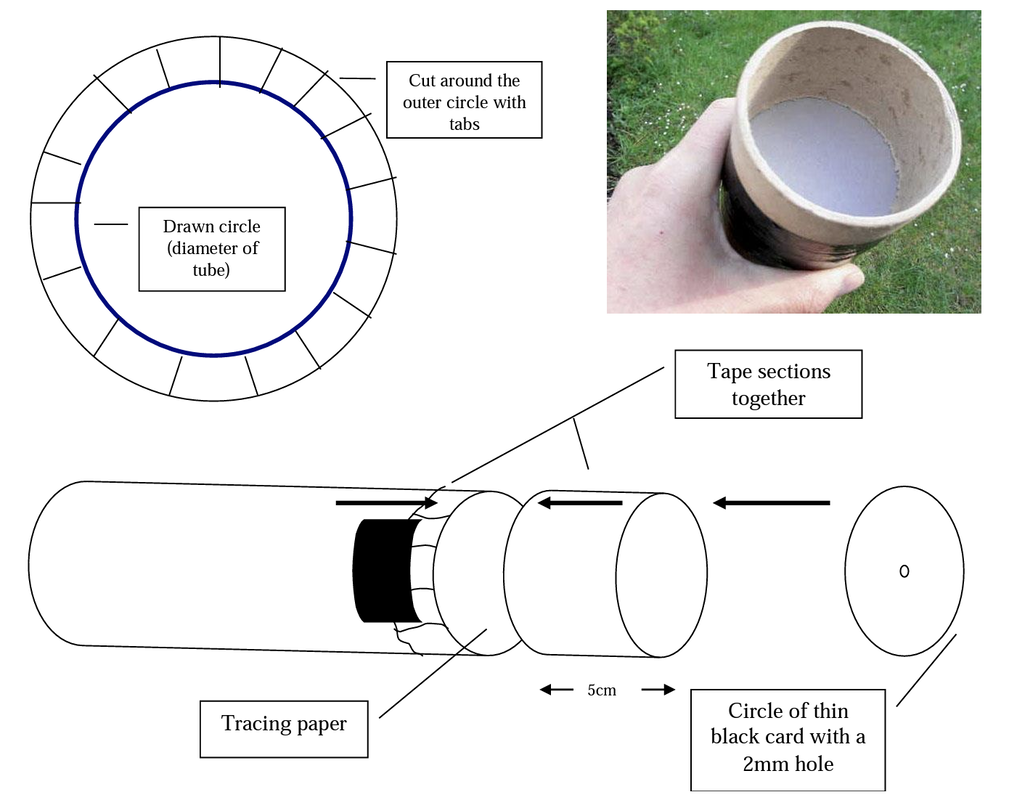
Let's make a simple camera obscura
Thanks to the excellent Justin Quinnell's instructions (below) it's relatively easy to make a camera obscura. All we need is some everyday materials:
- a cardboard tube
- some tracing or greaseproof paper
- black card or tinfoil
- tape, scissors and a sharp knife
You could also experiment with making camera obscura from other materials, some of which will enable you to focus your image more accurately.
Activity:
Have a go at making your own camera obscura using one (or more) of the suggested techniques above. Think carefully about how you will document the making of your camera and the kinds of images you can see when you look through it.
Photographs without a camera
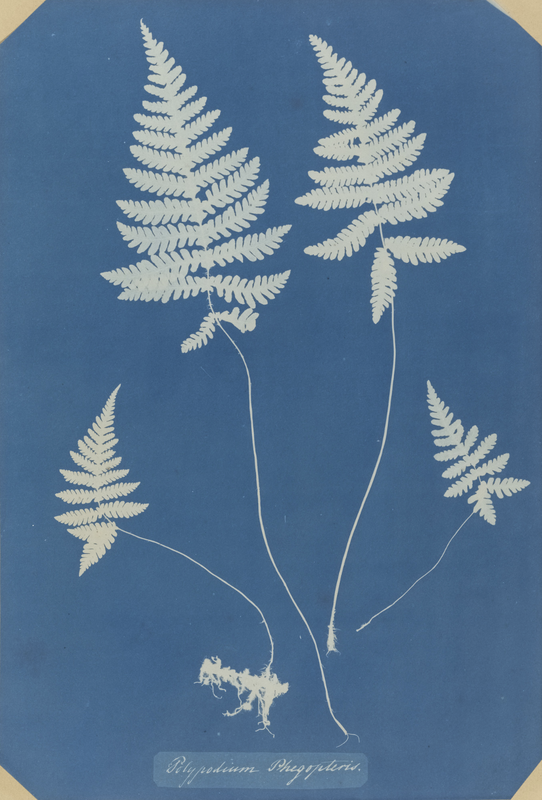
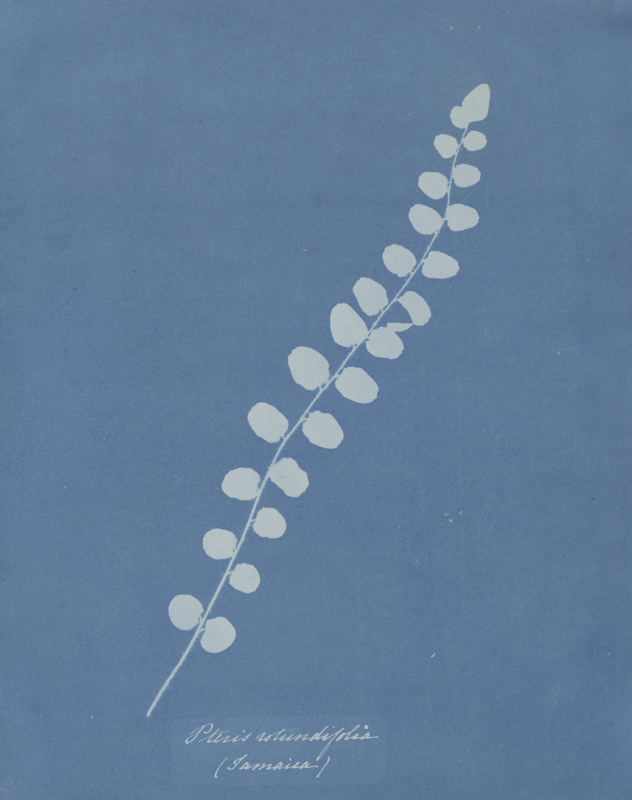
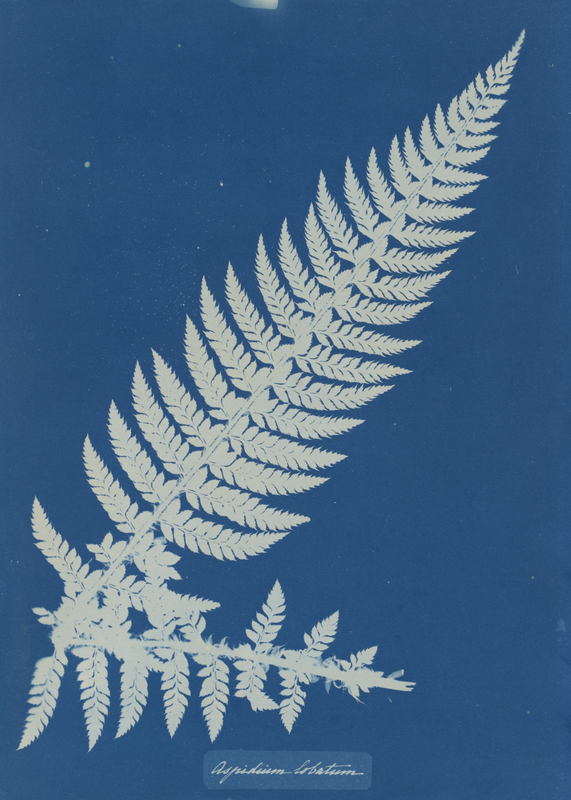
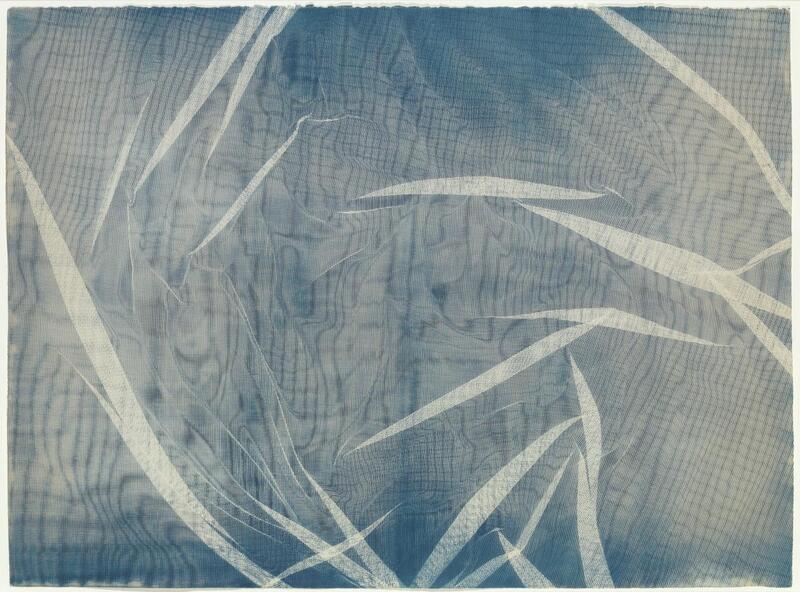
Before we get carried away with camera technology, it's important to remember that cameras are optional in the creation of photographic images. A photograph is the capturing and fixing of ambient energy. Some of the earliest examples of cameraless photographs were made by Anna Atkins. She is credited with having created the first ever book of photographs. Here are some examples of her work:
“I have lately taken in hand a rather lengthy performance. It is the taking photographical impressions of all, that I can procure, of the British algae and confervae, many of which are so minute that accurate drawings of them are very difficult to make.”
-- Anna Atkins, 1843
This quotation provides a clue about why Atkins was so excited to use the cyanotype process to document plant shapes. Previously, scientists were reliant on drawings to record the shapes of the plants.
Discussion:
- How do Anna Atkins' cyanotypes compare with photographs you know? What, if anything, is unusual about them?
- What advantages does photography have over drawing?
- Why might scientists (a botanist, in the case of Anna Atkins) have preferred using photographs to hand-drawn illustrations?
- What qualities do Anna Atkins' cyanotypes have? What adjectives could we use to describe these images?
- Why might some histories of photography have undervalued the significance of Anna Atkins' use of photography?
Activities:
Cyanotypes are just one way of making a photograph without a camera.
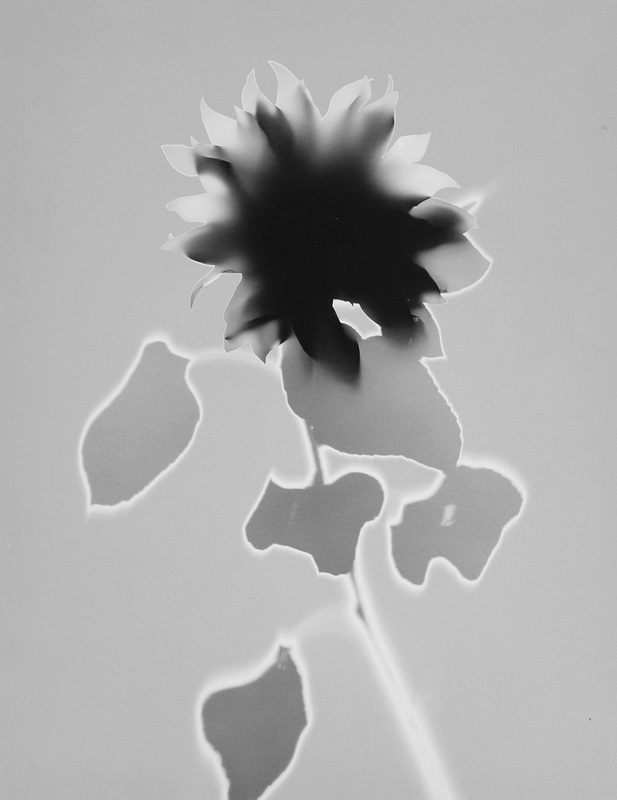
- Research some other methods for making cameraless photographs E.g. Anthotypes, Luminograms, Photograms, Chemigrams etc.
- Depending on what equipment and materials you have available, have a go at making one or more cameraless photographs
Pinhole Photography (and Solargraphy)
Note: You really need some kind of rudimentary darkroom and basic chemicals to develop the pictures from a pinhole camera. A bathroom can work. If this isn't possible, skip on to the Solargraphy section below where none of this is required.
We've experimented with making a simple camera obscura and understand the type of image it can make (inverted and ephemeral). The next step is to try to fix the image made inside the camera obscura, creating a pinhole camera. You can use a variety of materials to do this but metal cans (like a coffee can) or something made from very thick cardboard (like a smartphone box) can result in excellent images. The other materials you need are:
- black tape (and possibly some black cardboard or black spray paint depending on your container)
- a pin
- a drinks can
- fine grade sandpaper
- a knife or scissors
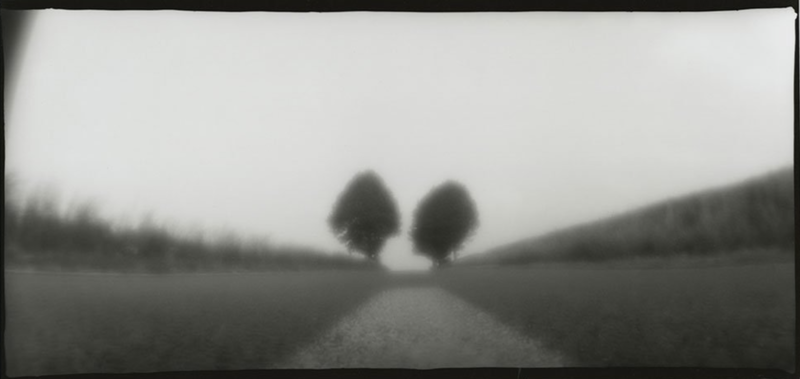
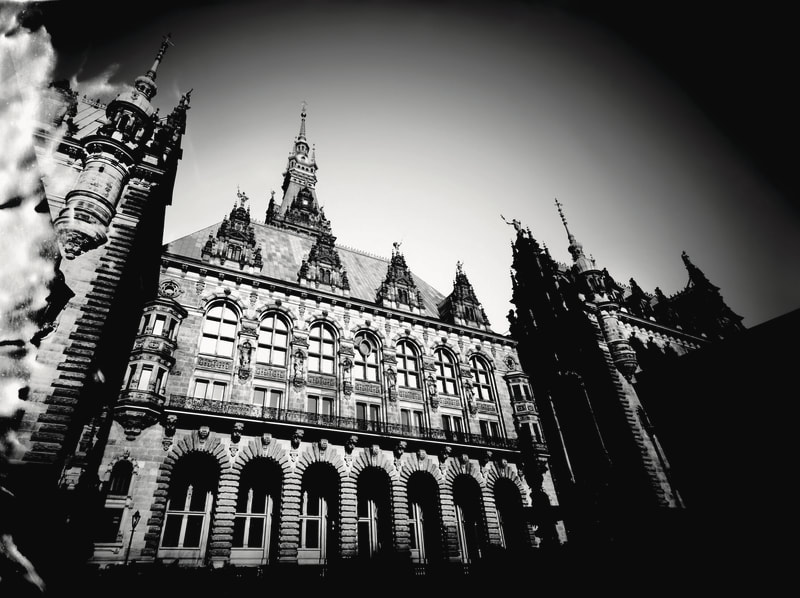
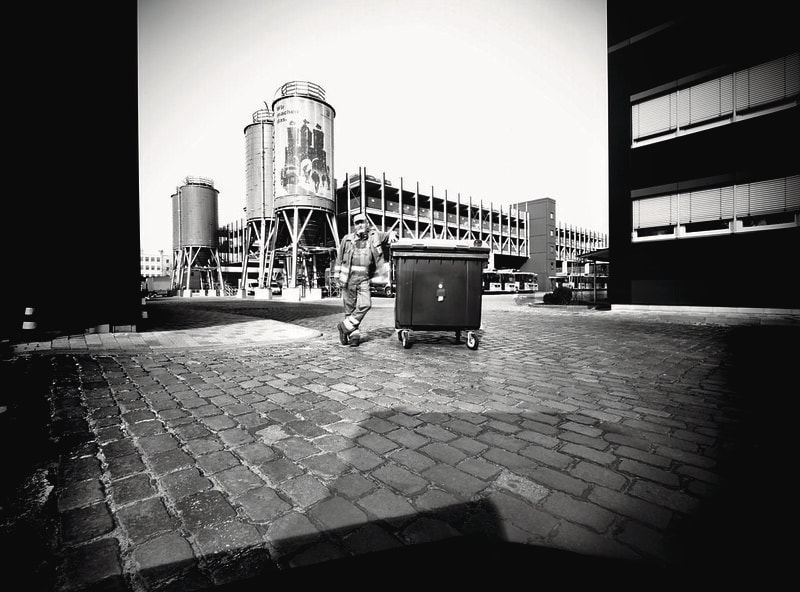
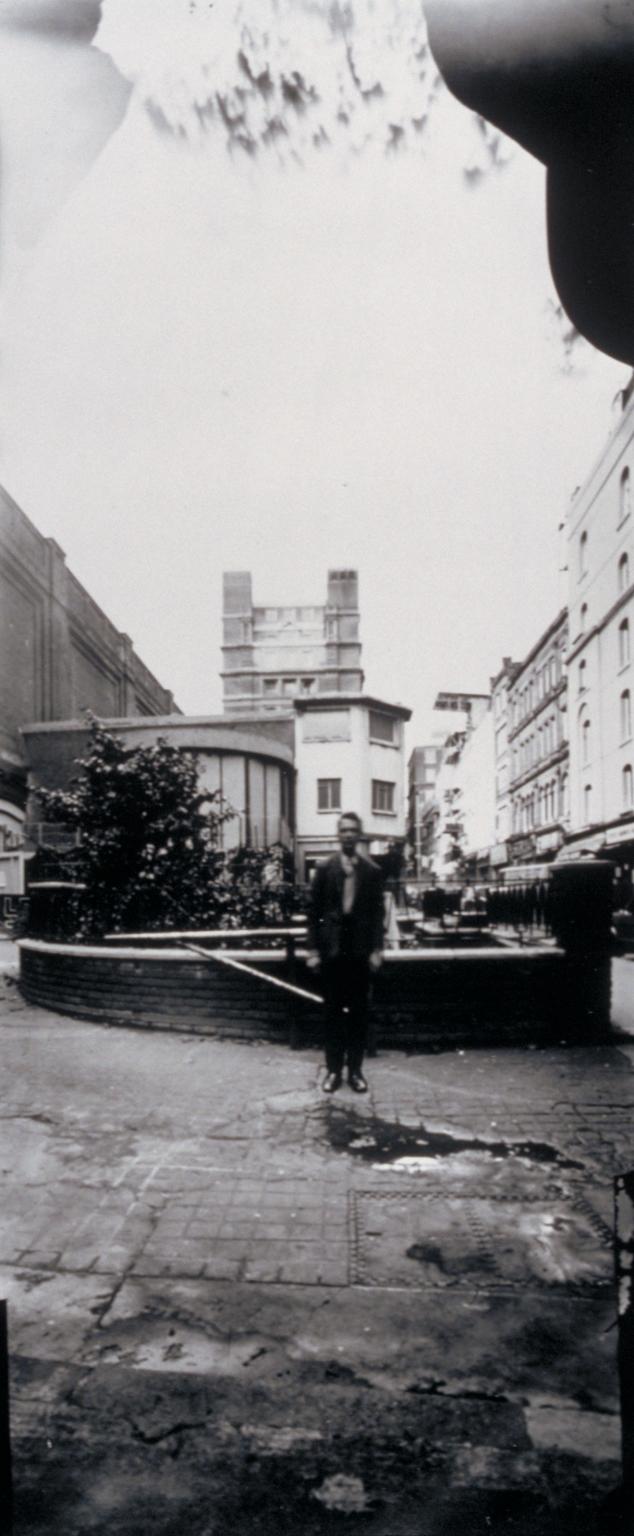
Due to the large depth of field and very wide angle of view, some surprising and dramatic images can be made with a pinhole camera. Here are some examples:
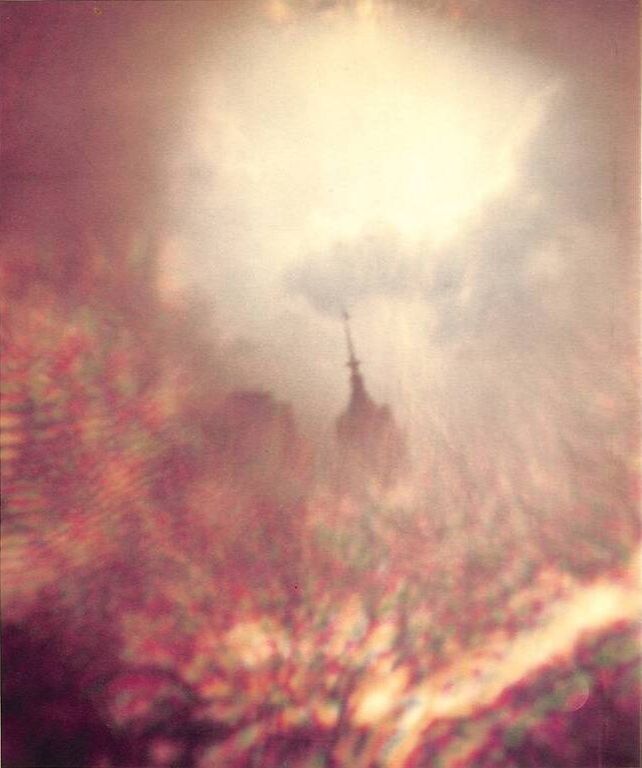
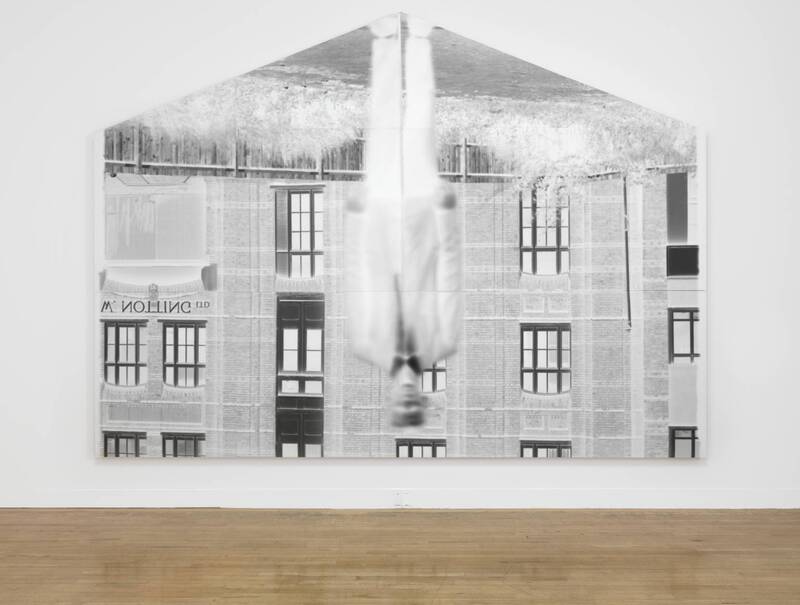
Here's an example (left) of two techniques combined into one amazing image. Eric Renner is one of the pioneers of pinhole photography and he has made remarkable pinhole pictures with a variety of cameras (including underwater pinholes and with his sweatshirt pinhole camera!) Nobuo Yamanaka's brief career explored the relationship between moving images and pinhole photography. In one of his exhibitions, he created a large pinhole camera into which visitors could step to see a projection of the exhibition outside moving in real time. This pinhole photograph shows the tip of the Empire State Building in New York.
When you take a picture on film, it becomes something entirely different. It’s dark so you have to do a long exposure. And when you do that, things that move disappear, so the image you saw inside and the image that is developed are entirely different. That’s what’s interesting about it.
-- Nobuo Yamanaka
Worldwide Pinhole Photography Day
Pinhole photography is now so popular that it has its own celebration day.
Negative/Positive
This film about the artist Brendan Barry is a brilliant example of the imaginative application of the principles of photography to a range of unusual objects. Barry is an inventor who loves to play around with photographic technology. He's particularly interested in sharing the magic of photography with others so he likes to invite people into his cameras.
8 minutes into this video you see Barry make a photograph in his Caravan Camera of some old Mods on their scooters. He guides us through the entire process of making the picture from exposing the paper, to developing the paper negative to making a direct positive print. The relationship between a negative and a positive image is one the key concepts in photography. When you make your pinhole pictures, you will create a paper negative which you can then invert into a positive print. You can either do this directly (as Barry does) in the darkroom, or you can scan your negative and invert it using digital software (like Photoshop). Which process do you prefer?
What happens when you create a pinhole camera with more than one lens?
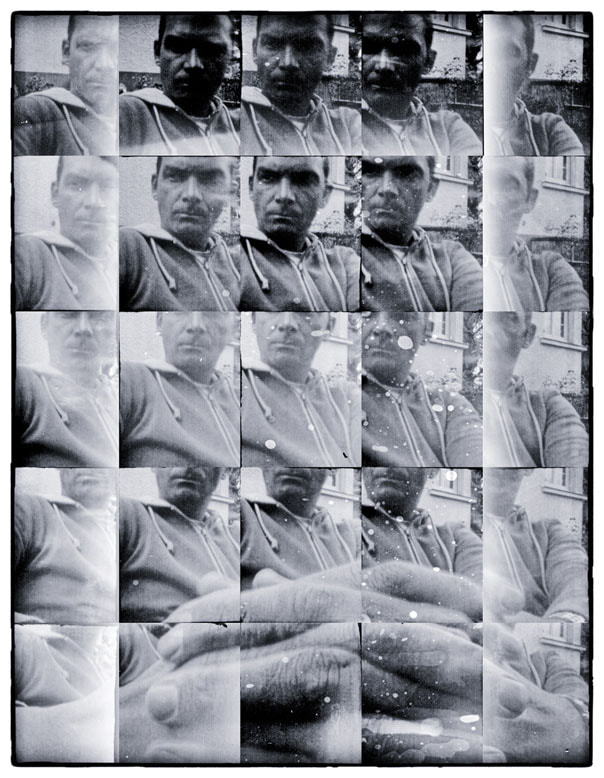
Most if us are familiar with the way a camera works. Light enters through the lens and eventually reaches a photo-sensitive surface which records the light in the form of an image we recognise as a photograph. Pinhole cameras create negatives which can then be inverted into a positive. But what if your piuhole camera has more than one lens? And what if it has 25 lenses?
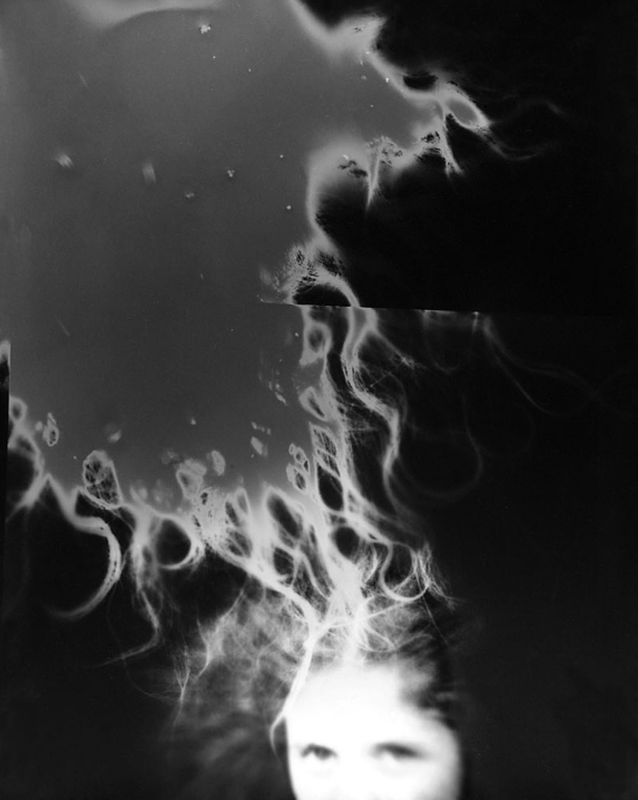
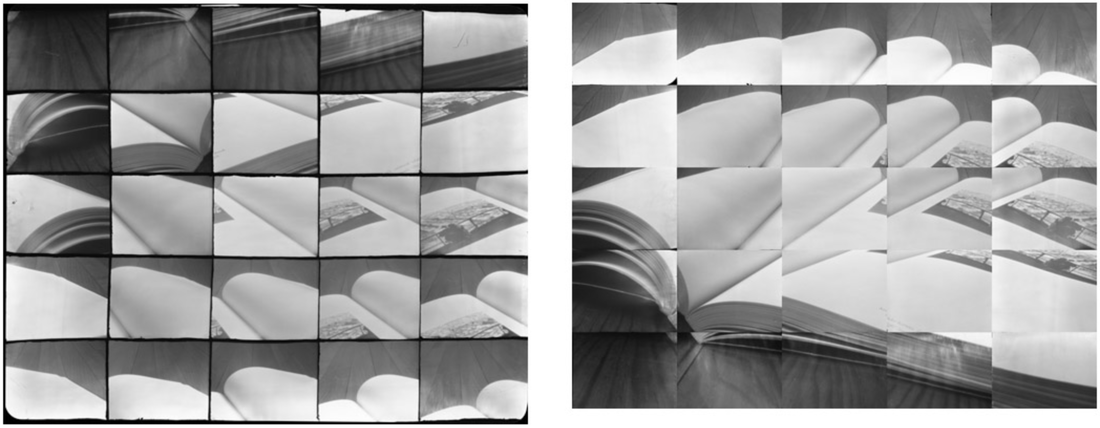
James Guerin's self. portrait above was made with a pinhole camera. This is what it looks like:
After the 25 images have been made (with a single exposure), Guerin uses Photoshop to re-arrange (transpose) the 25 images to create the final composition.
Some unusually large pinhole cameras
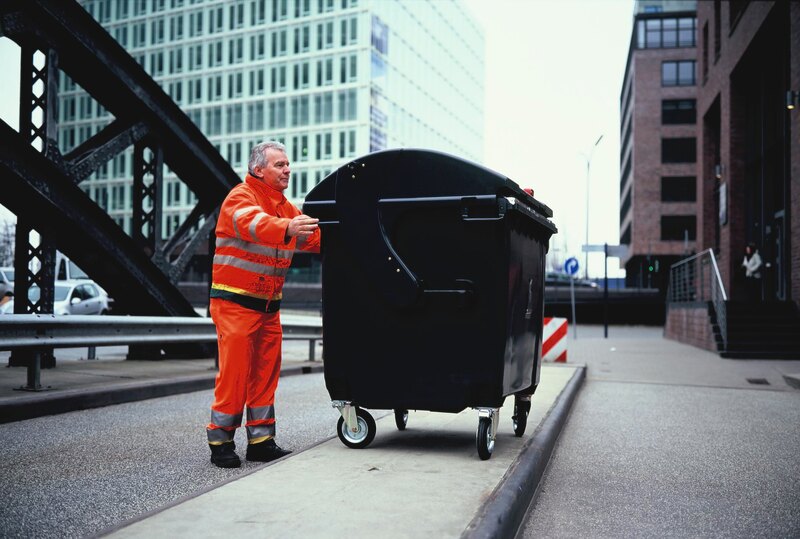
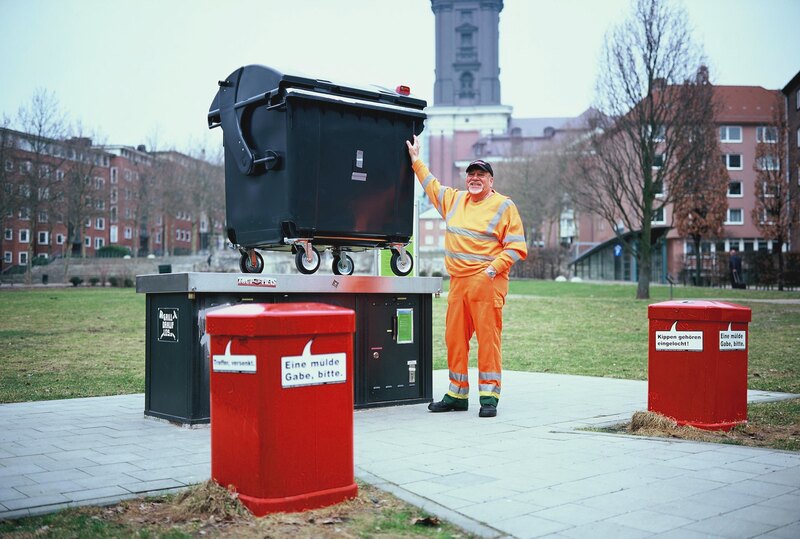
Several people have experimented with making unusually large pinhole cameras. In Germany, a group of workers decided to make pinhole cameras from rubbish bins. Check out the Trashcan Project on Flickr.
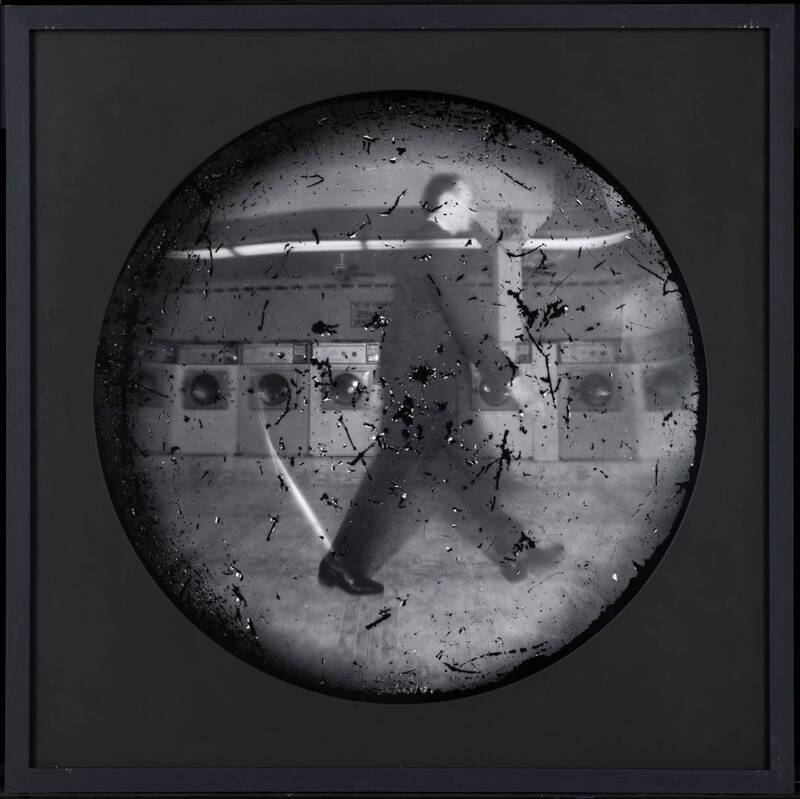
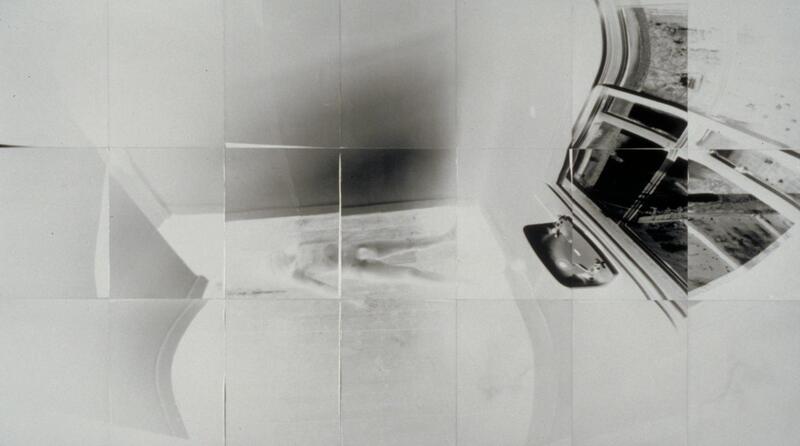
Artist Steven Pippin has used all sorts of objects to make pinhole cameras including washing machines, a bathtub, a photobooth and an entire house:
Activity:
- Experiment with making your own pinhole camera. Test it out and refine your design based on the results.
- Try to invert your images in the darkroom and compare this technique with scanning them and inverting digitally (using Photoshop).
- When you are satisfied with the images you are getting from your camera, write a How To Guide for other students. Illustrate your guide with pictures of how you made your camera and some of the pinhole photographs you made with it.
- Experiment with making a multiple pinhole camera. You might create one like James Guerin (above) with a series of separate cells. Alternatively, you might create multiple overlapping exposures.
- What's the largest object you could turn into a pinhole camera? (Note: you will need to negotiate carefully with your teachers to make sure your experiment is safe and that you have access to enough photographic paper to capture your image! Hint: Black plastic bins work beautifully, creating what we like to call a Binhole ;-))
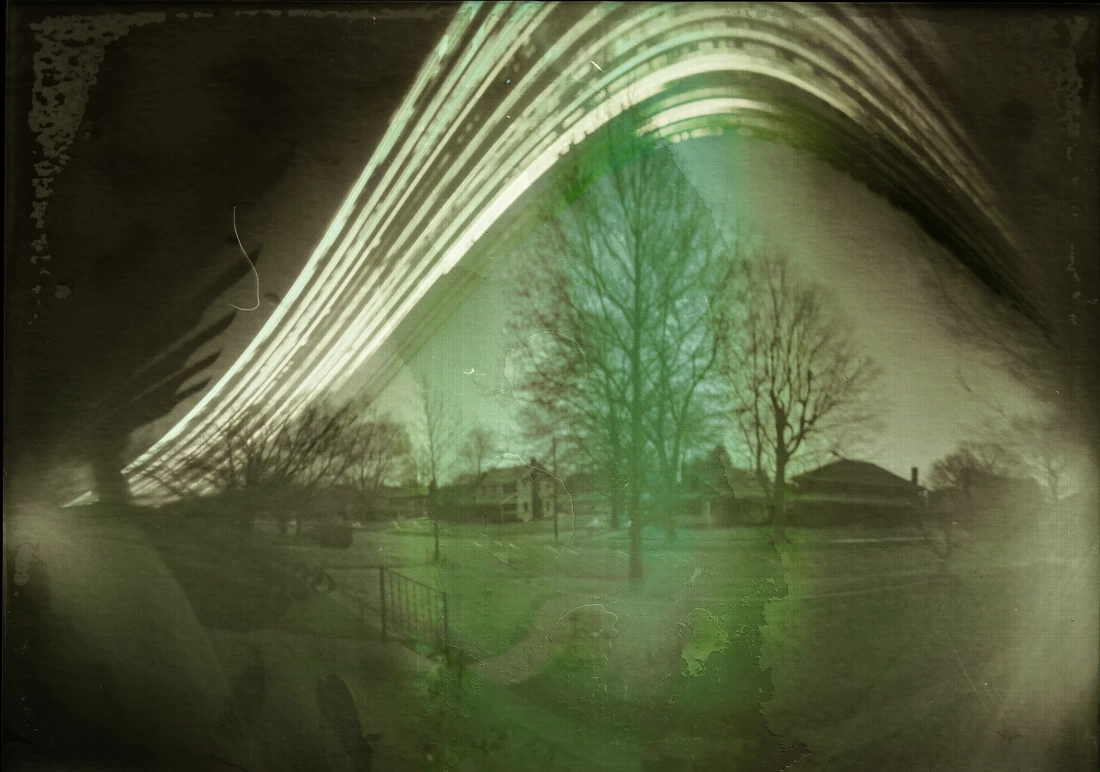
Solargraphy and (very) long exposure photography
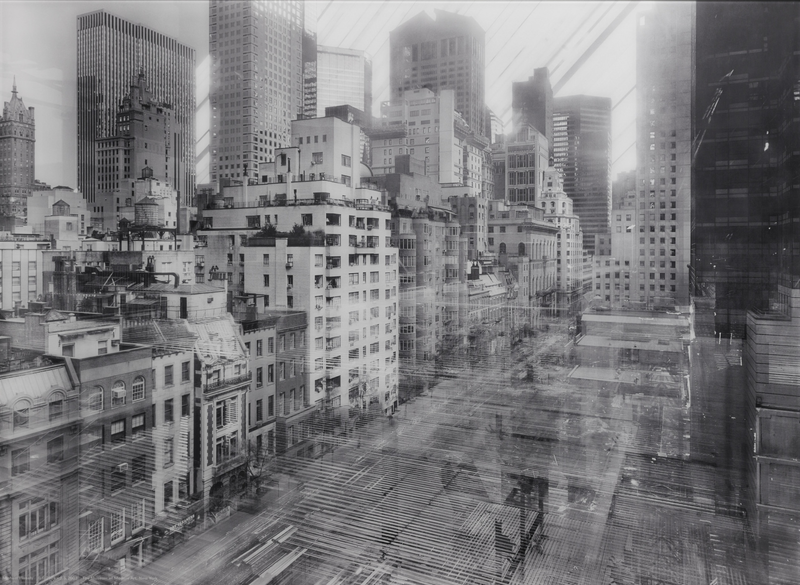
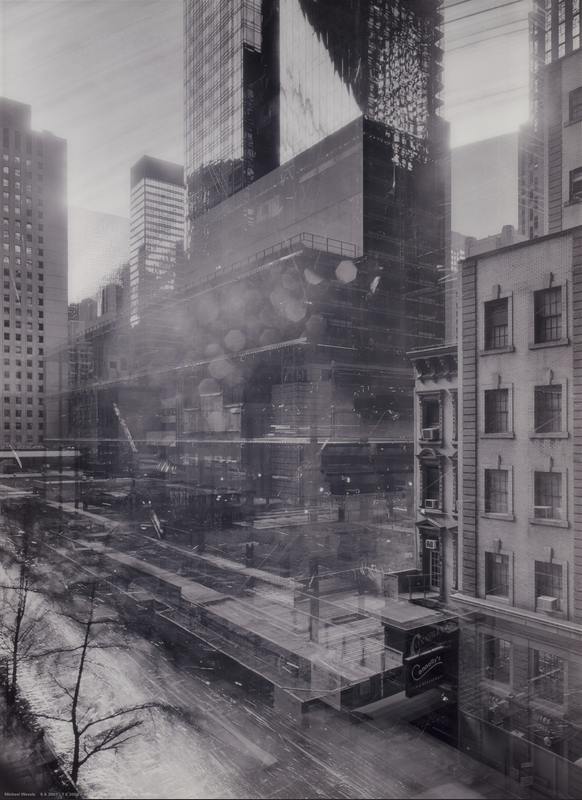
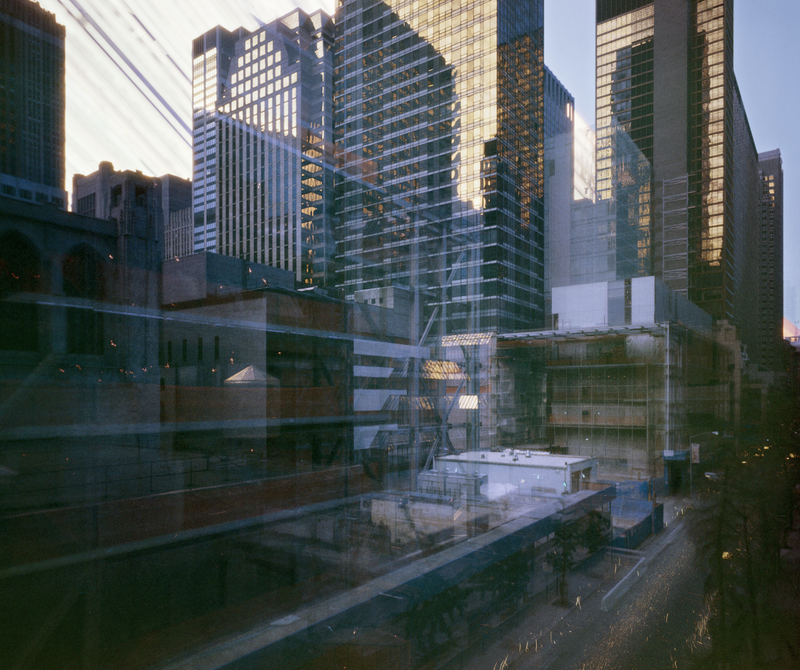
Experimenting with very long exposure photography reminds us that photographs warp our sense of time and remind us of things lost (TC#10). All photographs have parcels of time in them (even if this is a minuscule 1/1000th of a second). They appear to be instantaneous and still because it's hard for us to see or imagine the portions of time they contain. With a very long exposure photo (like a solargraph), we can appreciate the passage of time contained within the photograph. Artist Michael Weseley has experimented with creating very long exposure photographs (sometimes several years) to capture the passage of time in a single image. The following images record the 3 year long renovation of the Museum of Modern Art in New York.
Discussion:
- What does the phrase still photography mean to you?
- How are photographs different to films or videos? How are they similar?
- Why might it be difficult to create a very long exposure with a regular camera?
- How can photographs distort or warp our sense of time?
- How do photographs help us remember things in the past? In what ways might they be a source of both happiness and sadness?
Activity:
Experiment with creating your own solargraph camera. Ask for help if you need it and make sure you work safely. Where will you place your camera son that you can track the movement of the sun through the sky? How long will you be prepared to leave it in place? Don't forget to scan and invert your image when you finally retrieve it.
Drawing and Painting with Light
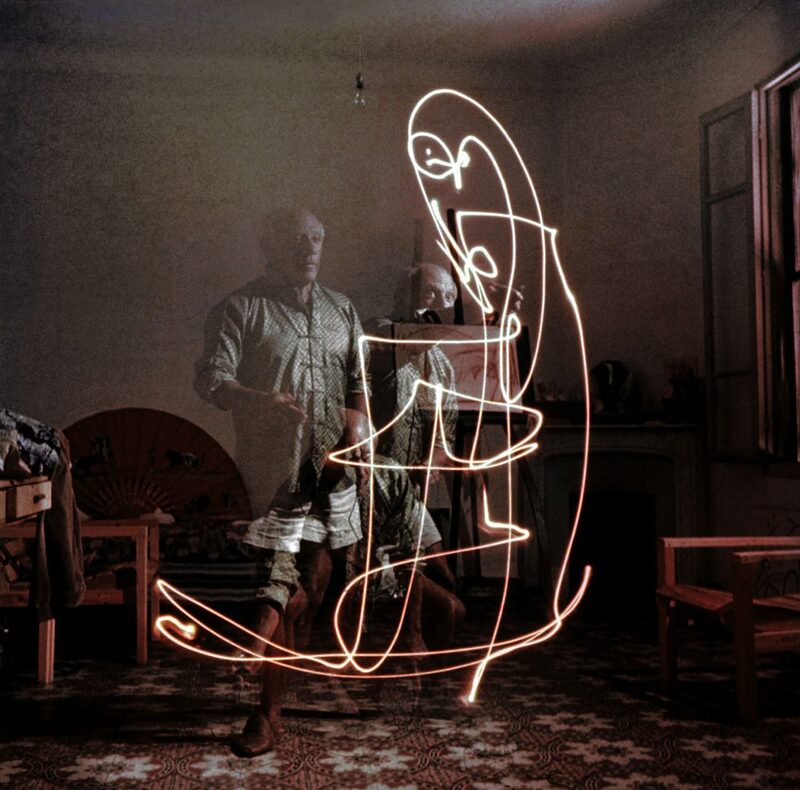
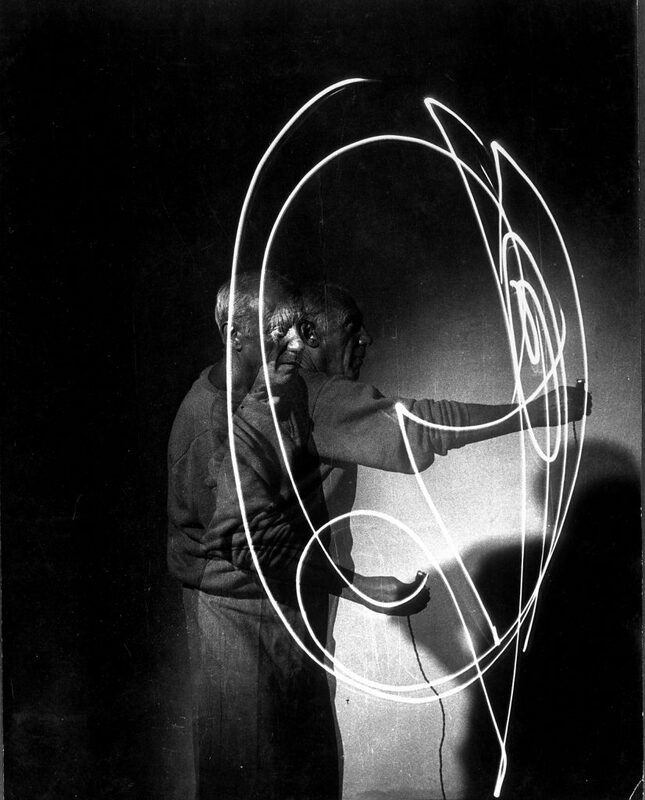
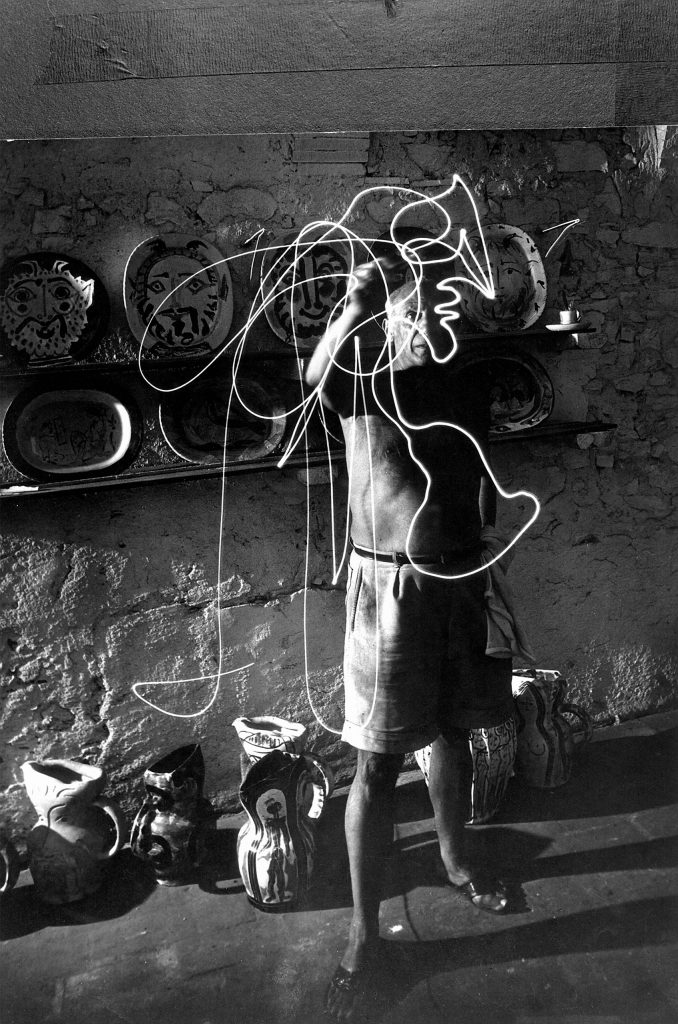
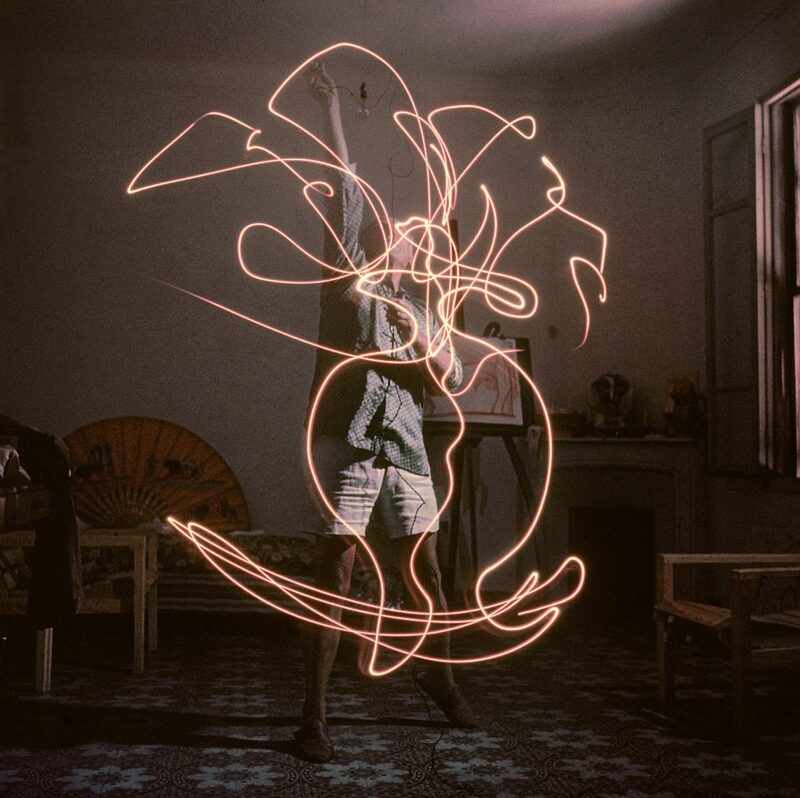
Take a look at this series of famous photographs by Gjon Miili of the artist Pablo Picasso in his home in the south of France:
Discussion:
- How do you think these pictures were made?
- Making photographs is sometimes a collaborative activity. How have these two artists collaborated in the making of these pictures?
- How much time do each of these photographs contain?
Take a look at this straightforward guide to light painting, then conduct some experiments of your own:
The Language of Light: Part TwoHopefully these various practical experiments in capturing and fixing light have been a fun and engaging way to pick up some important knowledge about the relationship between light and time.
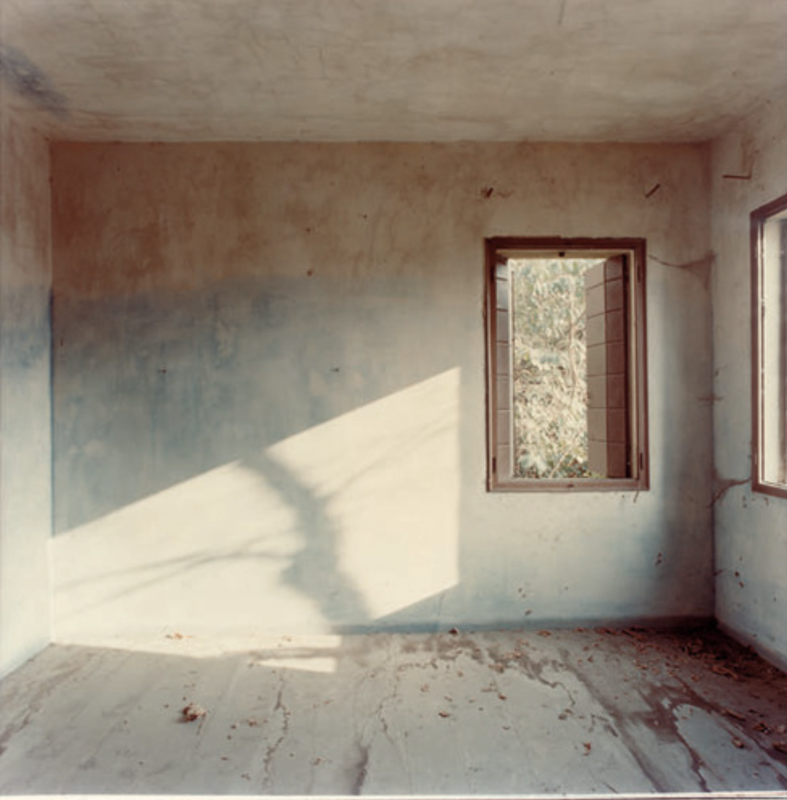
Photography began as a very slow and laborious process. Long shutter speeds meant that capturing movement was tricky and landscape photographers sometimes had to resort to combination printing (making a different exposure for the land/sea and sky) in order to avoid images which were either too dark or too light. Have you ever wondered why no-one is smiling in nineteenth century photographs? Special devices were created to hold a siitter's head still whilst their portrait was made. It's impossible to hold a smile for a long period so sitter's were instructed to wear passive expressions. As we've learned, a photograph is always, to some extent, about light (TC#2). No photograph can exist without ambient energy (hence the debate about the status of AI Photography). Let's have a look at how photographers over the years have explored the idea of light as the main subject of their images. What do you notice about this picture of an empty room? Why bother photographing an empty room? There isn't even an interesting view through the narrow window. What's the point of making a photograph of this subject? |
Guido Guidi's picture is actually one of 16 images taken in the same location. The series traces the movement of light from the two small windows across the interior walls and floor of the room over the course of the day.
Discussion:
- How many different words (synonyms) do we have for the word 'light'? E.g. illumination
- What ideas do you associate with the word 'light'? E.g. seeing, truth, understanding etc.
- How many popular expressions or figures of speech can you think of that contain the word 'light'? E.g. light of my life, seeing the light etc.
- Think about what we have learned so far about cameras. What does the word 'camera' mean?
- In what sense is the room Guidi is photographing (above) a kind of camera?
Light as subject
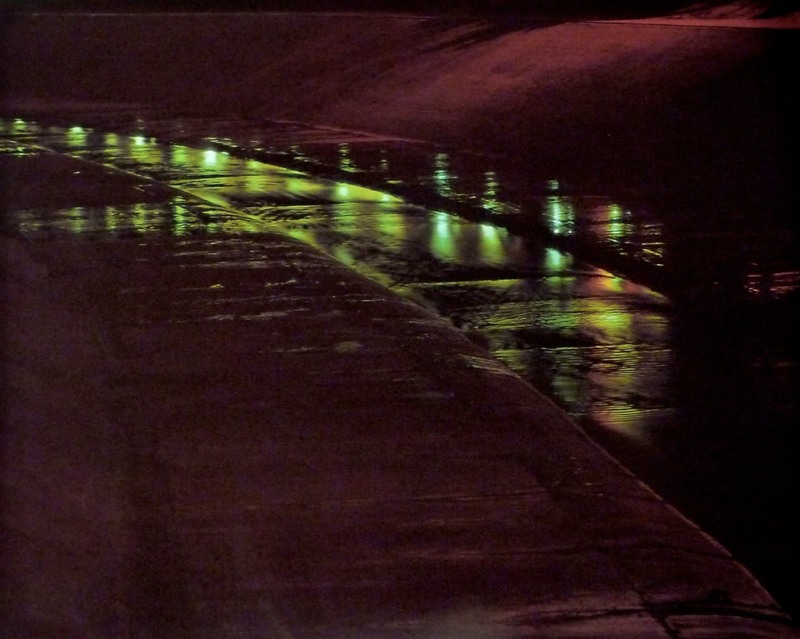
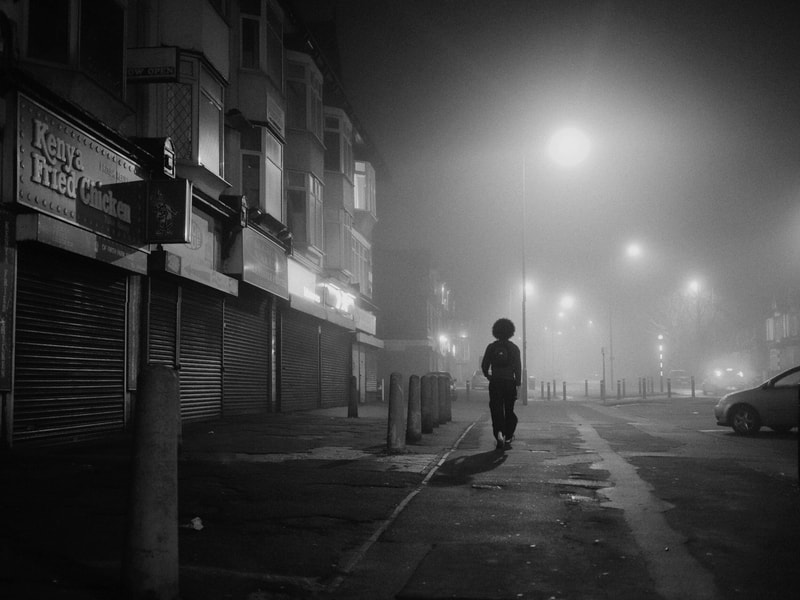
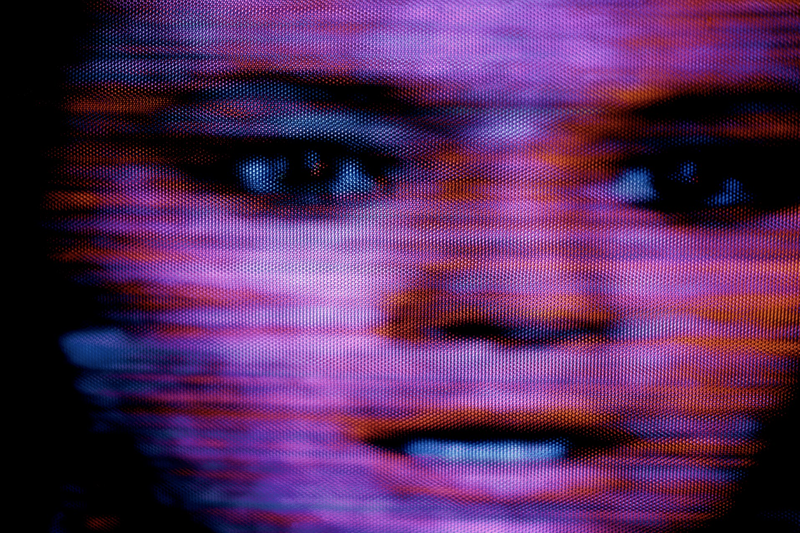
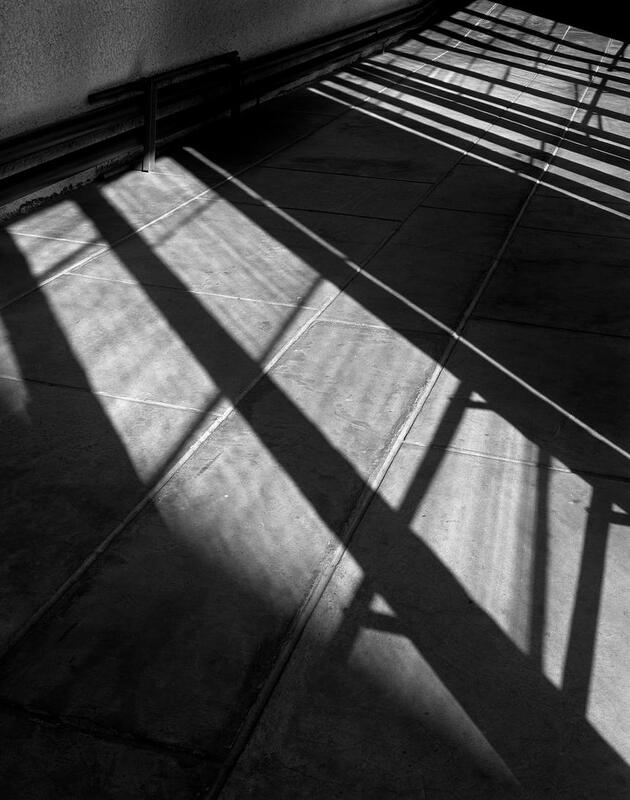
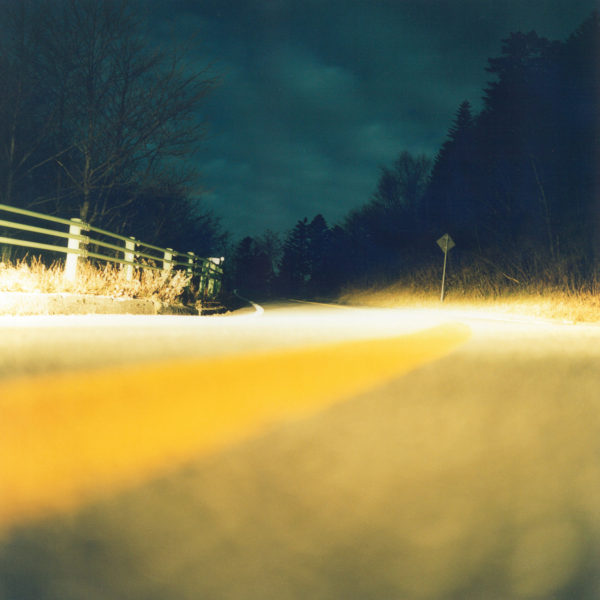
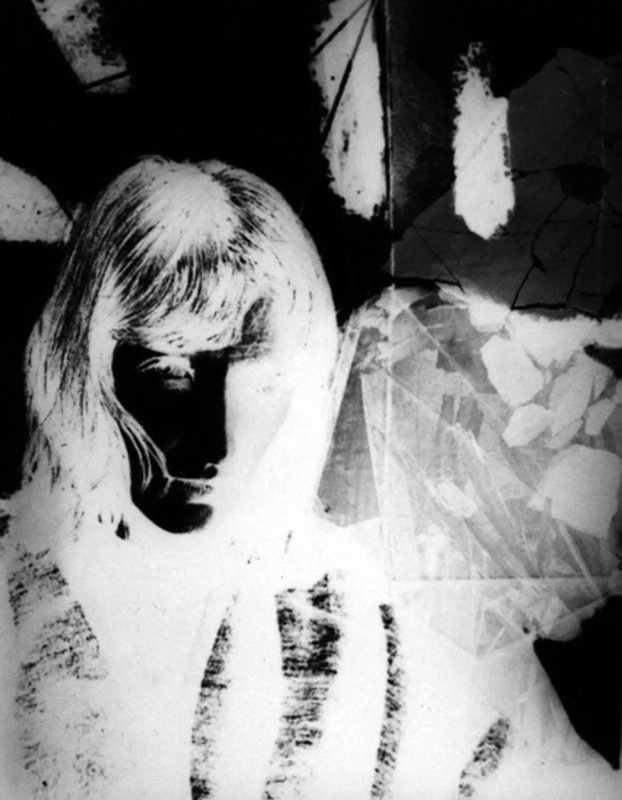
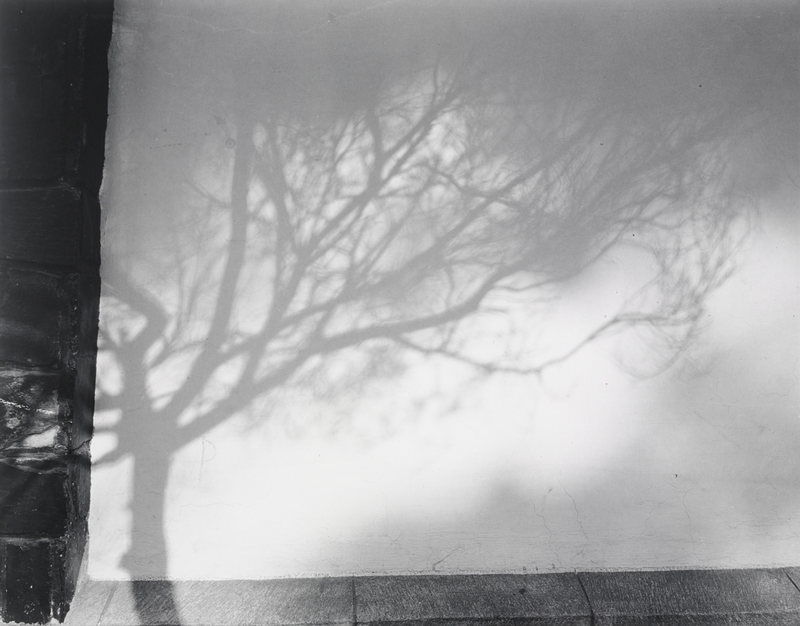
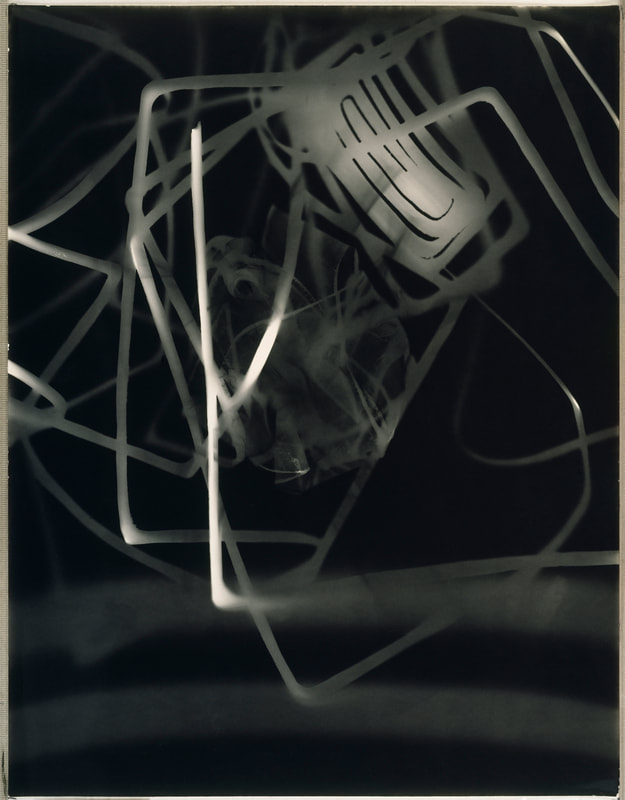
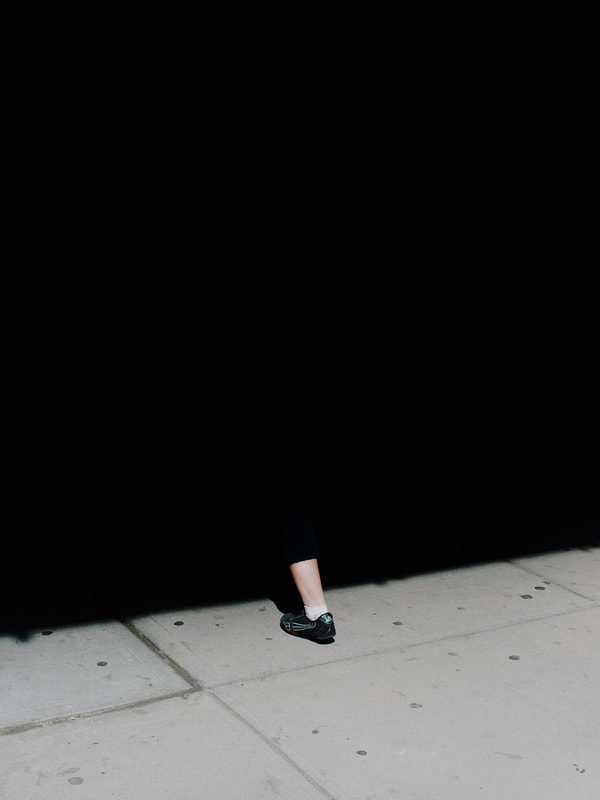
The following images are links to the work of a photographer whose subject is light. Unlike our eyes, cameras see everything so there is always lots of information in a photograph. However, despite all the stuff from the world that has ended up in these pictures, I would argue that their most important subject is light itself. Of course, light is a powerful symbol so there's nothing simple of obvious about the light in these pictures.
Take a look at a few that interest you. Click on each image to get more information. Some pictures are easier to understand than others. Some might look more attractive at first glance. Try to explore a range of images, some that you find challenging or mysterious. The more you look and learn, the more you will understand. Below the gallery of images is a list of possible activities for you to use as you see fit. They're just suggestions so feel free to come up with your own ideas, perhaps inspired by one or more of the pictures you have seen. Try to avoid simply repeating what another photographer has done. Put your own spin on it. Good luck!
Take a look at a few that interest you. Click on each image to get more information. Some pictures are easier to understand than others. Some might look more attractive at first glance. Try to explore a range of images, some that you find challenging or mysterious. The more you look and learn, the more you will understand. Below the gallery of images is a list of possible activities for you to use as you see fit. They're just suggestions so feel free to come up with your own ideas, perhaps inspired by one or more of the pictures you have seen. Try to avoid simply repeating what another photographer has done. Put your own spin on it. Good luck!
This video is about a 2018 exhibition at Tate Modern called The Shape of Light. It was a fascinating comparison of trends in abstract painting and photography and references lots of really interesting examples of photographers exploring language of light.
Some Suggested Activities:
- Make a series of photographs of the light in a room (Guido Guidi, Todd Hido, Uta Barth) over the course of a single day or photograph the same part of a room over several days at different times. Try to choose a part of the room where sunlight is projected on the wall/floor. Alternatively, you could create a small room from a cardboard box, cut windows into the sides of the box and shine a light through them, photographing the shapes they make on the inside.
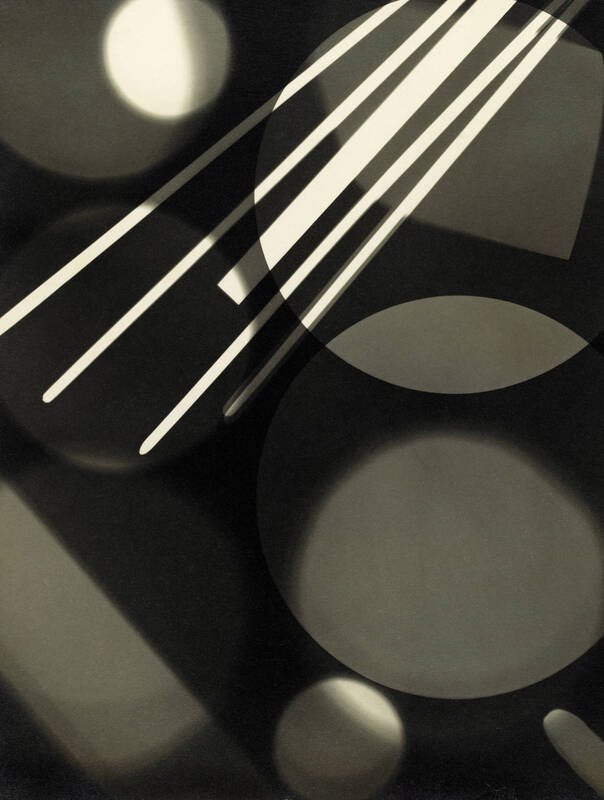
- Experiment with making photographs of cut and folded paper (Francis Bruguière). Try different light sources and angles.
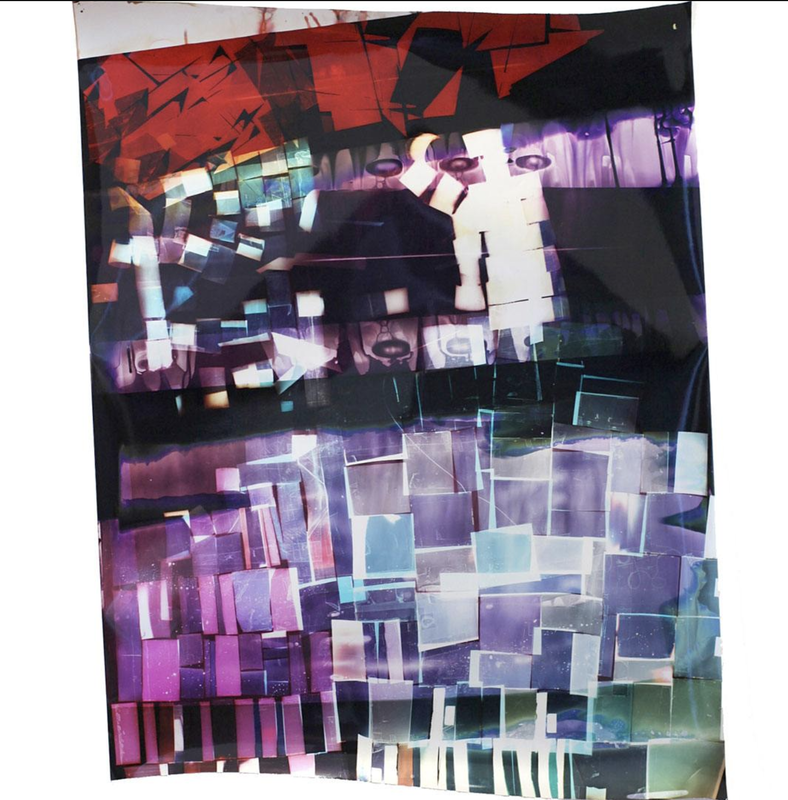
- Create your own abstract cameraless images, exploring the outlines of objects and multiple exposures (Barabara Kasten Man Ray, Floris Neüsuss, Laszlo Moholy-Nagy, Christian Schad, Walead Beshty, Mariah Robertson, Alison Rossiter).
- Create a series of images in low light (Rut Blees Luxemberg, Kiripi Katembo, Dawit L. Petros, Francis Bruguière, Ralph Eugene Meatyard). How does the light illuminate the edges of objects which remain mysterious and mostly in shadow? You could experiment with faces or other objects, indoors or out, using a variety of light sources and camera angles.
- Make a series of photographs of a particular time of day, noticing the quality of the light (Robert Adams, Todd Hido, Manuel Alvarez Bravo). You might choose to photograph the same spot at different times or a variety of locations. Think carefully about how you might title your images. Early morning, late afternoon and dusk often produce interesting effects of light and shadow.
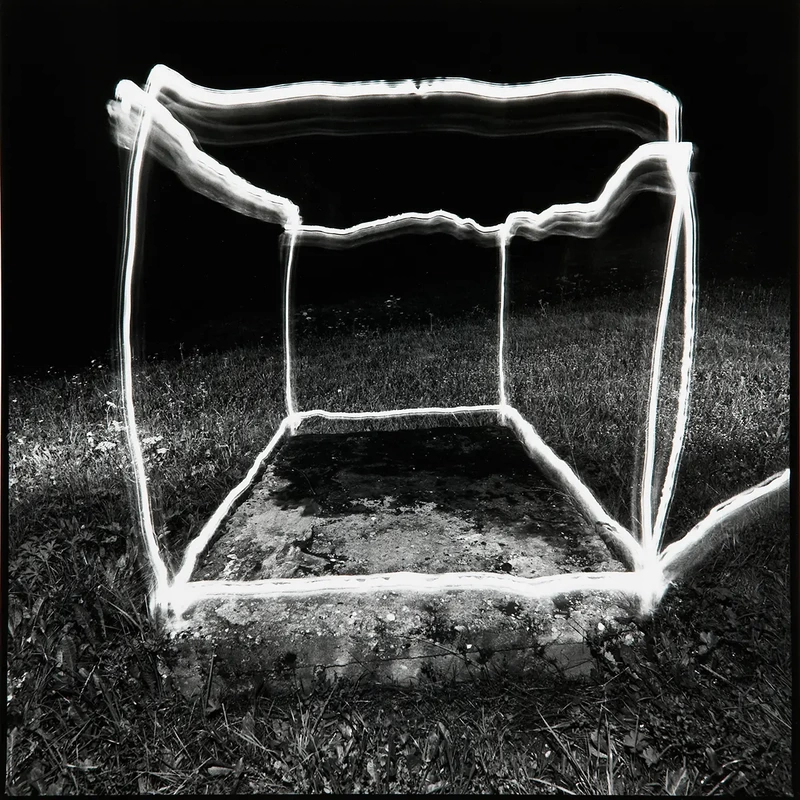
- Experiment with light and camera painting techniques (David Potts, Gjon Mili, Ernst Haas). You could keep the camera still and move the light source or, alternatively, move your camera and keep the light source static. Of course, you could also move everything!
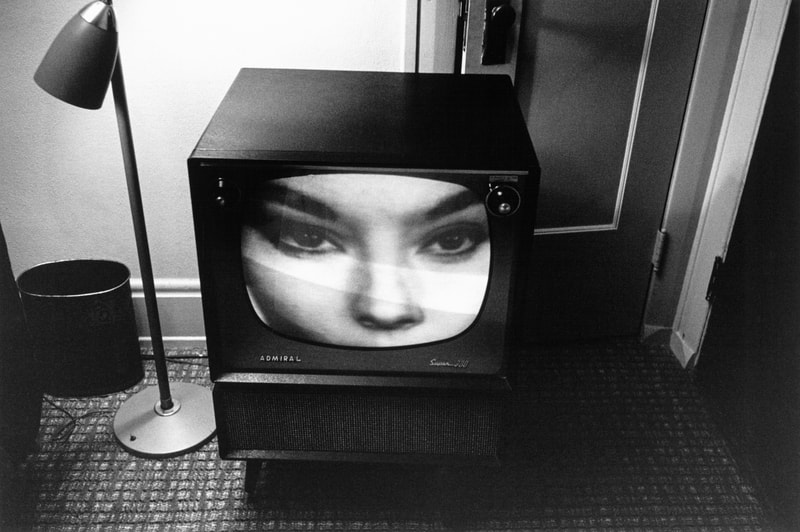
- Why not try photographing the light from a computer or TV screen? (Hiroshi Sugimoto, Lee Friedlander, Harry Gruyaert) Depending on your shutter speed, you might end up with a clear or blurry image. How will the light from the screen be captured by your camera?
- Try taking some portraits with unusual lighting (Ralph Eugene Meatyard, Teju Cole, Susan Hiller). You could make silhouettes with backlighting or horror movie style pictures with lighting from below. What happens if you leave the shutter open or shine coloured lights on your subject?
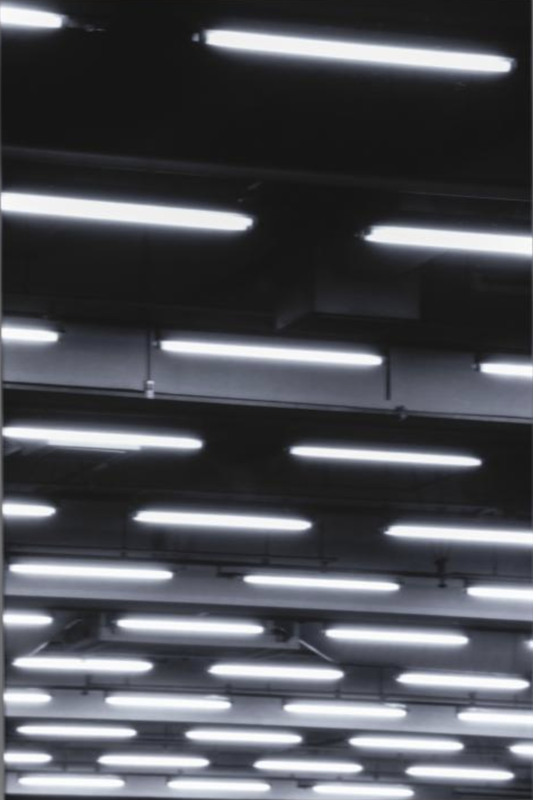
- Pay attention to artificial lighting and try to capture its unusual qualities (Naoya Hatakeyama, Rut Blees Luxemberg). This could be street lights at night, office/school strip lighting or your bedroom lamp.
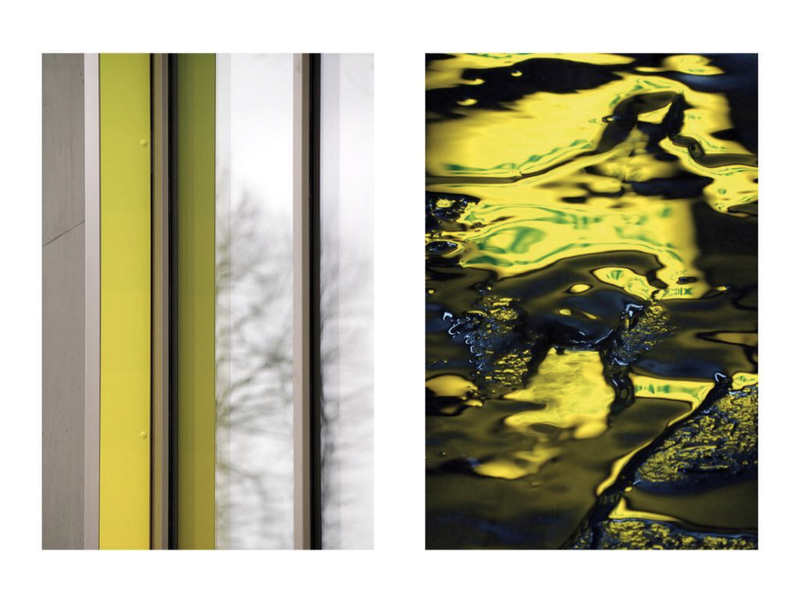
- Create a series of diptychs (2 images next to one another) contrasting light and dark (Vasnatha Yogananthan, Tyrone Williams & Jean-Christophe Recchia). It could be the same scene/subject shot in different lighting conditions, or two different photographs representing very different ideas of light - night and day, shadows and highlights, secret and open etc.
- We expect a photograph to be a positive image but what if you decided to make a series of negatives? (Imogen Cunningham, Ray Metzker) You could create these negatives in a darkroom (if you have access to one) or invert your positive photographs using software (like Photoshop). Will you create black and white or colour negatives? How will this change our relationship to the light?
- Why not make your own pinhole camera? You could experiment with a range of containers, perhaps even making a super size camera. How does a pinhole camera, with its long shutter speeds and very wide angle of view, record light? Will you keep your pictures as paper negatives or invert them?
- You could experiment with dramatic high contrast images, reducing or removing the middle (grey) tones and emphasising the shadows and highlights (Roy DeCarava, Aapo Huhta, Keld Helmer-Petersen, Fan Ho, Hiroshi Sugimoto, Ralph Eugeme Meatyard). You could deliberately under-expose your photographs in camera or use software, like Photoshop, to exaggerate the contrast. You could also experiment with the threshold adjustment to completely remove all greys from the image.
- You might decide to turn your pictures into an animation (Christian Marclay). How does the movement you create emphasise the quality of the light in your photographs? Alternatively, you could experiment with making a short film, perhaps a kind of moving photograph like Andy Warhol's Empire.
These are just a few stating points. Don't be afraid to set out on your own path, informed by your looking for light wherever and whenever you can find it.

