
A resource for GCSE and A-level photography students in home-isolation due to COVID-19
NOTE: This lesson resource is being continually developed through this lockdown period. New updates will be shared via our instagram account @photopedagogy
By Chris Francis, St Peter's School
It starts with a deliberate decision on your part - to pick up your camera or phone (or pen or pencil, even) and take control. |
Firstly, importantly, we hope you are keeping safe and well. The intention here is to support you in making progress with your photography studies, but we also appreciate circumstances will vary greatly. Some of you will have easy access to cameras, printers or outdoor spaces; others may be less fortunate or have more immediate priorities.
So with all this in mind, an important point: what follows is written with a genuine belief that photography and art making can be a remarkable force for good - be it as a welcome distraction, a means of reflection or understanding, an opportunity to record this unprecedented moment in history... |
Despite the challenges, your learning remains in your hands, and that's a good thing for creative development. It starts with a deliberate decision on your part - to pick up your camera or phone (or pen or pencil, even) and take control: to choose a theme and move to action. Below are a few tips to help:
- Set out to be disciplined, persistent and, importantly, interested. Plan and protect your time for creative work each day - something to look forward to.
- If necessary, explain to your family that your photography studies are important and you might need space, time and understanding, perhaps even a willing model.
- Set short-term targets whilst also remaining open to unexpected possibilities and 'happy accidents'.Pay attention to the subtle details, the unexpected outcomes and mistakes, the difficulties and challenges.
- Keep track of experiments and related research and thoughts through regular notes, images, blog posts or perhaps a video diary.
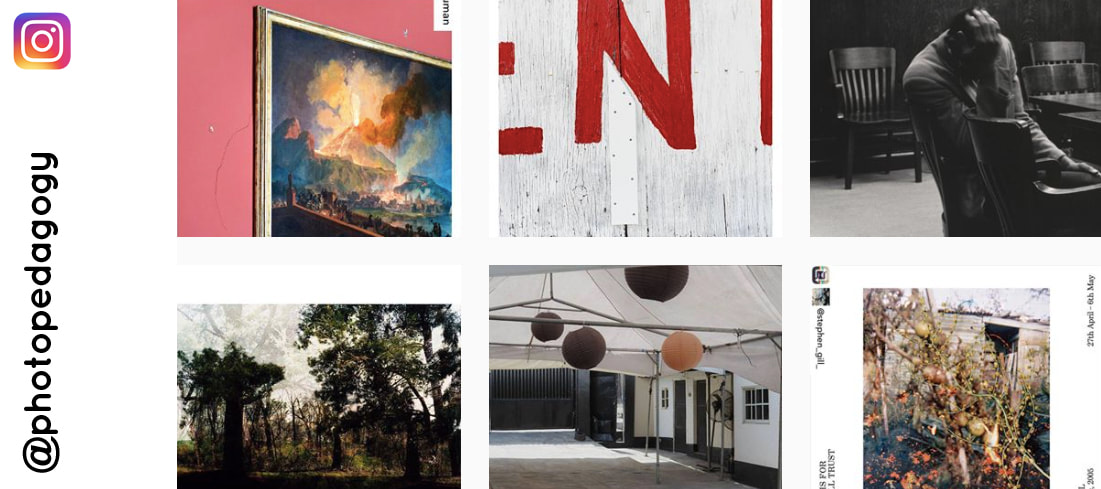
Our @photopedagogy instagram feed regularly shares ideas, resources and links that might prove useful during this period of lockdown. One of the fascinating positives to emerge from this pandemic is an outpouring of creative sharing and collaboration. Hashtags such as #massisolationproject and #lifeatsixfeet are great examples of how photography is documenting personal experiences and connecting those in isolation.
So, where to begin?
If you have a current project or task that you are struggling with it is important, if possible, to share your thoughts with your teacher. Remember it's a challenging time for teachers too and it is not always easy to monitor student understanding and engagement at a distance. It's much better to take control of your own photography learning than do nothing. This is what the most successful students have always done - pursue their own ideas and experiment independently. With this in mind, the following resources are being regularly developed under 2 sections - the priorities that we believe help students the most:
We hope that these suggestions will capture your interest and help you to navigate and document your own experiences in a way that is purposeful, enriching and enjoyable. Try to experiment in a way that is progressive - that demonstrates a sense of moving forward, being reflective and making sensitive connections between each step.
- Practical action - taking/making images (which might also include drawing, film, animation, installation, sculpture...) and exploring ideas, materials and techniques. It's also important to document this as you go, being reflective and thinking critically.
- Reflective reading (and writing practice) - Researching the work of other artists/photographers (and wider contexts, such as related themes, histories and connections...) AND practicing your own writing skills.
We hope that these suggestions will capture your interest and help you to navigate and document your own experiences in a way that is purposeful, enriching and enjoyable. Try to experiment in a way that is progressive - that demonstrates a sense of moving forward, being reflective and making sensitive connections between each step.
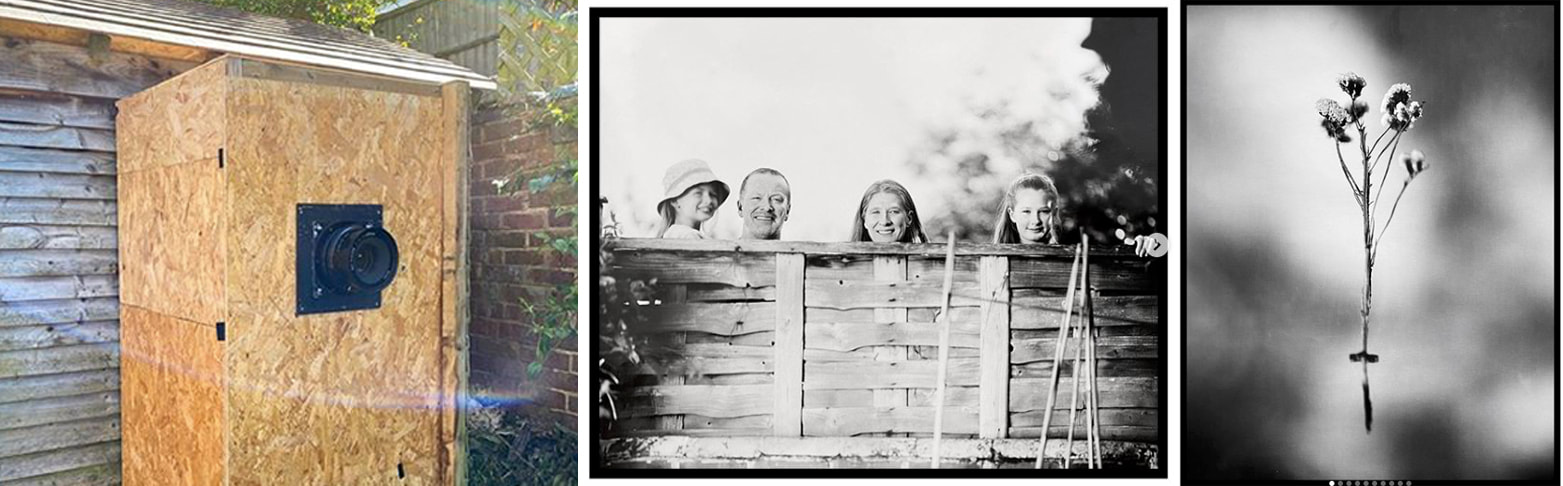
Brendan Barry is a photographer, educator and camera builder whose creative photographic practice combines elements of construction, education, performance and participation. His instagram feed during lockdown @brendanbarryphoto is a wonderful insight into his passion and ingenuity for photography and its processes. The images above show his garden shed converted into a giant camera with subsequent images created including portraits of the neighbours.
Practical Action
1. Light, Camera (maybe) - and Action!
These first suggestions focus on developing your technical understanding of photography. The images above, by Brendan Barry, might seem a little ambitious for your own student project, but with persistence and effort you will be surprised at what can be achieved at home - and what you can learn from taking on something so seemingly complex.
Here are some practical activities with relevant links for you to explore:
Here are some practical activities with relevant links for you to explore:
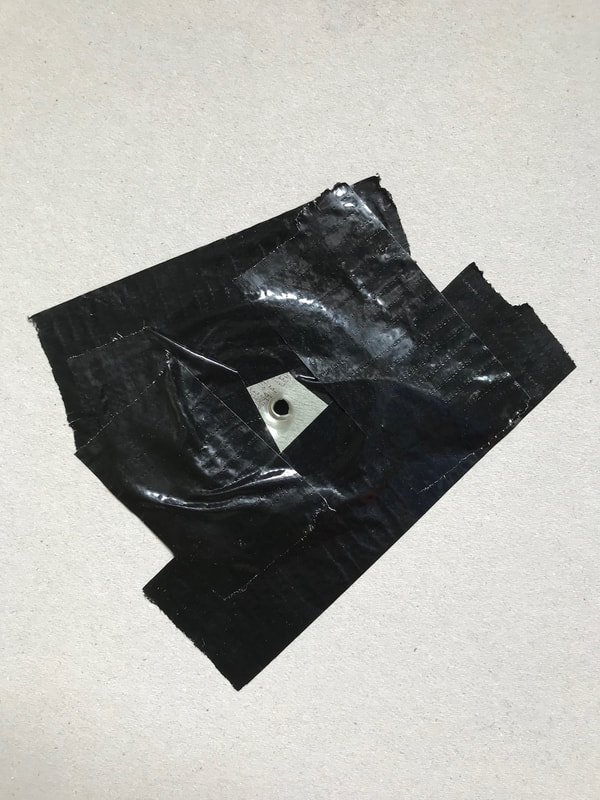
- Convert a room at home into a Camera Obscura. This is a wonderful exercise that reveals the magic of how a camera works. Click here to find out how to do this. Remember to document the process as you go, and be patient too - it can take a while for your eyes to sensitively adjust and recognise the world outside, projected inside and upside down. Our Threshold Concept 2 resource also provides wider context into the fascinating relationship between photography and light.
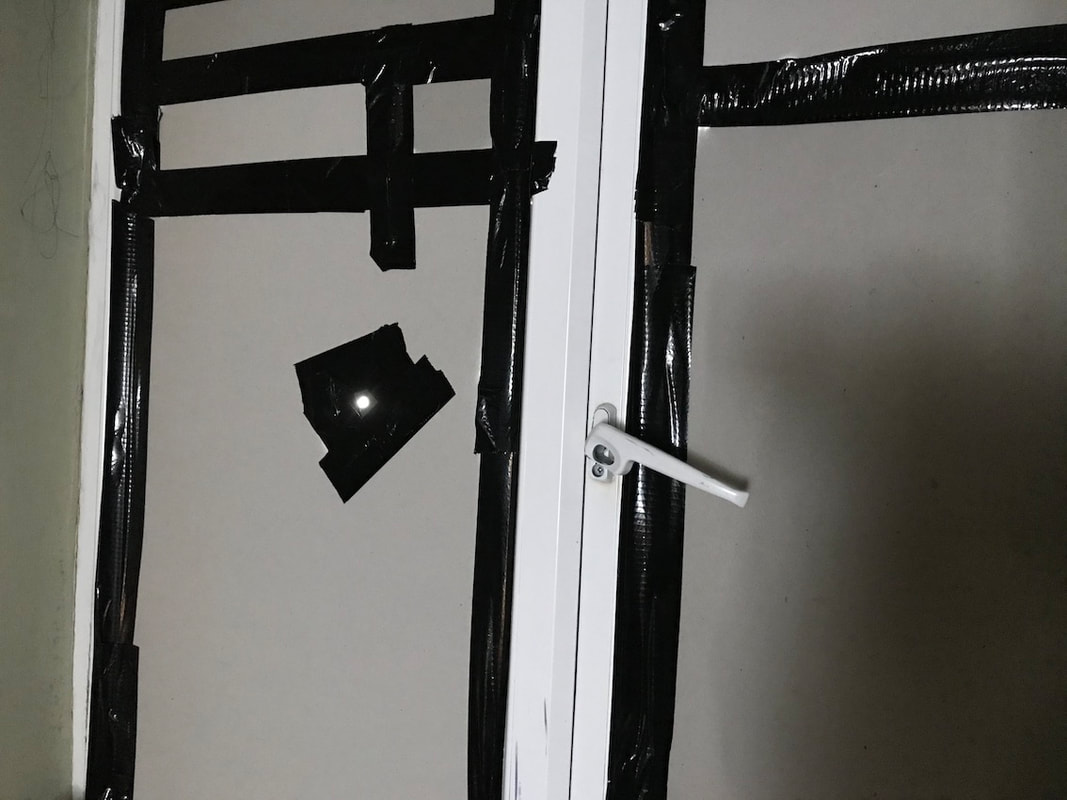
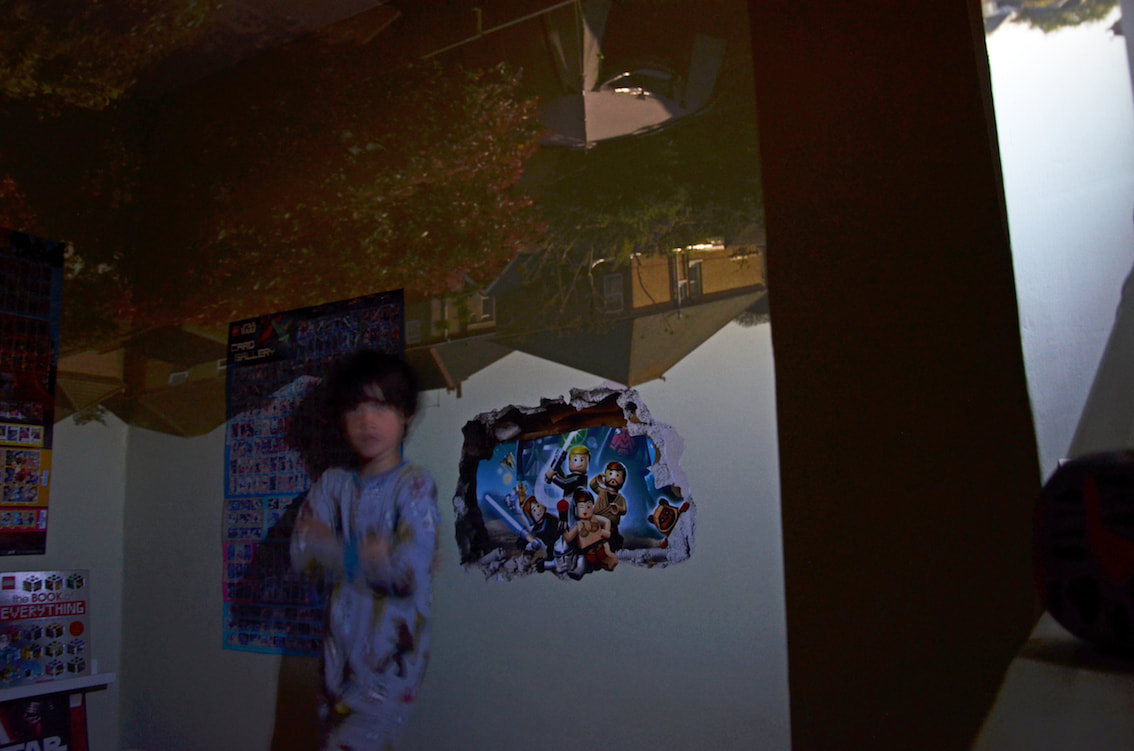
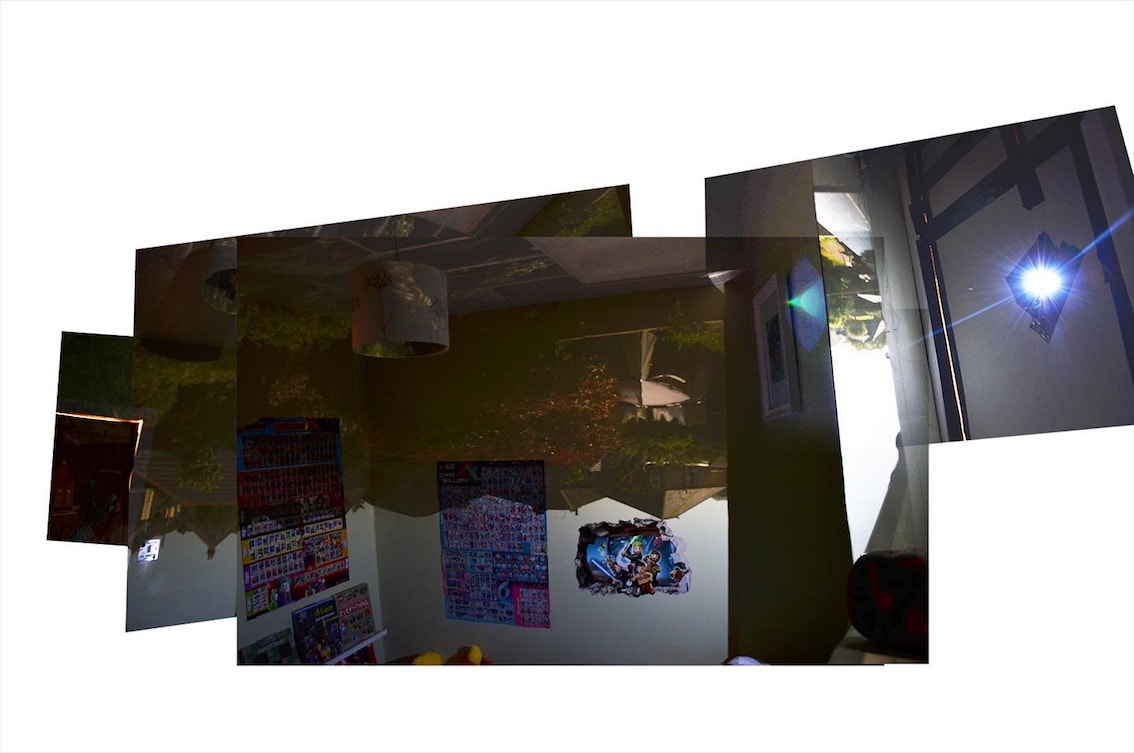
Images from my own 'lockdown' camera obscura - my son's bedroom with surrounding houses and gardens projected on the wall and ceiling. To record the image this clearly I used a slow shutter speed of 10 seconds and ensured the camera was not moving by placing it on a shelf.
To take this an ambitious stage further you might even consider taking a photograph with your camera obscura - turning it into a giant pinhole camera. To do this though, you will require photographic paper and darkroom chemicals (available to buy online, as are these smaller pinhole camera starter kits). Alternatively - as Brendan Barry outlines in these helpful videos - it is possible to mix up your own darkroom chemicals from household ingredients. It's a big challenge, yet an amazing thing to try. However, understandably, if that seems a step too far for now, simply watch the videos for a fascinating insight. And then consider the next activities below...
To take this an ambitious stage further you might even consider taking a photograph with your camera obscura - turning it into a giant pinhole camera. To do this though, you will require photographic paper and darkroom chemicals (available to buy online, as are these smaller pinhole camera starter kits). Alternatively - as Brendan Barry outlines in these helpful videos - it is possible to mix up your own darkroom chemicals from household ingredients. It's a big challenge, yet an amazing thing to try. However, understandably, if that seems a step too far for now, simply watch the videos for a fascinating insight. And then consider the next activities below...
|
|
|
- Research and select an image from the early history of photography, perhaps one by Joseph Niépce, Louie Daguerre or Henry Fox Talbot. How might you set about recreating your own version of this at home, in isolation? Make a list of words that best describe the photograph - its formal/visual elements, composition/arrangement, its abstract qualities as a result of the early technology and processes used. Use these words as a framework for your own response with your mobile phone or digital camera. How might you obscure or disrupt your view and/or use your camera settings to create something similar? How might this compare to editing or manipulating this photograph post-production, either digitally or by more tactile means once printed? (if you do not have access to PhotoShop or similar, there are numerous free online photo editing Apps such as Fotor).
- If you don't have a camera - or even if you do and are fascinated with alternative processes - we highly recommend a careful read of our Threshold Concept #2 resource. This shares a wide range of insights and activities relating to camera-less photography. For example, you might wish to make your own cyanotypes or sun prints (paper and/or chemicals can be ordered at a reasonable price online for this). If this is not possible, you might want to try alternative photographic processes such as the Anthotype or Chemigram. Once again this is challenging - but that's a good thing, right? The Processes How-To website provides some excellent information and advice.
|
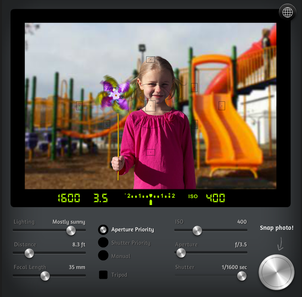
Using this online camera simulator is a fun way to experiment and get to grips with understanding image quality, focus and depth of field through experimenting with Aperture, Shutter Speed and ISO settings. You will find this and further links on our Threshold Concept #8 resource.
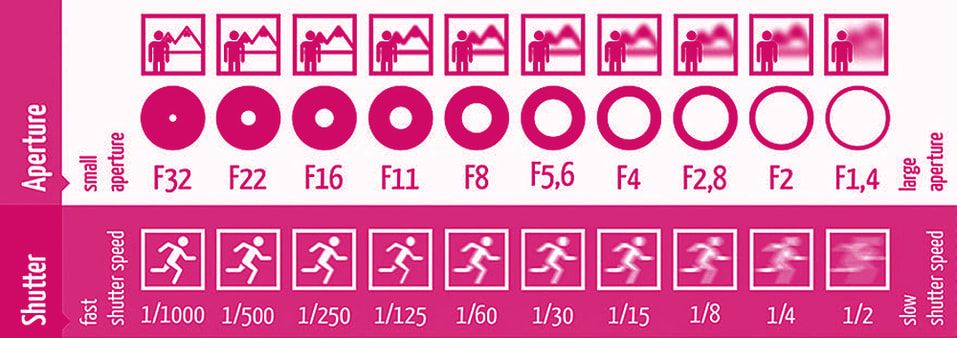
If you do have access to a camera with these functions then the best way to learn is through regular practice. You might set up a Still life - a collection of inanimate objects - and take the same image repeatedly making minor setting adjustments and noting the differences. Alternatively, replace the illustrations in the table below with your own responses at these settings. |
|
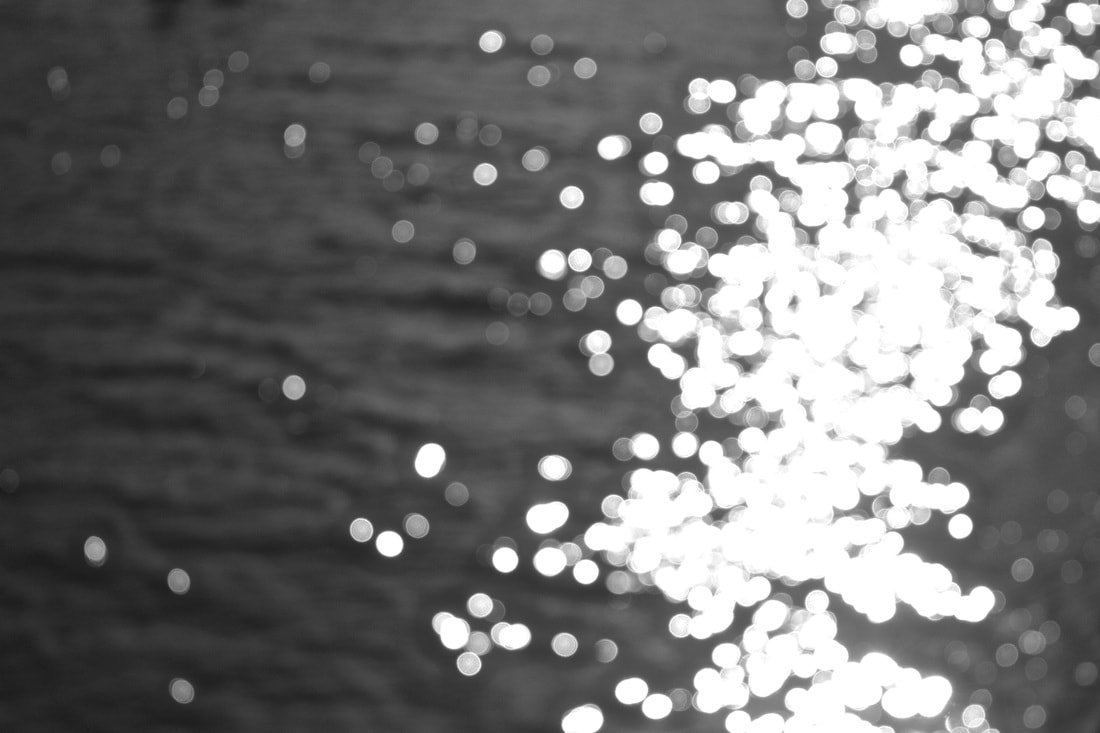
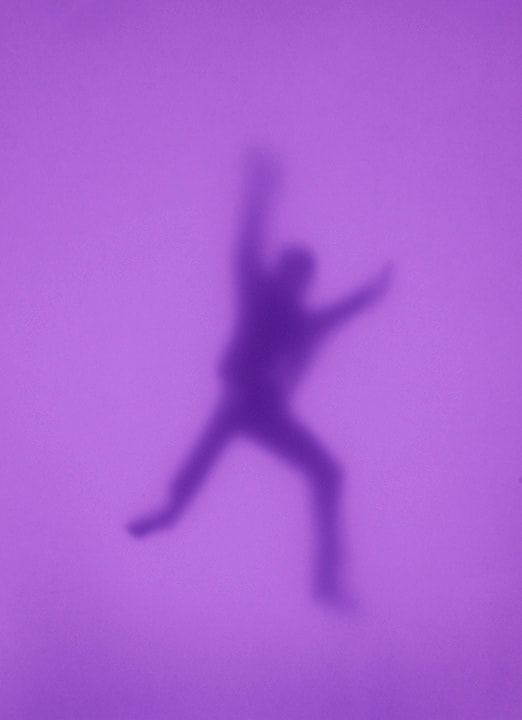
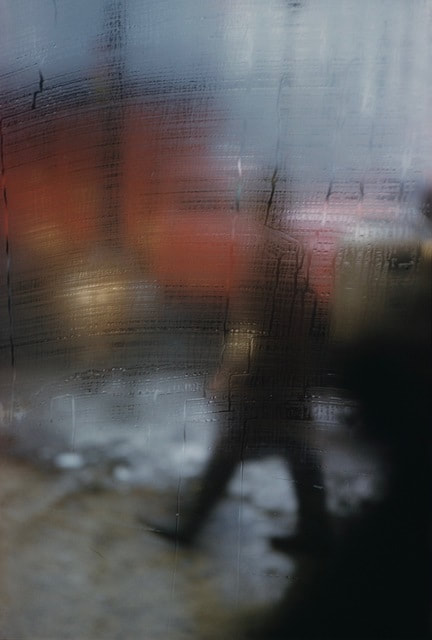
Experiment with abstraction by manipulating your camera settings. One of the great joys of exploring your camera settings for the first time is the potential for surprising abstractions. Within the same photograph figures might reoccur or seem to have multiple limbs; still objects can appear as if moving; rapidly moving objects might be frozen in time, perfectly clear and still.
Complete the list of challenges below:
Prior to beginning, make a note of what you believe will be the most accurate settings to recreate these scenarios - consider Aperture, Shutter Speed and ISO - based on your camera and the space and light available.
Complete the list of challenges below:
Prior to beginning, make a note of what you believe will be the most accurate settings to recreate these scenarios - consider Aperture, Shutter Speed and ISO - based on your camera and the space and light available.
- Take a photograph where the same figure appears twice, perhaps having a conversation with themselves (or a fight, even).
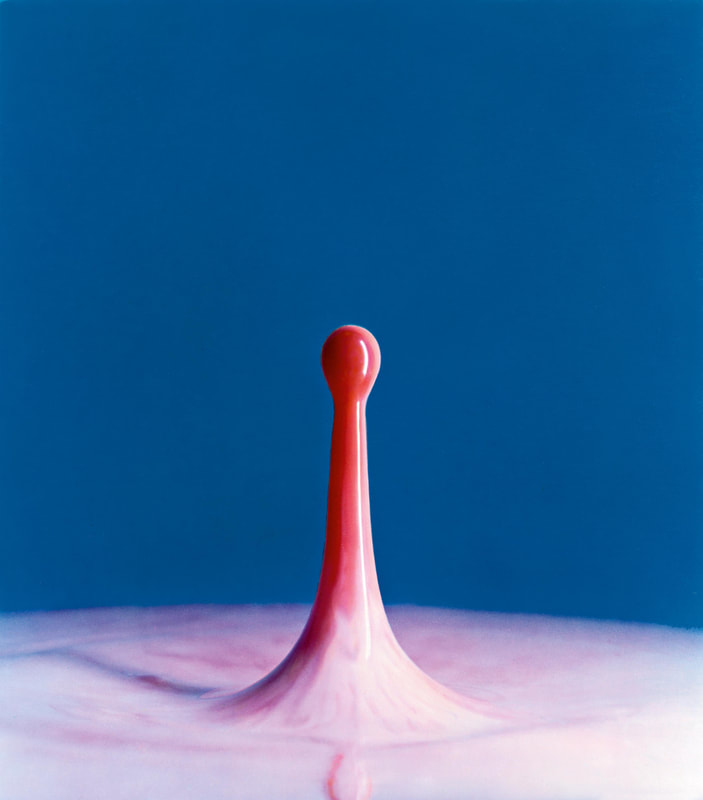
- Take a photograph where liquid is clearly captured mid-air. (caution and relevant permission/assistance obviously required!).
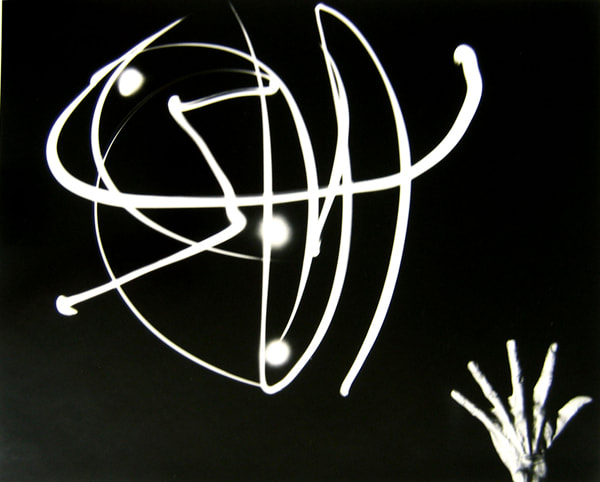
- Produce a series of light drawing experiments where you attempt to write the applied aperture (f-stop) and shutter speed settings within the photo with a small torch or phone light.
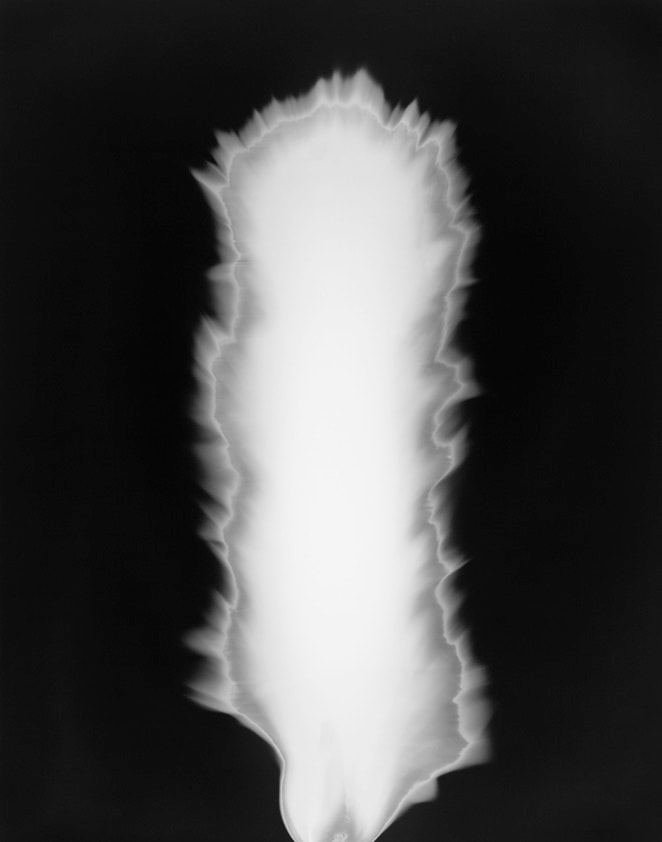
- Look at the images below carefully. Consider how they might have been produced. Now, produce your own interpretations of these - be resourceful with the equipment, materials and space that you have available. Don't aim for an exact replica but rather interesting visual developments and connections. Research the artist names to find out more.
2. Objects at home
Below are a range of works recording household objects. Click on the images to find out more about the artists/photographers and their interests.
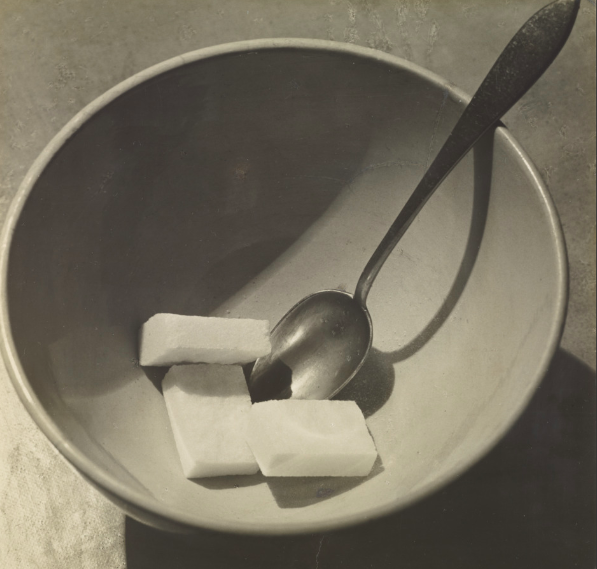
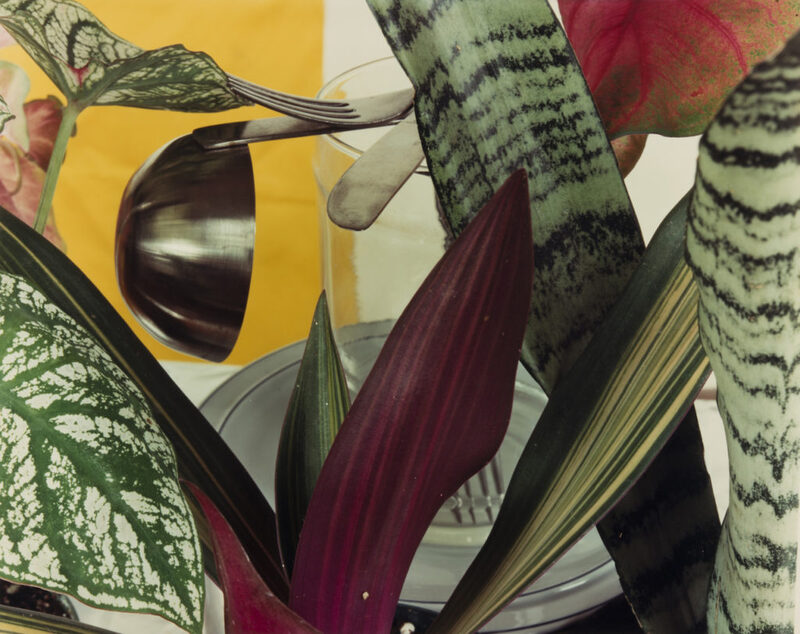
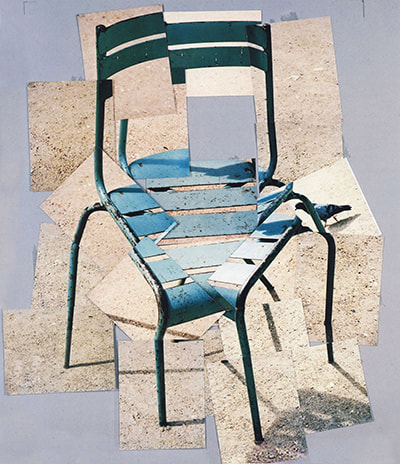
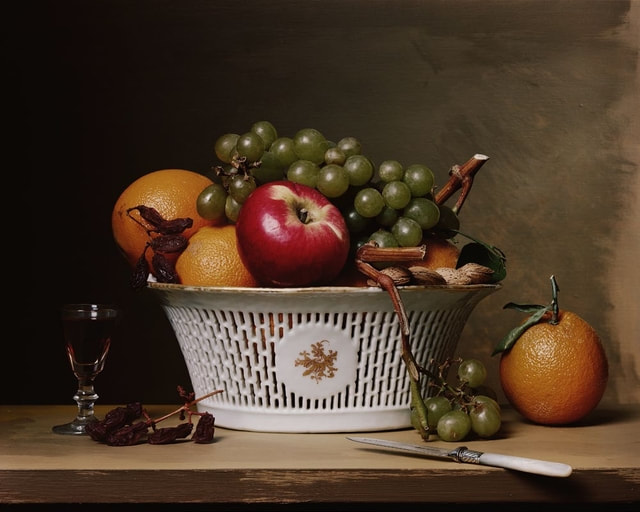
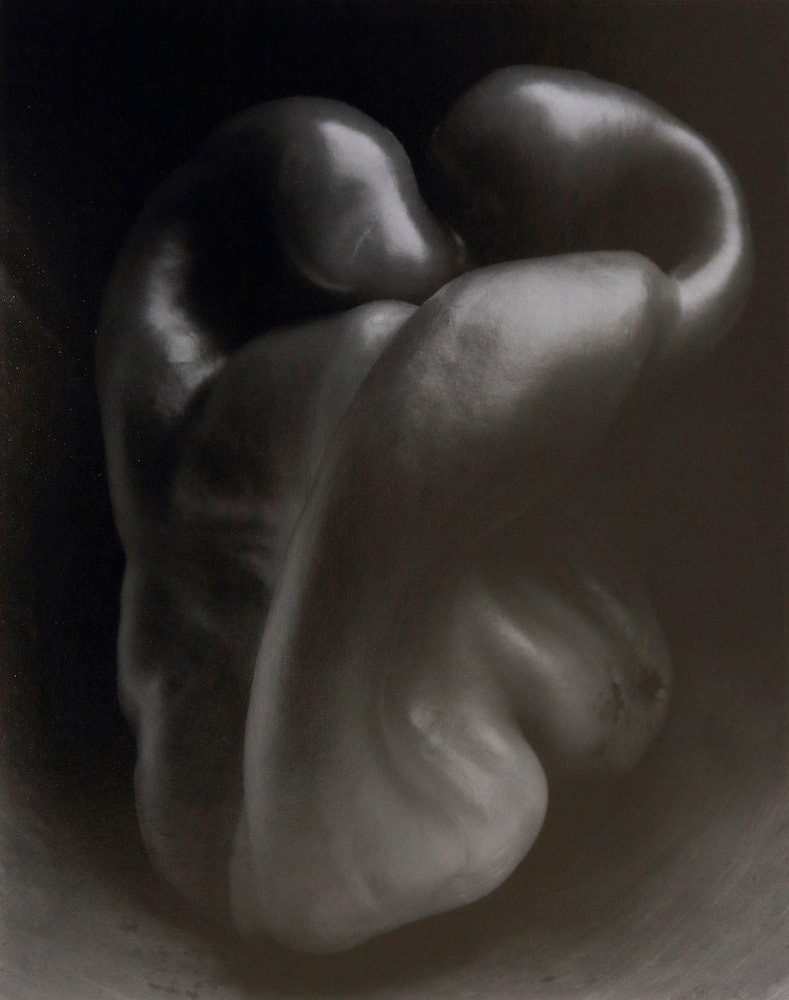
'Photography has a remarkable ability to make the most seemingly mundane or boring objects interesting. Such transformations can come about through numerous possibilities. Below are a few links and suggestions to explore these themes in more depth.
Consider:
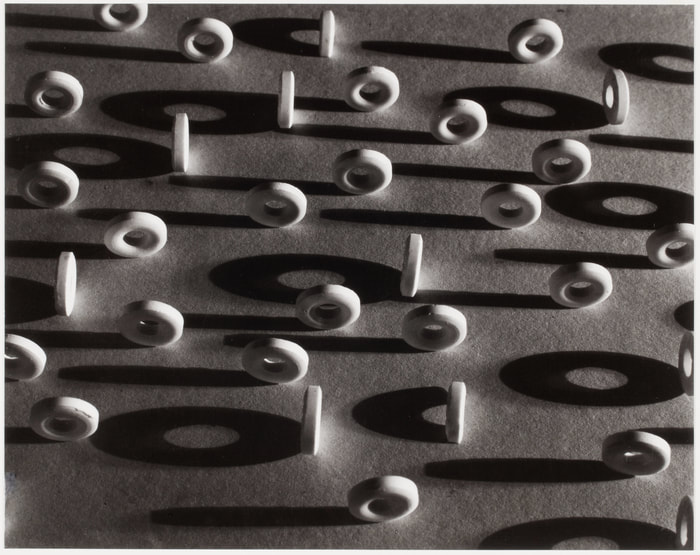
The Surface of Things is a wonderful lesson resource that extends on these ideas. It draws particular attention to how light falls across surfaces, and how artists and photographers have paid attention to surface, texture and form as a means for abstraction and experimentation.
Puzzled 'em is a playful resource that might also be of use here - it could even be the starting point for a playful game at home. The inspiration for this project comes from an old party game that invites participants to identify objects photographed from unusual and close-up viewpoints. Give it a go!
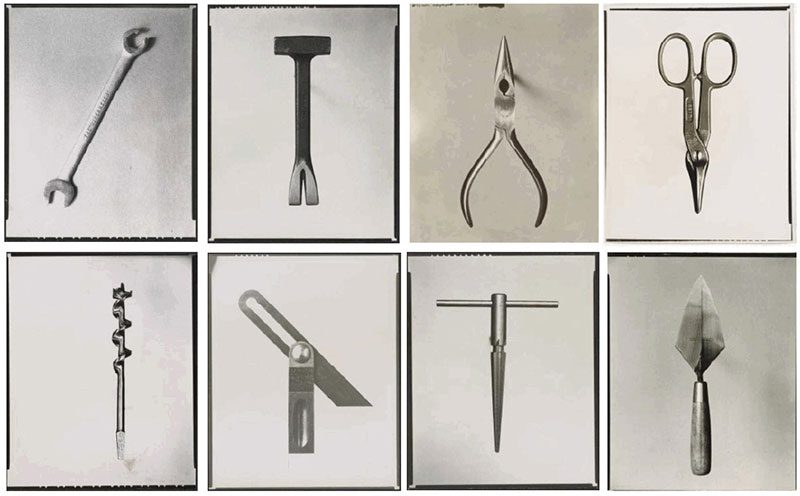
Photography as a means of surveying and categorising
A Typology is the study of types, a popular means of surveying, categorising and ordering through photography. This lesson resource, Typologies, shares further insights into its history and possibilities. It makes for an excellent starting point for improving technical and observational skills.
- 'Boring Things' is a a detailed lesson resource that explores photographing (seemingly) uninteresting objects in interesting ways. The resource draws attention to some key considerations:
Consider:
- Photographing objects from multiple viewpoints inspired by Cubism;
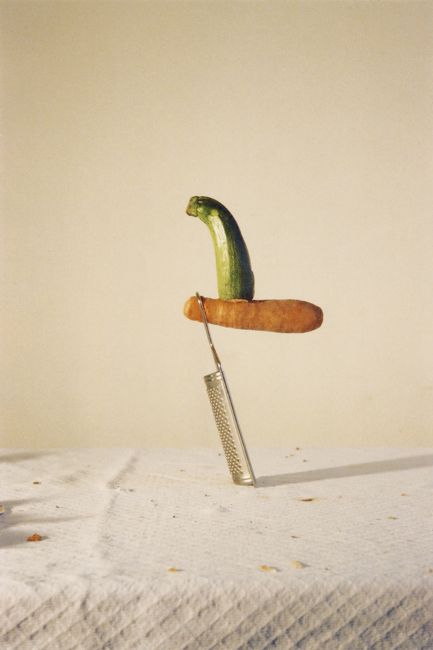
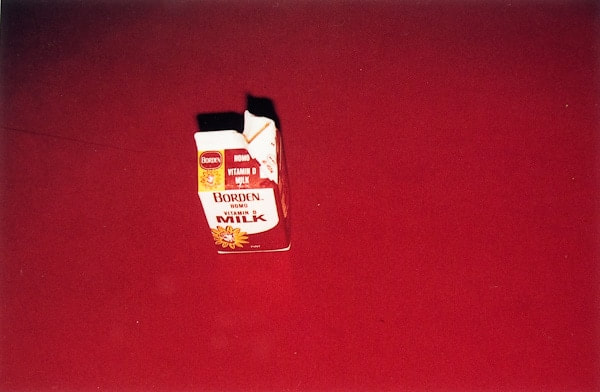
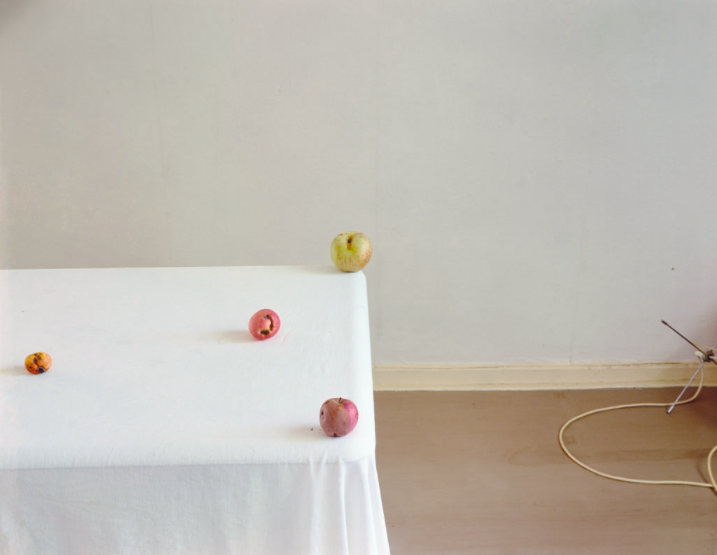
- Playing with scale and space - arrange objects in your viewfinder that might appear to touch, balance or interact in unexpected ways when 'flattened' through your lens.
- Making a sculpture with printed images AND/OR choosing objects (plastic containers, for example) that can be flattened and photographed in interesting illusionary ways.
The Surface of Things is a wonderful lesson resource that extends on these ideas. It draws particular attention to how light falls across surfaces, and how artists and photographers have paid attention to surface, texture and form as a means for abstraction and experimentation.
Puzzled 'em is a playful resource that might also be of use here - it could even be the starting point for a playful game at home. The inspiration for this project comes from an old party game that invites participants to identify objects photographed from unusual and close-up viewpoints. Give it a go!
Photography as a means of surveying and categorising
A Typology is the study of types, a popular means of surveying, categorising and ordering through photography. This lesson resource, Typologies, shares further insights into its history and possibilities. It makes for an excellent starting point for improving technical and observational skills.
- Produce your own lockdown typology (or series of typologies)
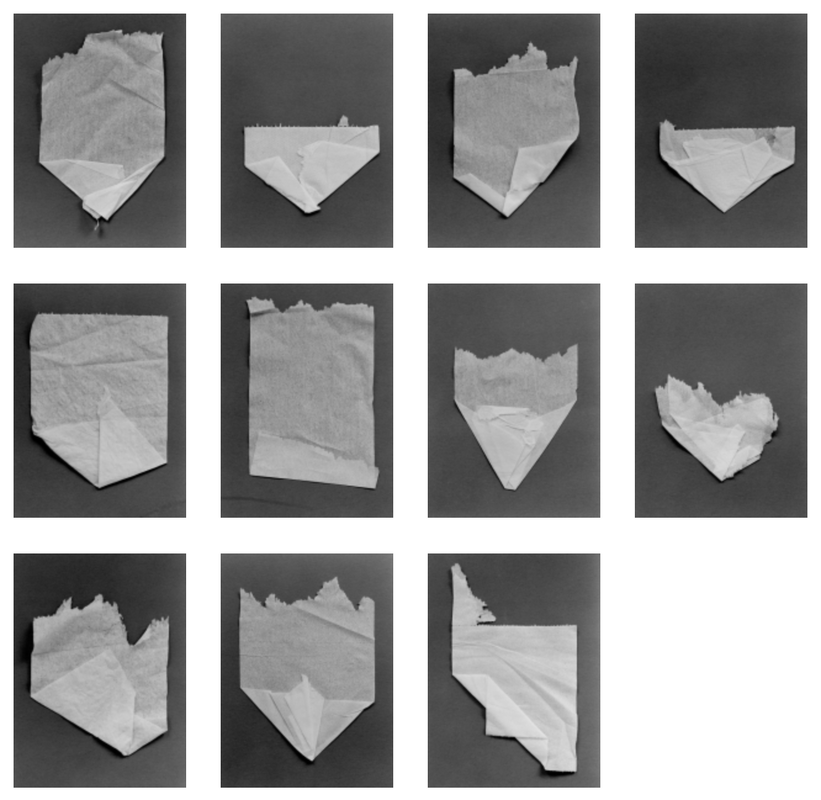

The examples above are by 3 different photographers. Research the names to find out more about their work. To help with your own experiments consider the sequence below:
Playing - with objects, sculpture, photography
Even the most seemingly insignificant objects at home can become interesting when appropriated and/or reconsidered through art making and photography.
Seriously Absurd is a playful lesson resource that introduces a range of relevant ideas and photographers - a spirit of creativity, even - that has influenced some of our own home lockdown experiments, shown below.
- List 10 different objects that reoccur in your house or garden yet have slight variations in appearance (for example Corn flakes, leaves, soles of shoes etc.)
- Without sharing your ideas, ask family members or even friends to create their own lists. Take a photograph of these, or ask them to do this if they do not live with you - provide instructions for consistency (read below).
- Put these lists together in a group/grid format - and there you go, your first typology! A typology of lists for potential typologies. Easy - and very 'meta'.
- Choose a theme or more for your next set. Set up a suitable work space with even lighting and devise instructions to ensure consistency - for example, will you take these in portrait or landscape format? Will they be in colour or black and white? How might you frame and arrange your subject each time to ensure a consistent approach? Do you need a background, what happens if this is a different colour each time?
- Arrange your results in a grid format considering how subtle differences influence the overall outcome, for example balancing colour or ways that the eye might be led by various shapes.
- In what ways (beyond art) might you discover typologies? Can you collect examples of photographs/images that might be (re)considered as typologies - for example, collector cards/stickers; a google image search for a particular project; a decorator's colour swatches ...?
Playing - with objects, sculpture, photography
Even the most seemingly insignificant objects at home can become interesting when appropriated and/or reconsidered through art making and photography.
Seriously Absurd is a playful lesson resource that introduces a range of relevant ideas and photographers - a spirit of creativity, even - that has influenced some of our own home lockdown experiments, shown below.
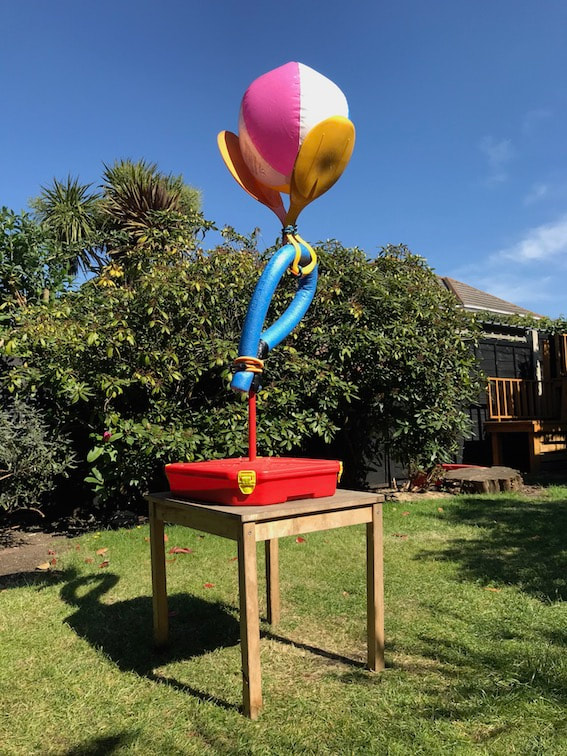
Taking inspiration from the images above, complete the following activities:
3. Documenting life at home
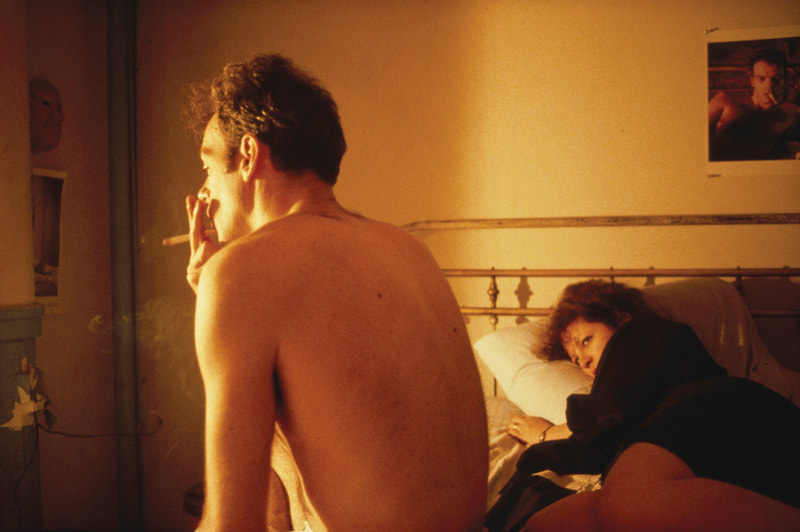
Above are a range of examples of artists/photographers that have produced work documenting those close to them in various ways. Click on the images to find out more.
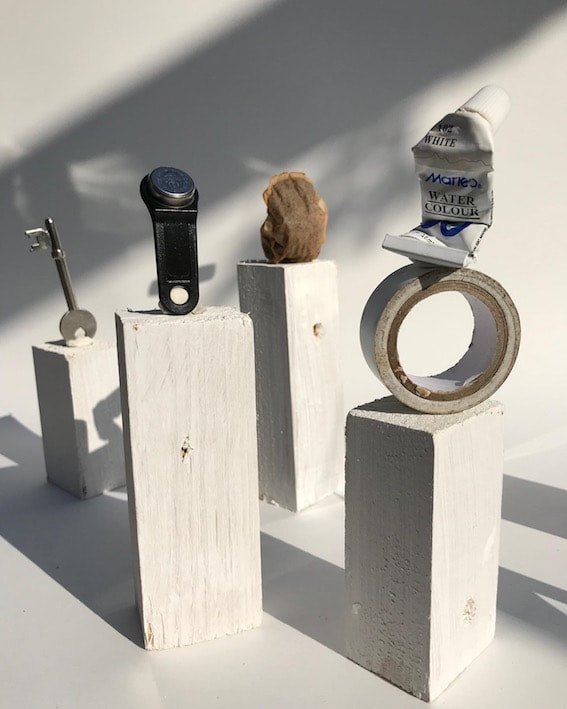
- Create your own 'gallery of small things'. If possible, use scrap wood or cardboard to create your miniature gallery plinths. Collect a wide variety of small objects that could form a mini-exhibition. Consider how you might curate this - make decisions about what to include and how to position these. For example, making connections through themes such as locations found, colours or ownership. Use your gallery as an opportunity to carefully experiment with lighting and composition.
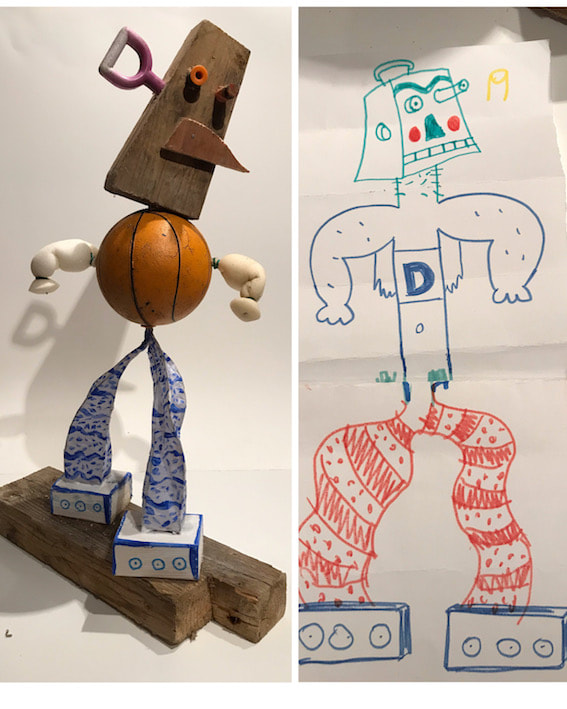
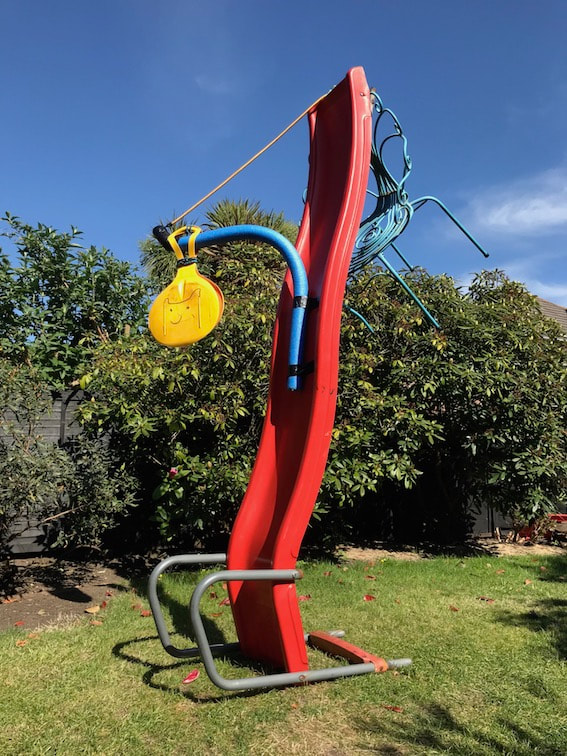
- Initiate a game of 'Exquisite Corpse' - see these lesson resources for further context on this game of Surrealist invention. Serious Play and Layers of Meaning. How might you use found objects or images to respond to your drawings through sculpture or collage?
- Choose 5 objects and experiment with various ways these might be combined to make unexpected home sculptures. These might be large scale or much smaller, such as Henry Ward's delightful 'Kitchen Table Sculptures'.
3. Documenting life at home
Above are a range of examples of artists/photographers that have produced work documenting those close to them in various ways. Click on the images to find out more.
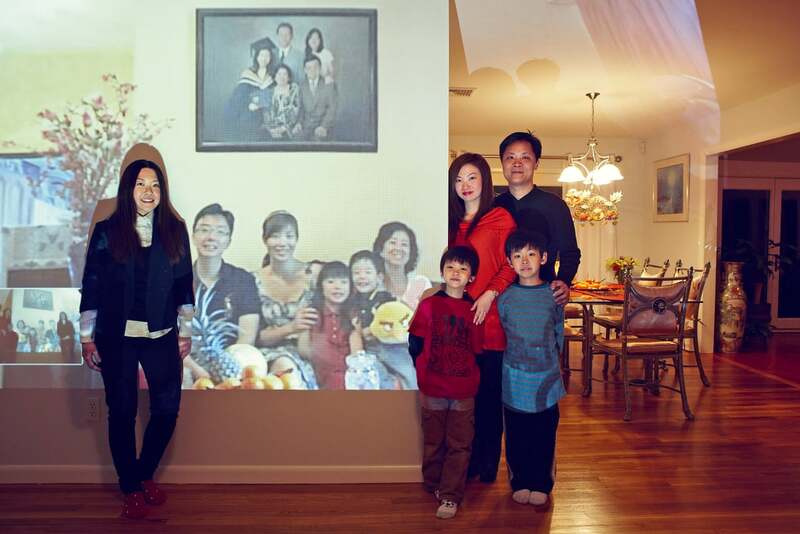
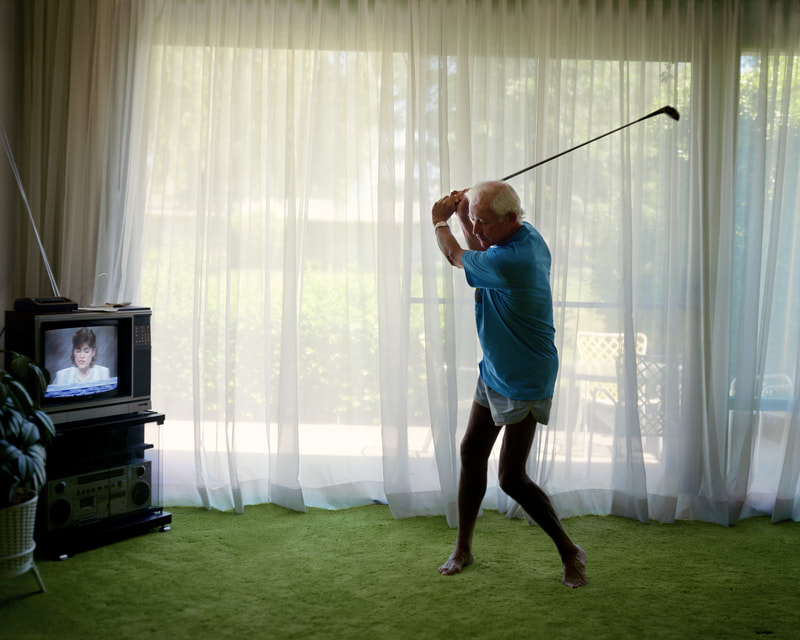
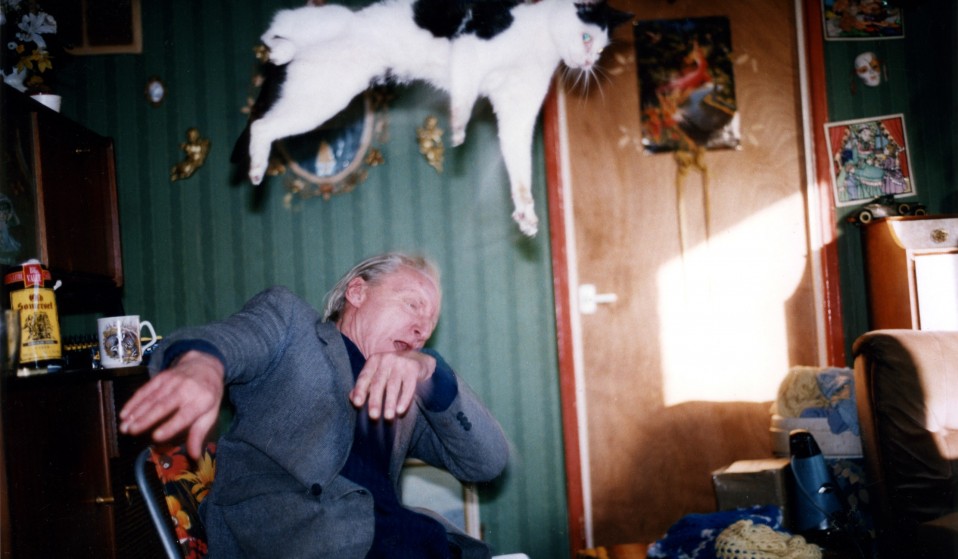
Consider the following prompts to help you make thoughtful notes:
- Is it possible to guess the relationships between the model(s) and photographer from just from one image?
- How much collaboration has taken place - is the model aware their photograph is being taken? Who do you think decided the location and pose?
- Consider the lighting in each photograph. Is this daylight or has home-lighting, a flash or studio equipment been used?
- Which words best describe the style of the photograph - for example, Staged, informal, Collaborative, Snapshot, Vernacular...?
- Produce a set of images that document the experiences of a family member during lockdown. Think carefully about your approach - or even better, try a variety of approaches. Below are a few suggestions:
- A day in the life of... Set aside one day where you record the actions, experiences and emotions of one individual. How might continual observation by a photographer influence how relaxed, self-conscious or co-operative they are? IMPORTANT: Choose your subject with care and agreement of what photographs you can and can't take, and how these might be viewed by others. Liaise with your parents/carers and teacher if uncertain with this.
- Collaborate with a family member on how and where they might like to be documented during this period of lockdown. Which location, clothes, surrounding objects, time of day, gestures and expressions, for example, might best help build an insight into their experiences and/or emotions?
A more formal approach?
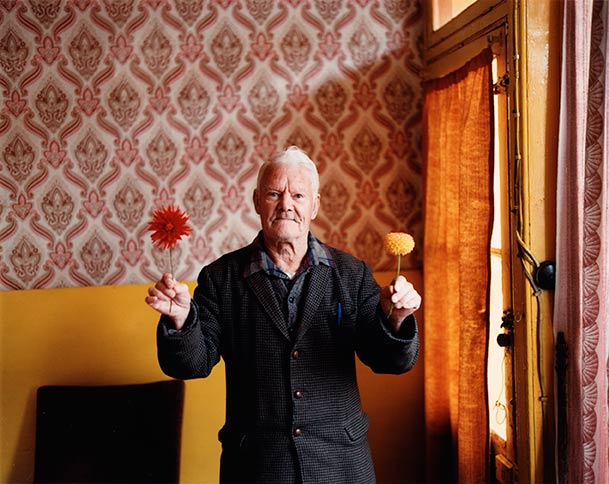
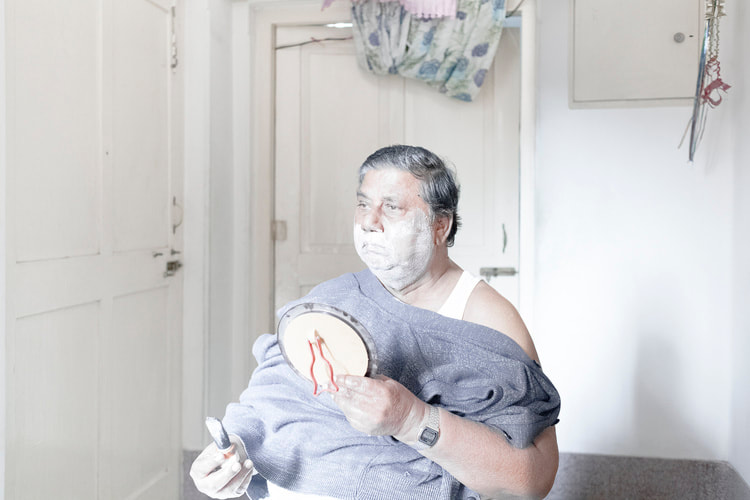
The four portraits below have been selected from Instagram as recent examples of portraits taken during lockdown. Roll over the images to see the photographers' names and click to be taken to relevant links.
The four portraits below have been selected from Instagram as recent examples of portraits taken during lockdown. Roll over the images to see the photographers' names and click to be taken to relevant links.
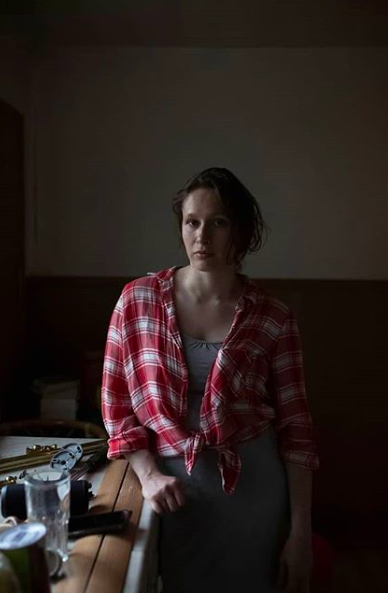
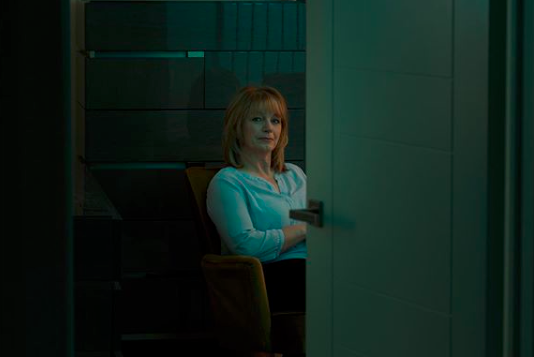
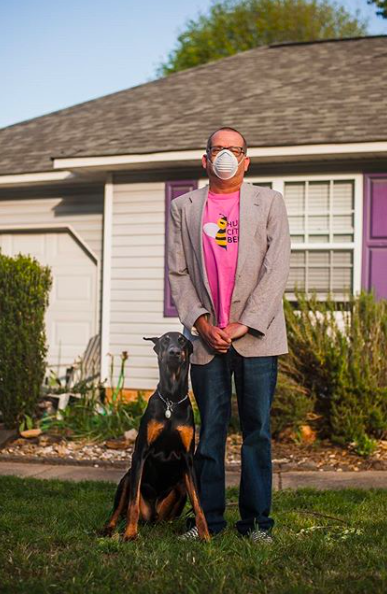
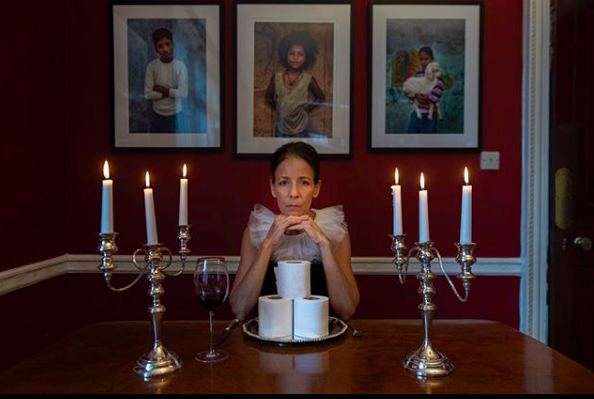
The subjects within these photographs engage directly with the lens. With this in mind, consider the following prompts:
- Does (the illusion of) eye-contact help us to connect with the subject matter in a deeper way?
- Is the subject looking at the photographer, the camera, or us?
- How do terms such as 'formal', 'traditional', 'balanced', 'objective', 'insightful', 'humorous' or 'painterly' fit (or not) with the various images?
- Produce your own lockdown portrait inspired by these additional prompts and images.
Reflective Reading (and writing practice)
Independent reading is a powerful means of taking ownership of your learning - the best way to discover new perspectives and shape a deeper understanding of the subject. Some art and photography writing can be intimidating for students, however, by starting with more accessible texts it is absolutely possible to develop these skills. This whole website is written with students in mind, so we would certainly encourage a good look around.
Here are some further links that provide rich examples of photography writing:
David Campany - Domestic Disorder: Re-viewing the Photographs of Robert Cumming
Duncan Wooldridge - John MacLean - Outhinking the Rectangle
River Bullock - Written by Dorothea Lange
It's All Dreaming - Essential Writings about Photography from Aperture
Portrait Photography - Lens Culture's essential guide to making and sharing remarkable photographic portraits
In addition the following resources might also be of benefit:
NOTE: This lesson resource is being continually developed through this lockdown period. New updates will be shared via our instagram account @photopdagogy